
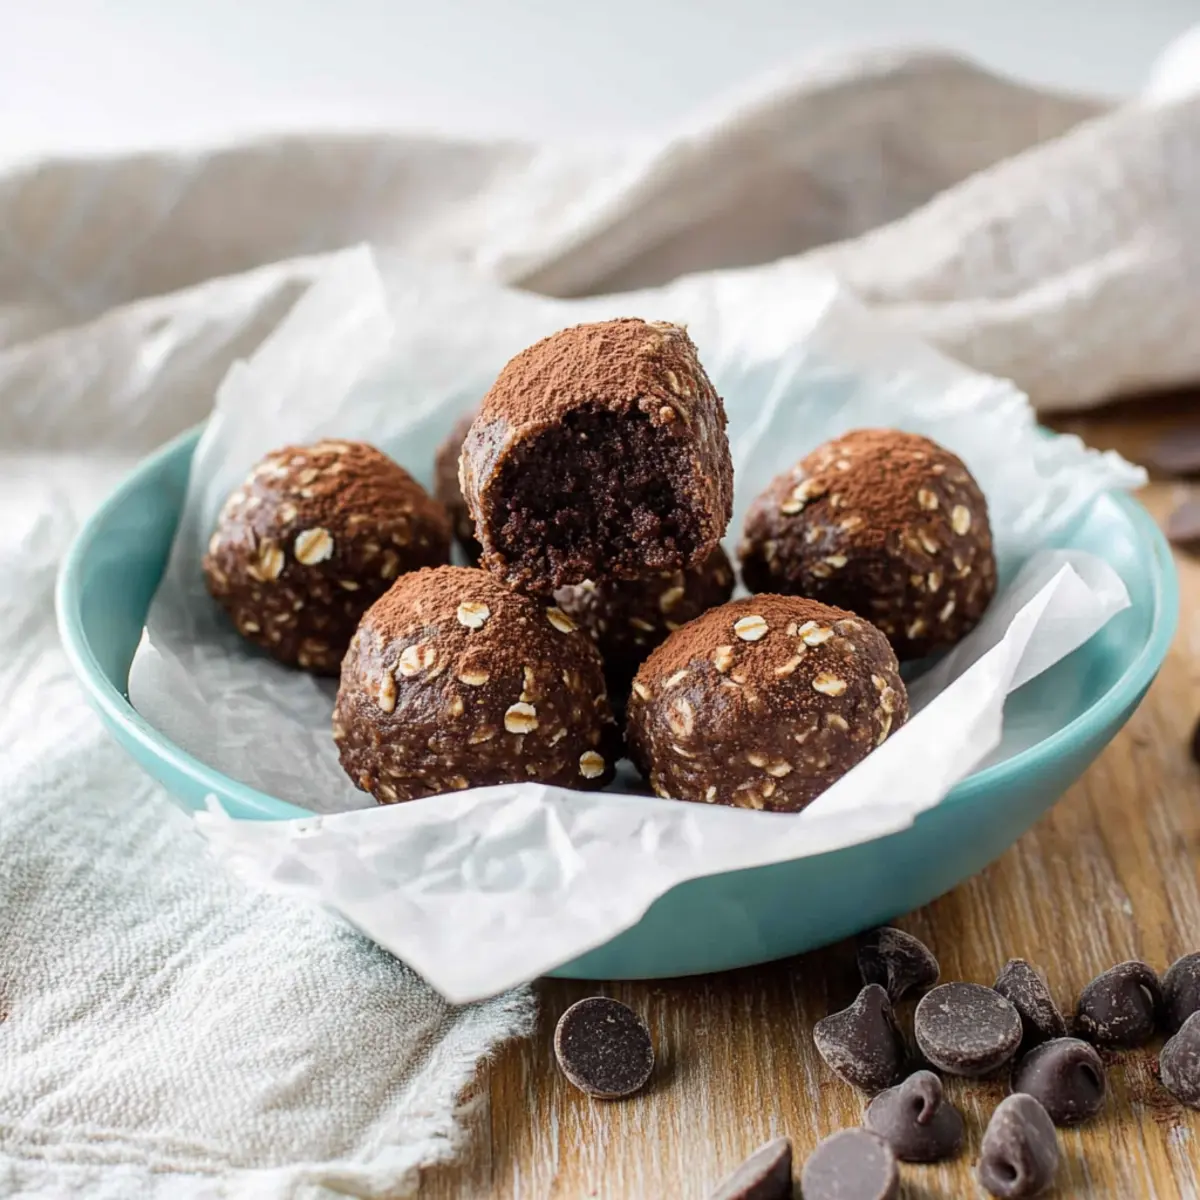
As I rummaged through my kitchen on a rainy afternoon, I stumbled upon the remnants of healthy ingredients silently begging for attention—oats, dates, and cocoa powder. That’s when I turned my day around with my latest creation: No Bake Brownie Bites. These little wonders are a guilt-free indulgence, perfect for my cravings without the dive into refined sugars. Chewy and rich, they harness the wholesome goodness of oats and pumpkin seeds while ensuring a vegan, gluten-free experience. Not only are they super easy to whip up in just a few minutes, but they also make for an ideal snack to satisfy your sweet tooth while keeping you on track with your health goals. Ready to transform your snack game? Let’s dive into this delicious journey!
Why Are These No Bake Brownie Bites Amazing?
Guilt-Free Indulgence: These bites are perfect when you’re craving something sweet yet want to stick to your health goals.
Easy to Make: With just a food processor and a few simple steps, you can whip up a batch in minutes.
Nutritious Ingredients: Packed with oats, dates, and pumpkin seeds, they provide a wonderful energy boost without the refined sugars of typical snacks.
Vegan and Gluten-Free: Suitable for various dietary needs, these bites cater to a wide audience, making them incredibly versatile.
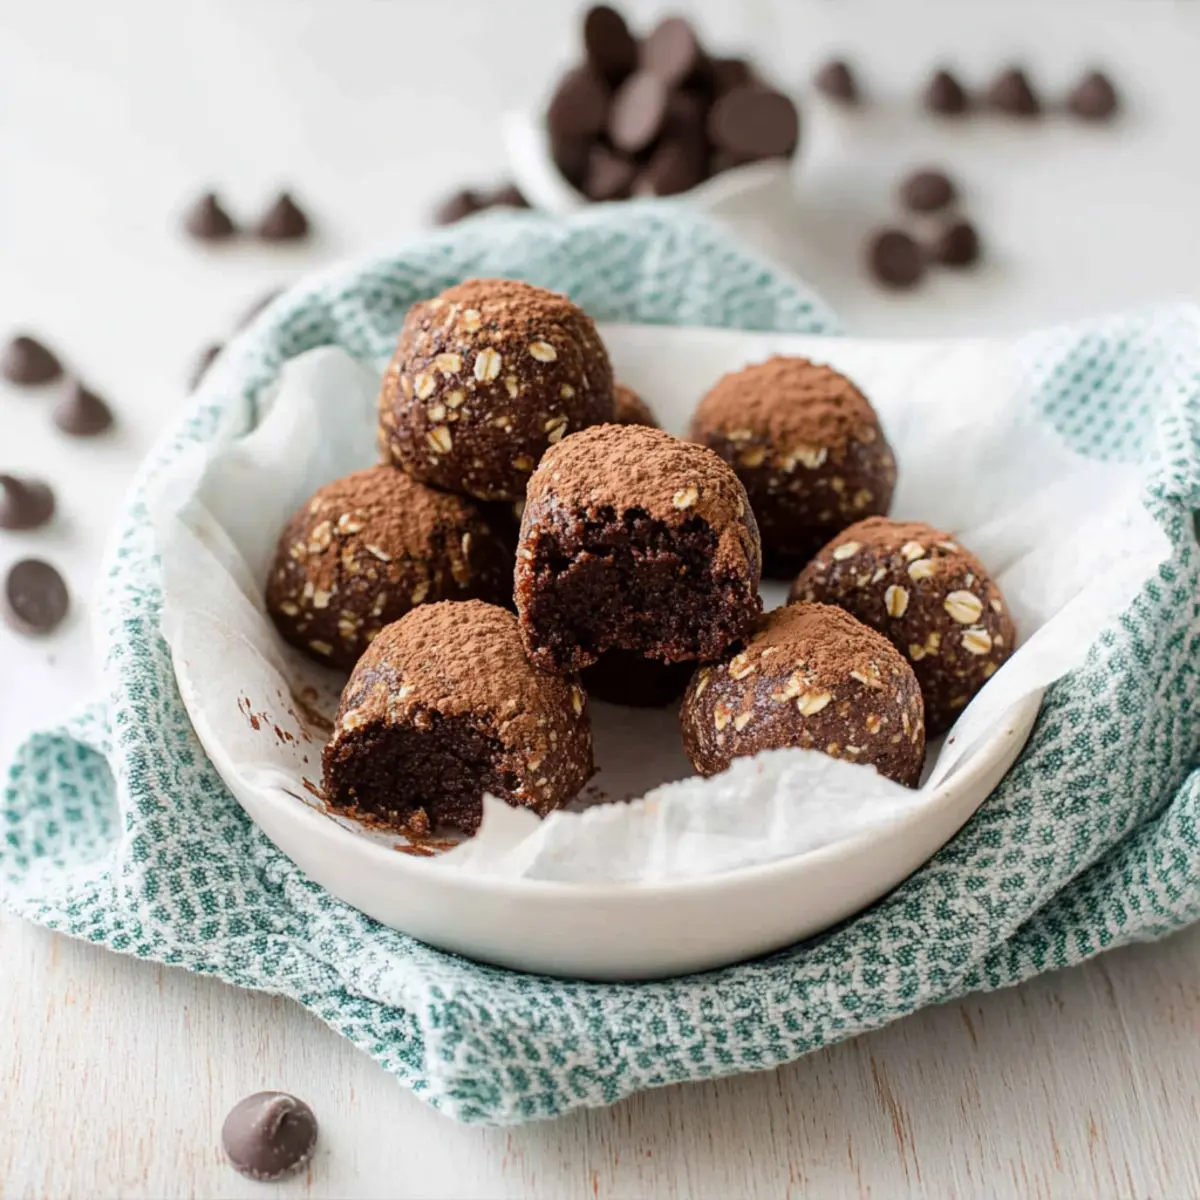
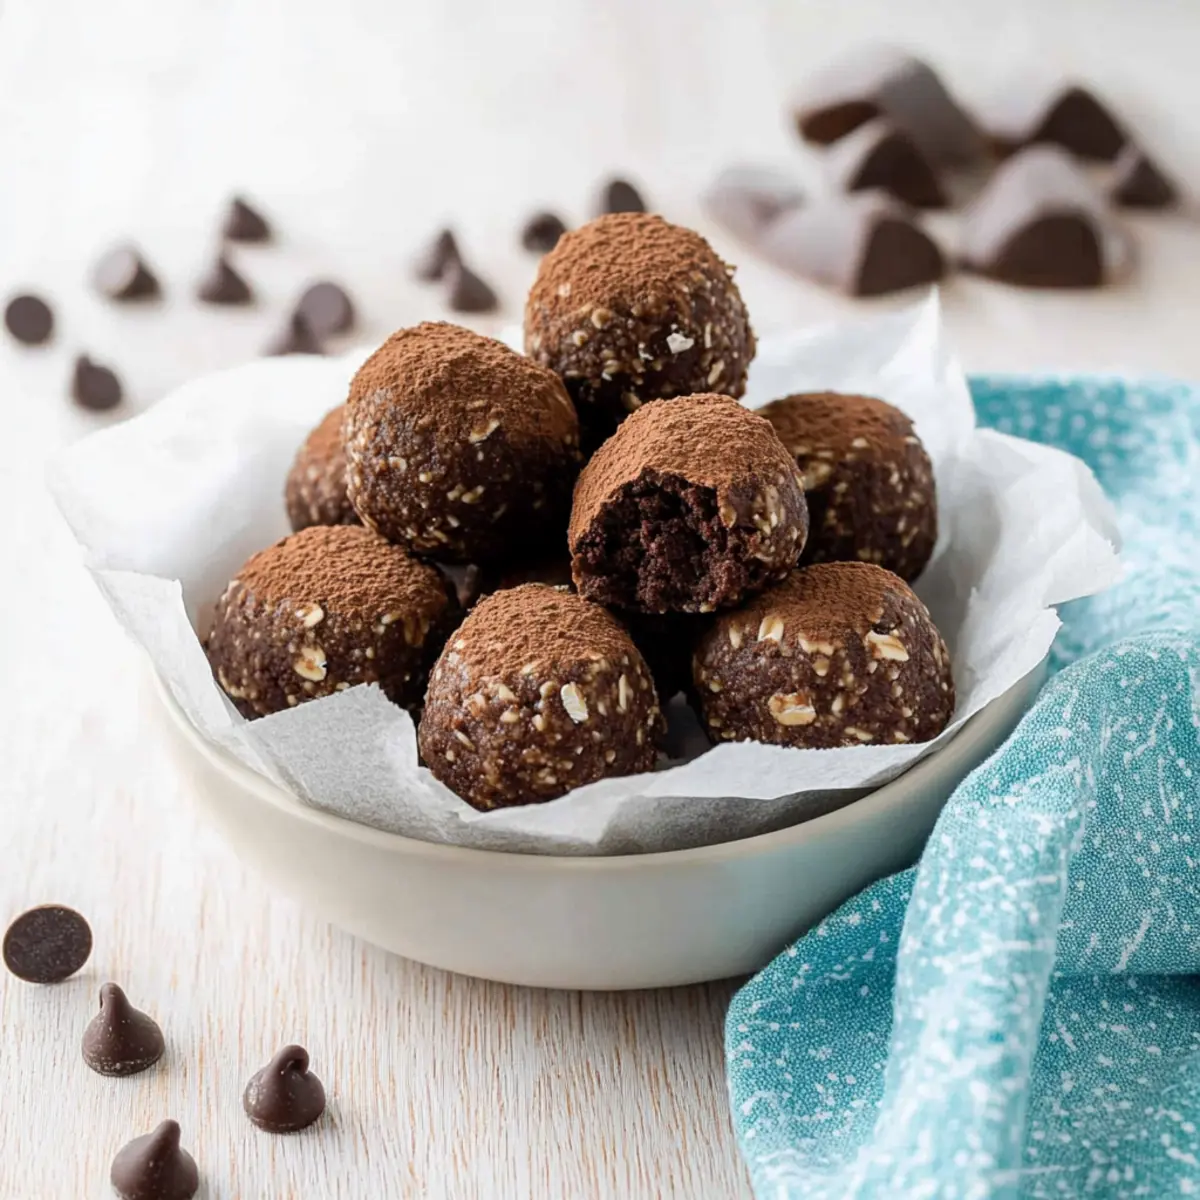
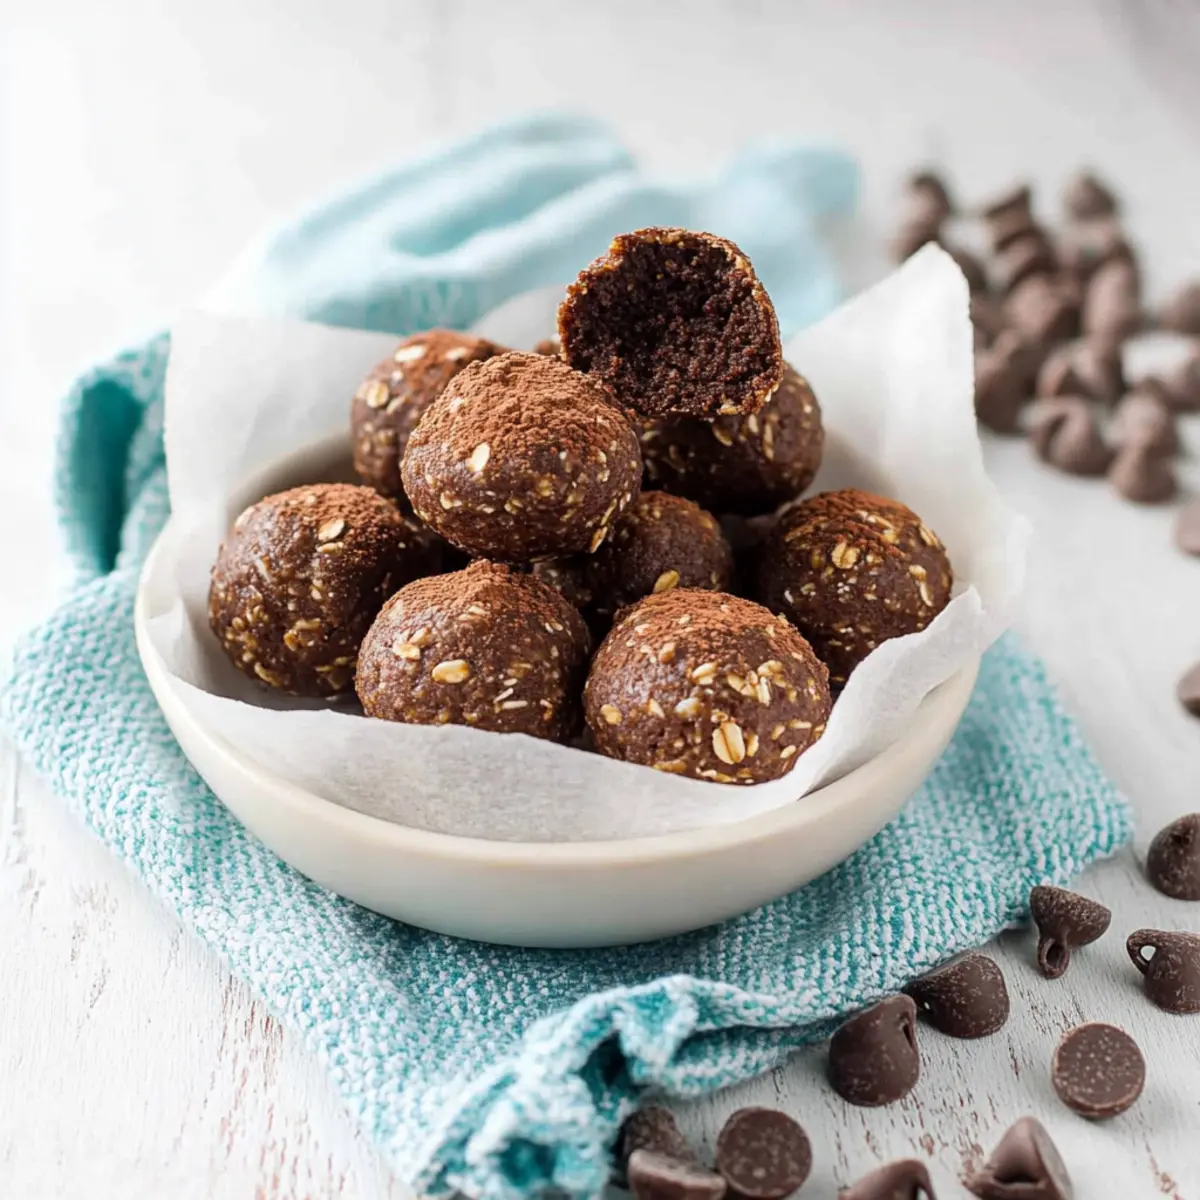
Chewy Texture: Expect a delightful chewiness similar to granola clusters, with rich chocolate flavor that’ll satisfy any sweet tooth!
Make sure to pair these bites with a glass of plant-based milk or enjoy them as a topping on a smoothie bowl! If you’re looking for more quick snacks, check out my Fryer Pretzel Bites for another easy treat or perhaps some Healthy Peanut Bites for variety!
No Bake Brownie Bites Ingredients
• Get ready for a delicious, healthy treat!
For the Bites
- Dates – Provide natural sweetness and help bind the ingredients together; can be substituted with dried figs if desired.
- Raisins – Add extra sweetness and a chewy texture; replace with additional dates or apricots if you prefer.
- Oats – Form the base of the mixture, contributing structure while being gluten-free; ensure you choose gluten-free oats if needed.
- Pumpkin Seeds – Offer crunch and nutrition from healthy fats; sunflower seeds can serve as a great substitute.
- Cocoa Powder – Delivers rich chocolate flavor, essential for these No Bake Brownie Bites; carob powder can be swapped for a unique flavor twist.
- Plant-Based Protein Powder – Boosts the protein content and richness; this is optional, so feel free to omit if not wanted.
- Salt – Enhances all the flavors; using sea salt can create a milder taste.
- Vanilla Extract – Provides a warm flavor note; this can be adjusted according to personal taste.
- Chocolate Chips – Optional addition for a touch of extra sweetness; choose dairy-free chocolate chips for a fully vegan experience.
These No Bake Brownie Bites are not only a treat but a wholesome option packed with nutrients that make snacking enjoyable and guilt-free!
Step‑by‑Step Instructions for No Bake Brownie Bites
Step 1: Blend the Base
In a food processor, combine pitted dates, raisins, oats, and pumpkin seeds. Pulse until the mixture becomes crumbly, resembling coarse sand, which should take about 30 seconds. Make sure to scrape down the sides of the bowl to incorporate everything evenly. This initial step sets the foundation for your No Bake Brownie Bites.
Step 2: Add Cocoa and Flavor
Next, sprinkle in the cocoa powder, plant-based protein powder (if you’re using it), salt, and vanilla extract. Process the mixture for about 30 seconds until it turns sticky and well combined. You want it to hold together without becoming a smooth paste. Scrape the sides again to ensure all ingredients are fully blended into your brownie mix.
Step 3: Incorporate Chocolate Chips
Now, add the chocolate chips for a touch of sweetness and enrich the flavor. Pulse the mixture lightly for about 15 seconds until the chocolate chips are just evenly distributed. Be careful not to over-process; you want the chocolate chips intact for a delightful surprise in your No Bake Brownie Bites.
Step 4: Form the Bites
Using your hands or a small cookie scoop, take about one tablespoon of the mixture and roll it into small balls. Place each ball onto a plate or parchment-lined baking sheet as you go. You should aim for about a dozen bites. This step is fun and allows you to feel the texture of your soon-to-be treat!
Step 5: Chill and Set
Once all the brownie bites are formed, place them in the refrigerator for at least 30 minutes. This helps them firm up, making them easier to enjoy as a snack. You’ll know they’re ready when they feel slightly firm to the touch, perfecting the chewy and satisfying texture characteristic of these No Bake Brownie Bites.
Step 6: Store for Enjoyment
Finally, transfer your No Bake Brownie Bites to an airtight container. They can be stored in the refrigerator for up to two weeks or in the freezer for longer storage. Just be sure to separate the layers with parchment paper to prevent them from sticking together. Enjoy these nutritious bites any time you want a guilt-free treat!
Make Ahead Options
These No Bake Brownie Bites are perfect for meal prep enthusiasts! You can prepare the mixture up to 24 hours in advance; simply follow the blending and mixing steps, then roll the bites into balls. Store them in an airtight container in the refrigerator to maintain their chewiness. If you’re really short on time during the week, you can also freeze the rolled bites for up to 3 months. Just make sure to separate layers with parchment paper to prevent sticking. When you’re ready to enjoy them, simply take them out of the fridge or freezer, and they’ll be just as delicious and satisfying when you’re craving a healthy snack!
What to Serve with No Bake Brownie Bites
Looking to elevate your snacking experience? These delightful chocolatey confections can shine even brighter with the right accompaniments!
-
Plant-Based Milk: The perfect complement, a glass of almond or oat milk enhances the rich flavors of the brownie bites.
-
Smoothie Bowl: Top a vibrant smoothie bowl with No Bake Brownie Bites for a textural contrast and extra sweetness.
-
Fresh Berries: A handful of juicy strawberries or raspberries adds a refreshing, tart balance to the rich chocolate taste.
-
Nut Butter Dip: Serve with your favorite nut butter as a dip, offering a creamy and satisfying addition to each bite!
-
Coconut Yogurt: The creamy texture and mild flavor of coconut yogurt create a beautiful pairing, enhancing the enjoyable chewiness.
-
Herbal Tea: Enjoy with a warm cup of peppermint or chamomile tea, creating a cozy atmosphere that perfectly complements the rich bites.
-
Fruit Salad: A light fruit salad adds sweetness and a refreshing kick, cleansing the palate after each chocolatey morsel.
-
Dark Chocolate Drizzle: Elevate the experience by drizzling melted dark chocolate over the bites for an extra decadence!
Indulging in these pairings will make your snack time irresistibly delightful!
No Bake Brownie Bites Variations
Feel free to make these delightful bites uniquely yours with these fun and simple suggestions!
- Nut-Free: Substitute pumpkin seeds with sunflower seeds to accommodate nut allergies while maintaining crunch.
- Spice It Up: Add a pinch of cinnamon or nutmeg for a warm, cozy flavor that takes these bites to the next level.
- Coconut Crunch: Incorporate shredded coconut for extra texture and a hint of tropical flair. Your taste buds will thank you!
- Fruit Fusion: Mix in dried cherries or cranberries for a fruity surprise that balances beautifully with the chocolate.
- Protein Boost: Use flavored plant-based protein powder for an added taste twist, making your bites even more satisfying.
- Sweet Swaps: Swap out agave syrup for dates for a caramel-like sweetness—perfect for those who like it a little sweeter!
- Chocolate Lovers: Toss in more chocolate chips or chunks for an extra chocolaty experience that satisfies even the strongest craving.
- Nutty Flavor: Try adding a spoonful of almond or peanut butter into the mix for a richer, deeper flavor profile.
While you indulge in these No Bake Brownie Bites, consider enjoying them alongside a refreshing glass of plant-based milk. Or, if you’re still on the hunt for quick treats, don’t miss my delicious Pretzel Bites Soft or the light and crunchy Cheesy Parmesan Mozzarella Bites. Enjoy the variations and happy snacking!
Expert Tips for No Bake Brownie Bites
- Moist Dates: Ensure dates are moist for easier blending; soak them in warm water for 10-15 minutes if they’re dry.
- Stickiness Check: Avoid over-processing the mixture; stop when it’s sticky but not fully smooth for the best texture in your No Bake Brownie Bites.
- Even Sizing: For uniform bites, use a small scoop to portion out the mixture, ensuring each bite is consistent in size and shape.
- Chill Time: Don’t skip the chilling step—this helps set the bites and improves the chewy texture, making them easier to enjoy.
- Storage Secrets: Store in an airtight container with parchment paper between layers to prevent sticking; they’ll stay fresh for up to two weeks!
How to Store and Freeze No Bake Brownie Bites
Fridge: Keep your No Bake Brownie Bites in an airtight container for up to 2 weeks. This helps maintain their chewy texture and flavor.
Freezer: For longer storage, freeze the brownie bites for up to 3 months. Layer them with parchment paper in a container to avoid sticking together.
Reheating: These treats are best enjoyed chilled or at room temperature; simply take out the desired number from the fridge or freezer when craving a snack!
Make-Ahead: Feel free to prepare a batch ahead of time for on-the-go snacking; just pull them out as needed for a quick, nutritious treat!
No Bake Brownie Bites Recipe FAQs
What kind of dates should I use for this recipe?
Absolutely! For the best results, use Medjool dates, as they are moist and sticky, which helps bind the ingredients effectively. If your dates are on the dry side, soaking them in warm water for about 10-15 minutes can make them easier to blend.
How should I store my No Bake Brownie Bites?
You can store your No Bake Brownie Bites in an airtight container in the refrigerator for up to 2 weeks. For optimal freshness, separate layers with parchment paper to prevent them from sticking together.
Can I freeze these brownie bites?
Very! You can freeze your No Bake Brownie Bites for up to 3 months. Just layer them in a freezer-safe container with parchment paper between each layer to avoid sticking. When you’re ready to enjoy, simply take out the number you desire and let them thaw in the fridge or at room temperature.
What if my mixture is too dry and crumbly?
If your mixture turns out too dry, don’t worry! Simply add a teaspoon of water or more dates and process again until the consistency is sticky enough to hold together. Remember, the goal is to achieve a tacky texture without making it a smooth paste.
Are these No Bake Brownie Bites safe for people with nut allergies?
Yes, definitely! These bites are nut-free if you substitute pumpkin seeds with sunflower seeds. Always check ingredient labels to ensure there’s no cross-contamination with nuts, especially if you’re serving someone with allergies.
What about allergen concerns for pets?
While the ingredients in these No Bake Brownie Bites are largely safe for human consumption, I recommend keeping them away from pets. Ingredients like chocolate can be harmful to dogs and cats, so it’s best to enjoy these bites yourself and keep them out of reach from your furry friends.
No Bake Brownie Bites That Are Chewy, Healthy, and Guilt-Free
Ingredients
Equipment
Method
- Blend the Base: In a food processor, combine pitted dates, raisins, oats, and pumpkin seeds. Pulse until crumbly, resembling coarse sand. Scrape down sides as needed.
- Add Cocoa and Flavor: Sprinkle in cocoa powder, plant-based protein powder, salt, and vanilla extract. Process until sticky and well combined. Scrape sides to ensure blending.
- Incorporate Chocolate Chips: Add chocolate chips and pulse lightly to distribute without over-processing.
- Form the Bites: Take about one tablespoon of the mixture and roll into balls. Place each on a plate or parchment-lined sheet.
- Chill and Set: Refrigerate formed bites for at least 30 minutes until slightly firm.
- Store for Enjoyment: Transfer to an airtight container, storing with parchment paper between layers. They can last up to two weeks in the fridge.
Leave a Reply