
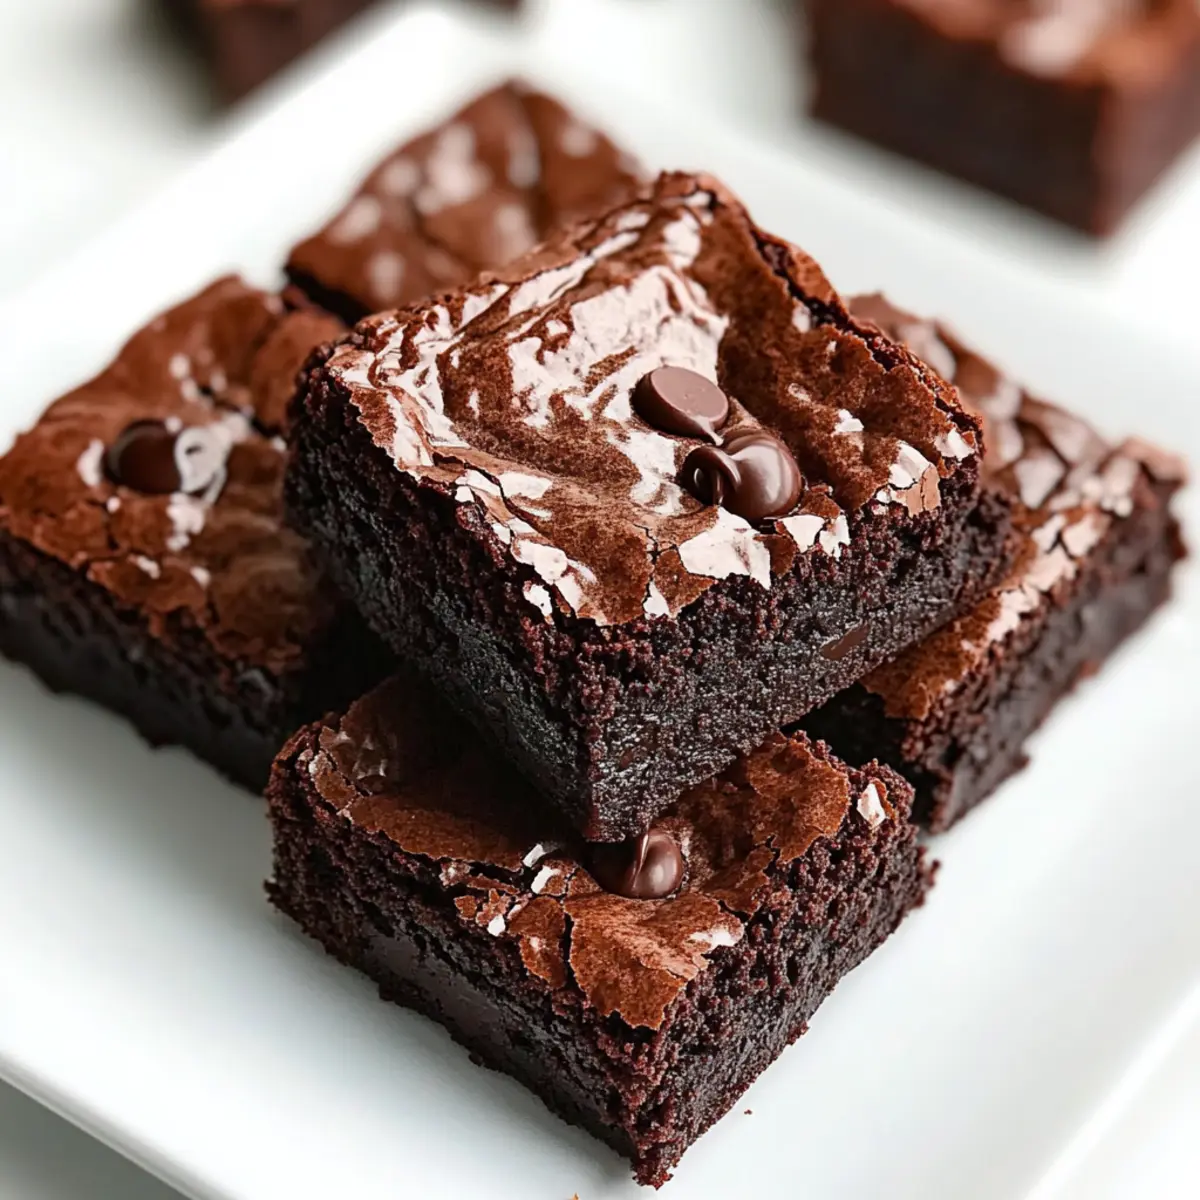
As I stood in my kitchen, a wave of chocolatey nostalgia hit me. The scent of cocoa powder wafted through the air, reminding me of those cozy afternoons spent baking with family. Today, I’m excited to share my Flourless Greek Yogurt Brownies—a recipe that perfectly combines indulgence and health. These brownies are rich, fudgy, and astonishingly light, making them a guilt-free dessert that will satisfy even the most stubborn chocolate cravings. With minimal cleanup and only one bowl needed, they’re ideal for busy days when you want to whip up something delicious without the fuss. Plus, the use of Greek yogurt not only keeps them moist but also adds a protein boost! Curious how such a heavenly dessert can be so wholesome? Let’s dive into this delightful recipe together!
Why Choose Greek Yogurt Brownies?
Decadence Redefined: These Flourless Greek Yogurt Brownies merge guilt-free indulgence with rich chocolate flavor, allowing you to savor every bite without the weight of remorse.
One-Bowl Wonder: Cleanup is a breeze with just one bowl required, making this recipe perfect for those busy days.
Healthy Twist: By incorporating Greek yogurt, you’re not only adding moisture but also a protein boost, keeping the brownies light yet satisfying.
Customization Options: Want a nutty crunch or a vegan version? Feel free to experiment with variations like adding nuts or using maple syrup.
Crowd-Pleasing Treat: These brownies are the ultimate dessert for gatherings or a cozy night in, sure to impress friends and family alike.
Greek Yogurt Brownies Ingredients
For the Batter
- Greek Yogurt – Provides moisture and richness; swap it with dairy-free yogurt for a lactose-free version.
- Eggs – Acts as a binder and helps achieve that fudgy texture; integral for structure without replacements.
- Honey – A natural sweetener that adds flavor and moisture; maple syrup can be a vegan substitute.
- Vanilla Extract – Enhances the flavor profile; try almond extract for a unique twist.
- Unsweetened Cocoa Powder – The star ingredient for chocolate flavor; ensure it’s gluten-free.
- Baking Soda – Provides leavening for a slightly airy texture; essential with no substitutions needed.
- Salt – Balances sweetness and enhances overall flavor.
- Dark Chocolate Chips – Optional for extra richness; dairy-free chips can be used for a vegan version.
Optional Mix-Ins
- Nuts or Seeds – Add for texture and additional nutrition; perfect for that crunchy contrast.
- Espresso Powder – Consider adding for deeper chocolate flavor; it’s a lovely boost to the cocoa notes.
These Greek Yogurt Brownies are a culinary adventure that provides both indulgence and health in every bite!
Step‑by‑Step Instructions for Greek Yogurt Brownies
Step 1: Preheat the Oven
Begin by preheating your oven to 350°F (175°C). This step ensures that the heat is evenly distributed when you bake the brownies. While the oven warms up, line an 8×8 inch baking pan with parchment paper, letting the edges hang over the sides for easy removal later. This will keep the brownies from sticking, making cleanup a breeze!
Step 2: Mix the Wet Ingredients
In a large mixing bowl, whisk together 1 cup of Greek yogurt, 2 eggs, ½ cup of honey, and 1 teaspoon of vanilla extract until the mixture is creamy and well combined. Take a moment to enjoy the sweet aroma that fills the air as you blend these ingredients together. Ensure there are no lumps—this mixture will provide the base for your delicious Greek Yogurt Brownies.
Step 3: Incorporate the Dry Ingredients
Sift in ⅔ cup of unsweetened cocoa powder, ½ teaspoon of baking soda, and a pinch of salt into the wet mixture. Gently fold the dry ingredients into the wet until just combined—be careful not to overmix, as you want your brownies to remain fudgy. You’ll notice the rich chocolate color coming to life as everything comes together.
Step 4: Pour and Spread the Batter
Pour the batter into your prepared baking pan, using a spatula to evenly spread it across the bottom. This ensures that your Flourless Greek Yogurt Brownies bake uniformly. The batter should look thick and luscious, inviting you to taste it!
Step 5: Bake to Perfection
Place the baking pan in the preheated oven and bake for 20–25 minutes. Keep an eye on them towards the end! When a toothpick inserted into the center comes out with a few moist crumbs, your brownies are ready. They should be set around the edges but still soft in the center, achieving that fudgy texture you crave.
Step 6: Cool and Cut
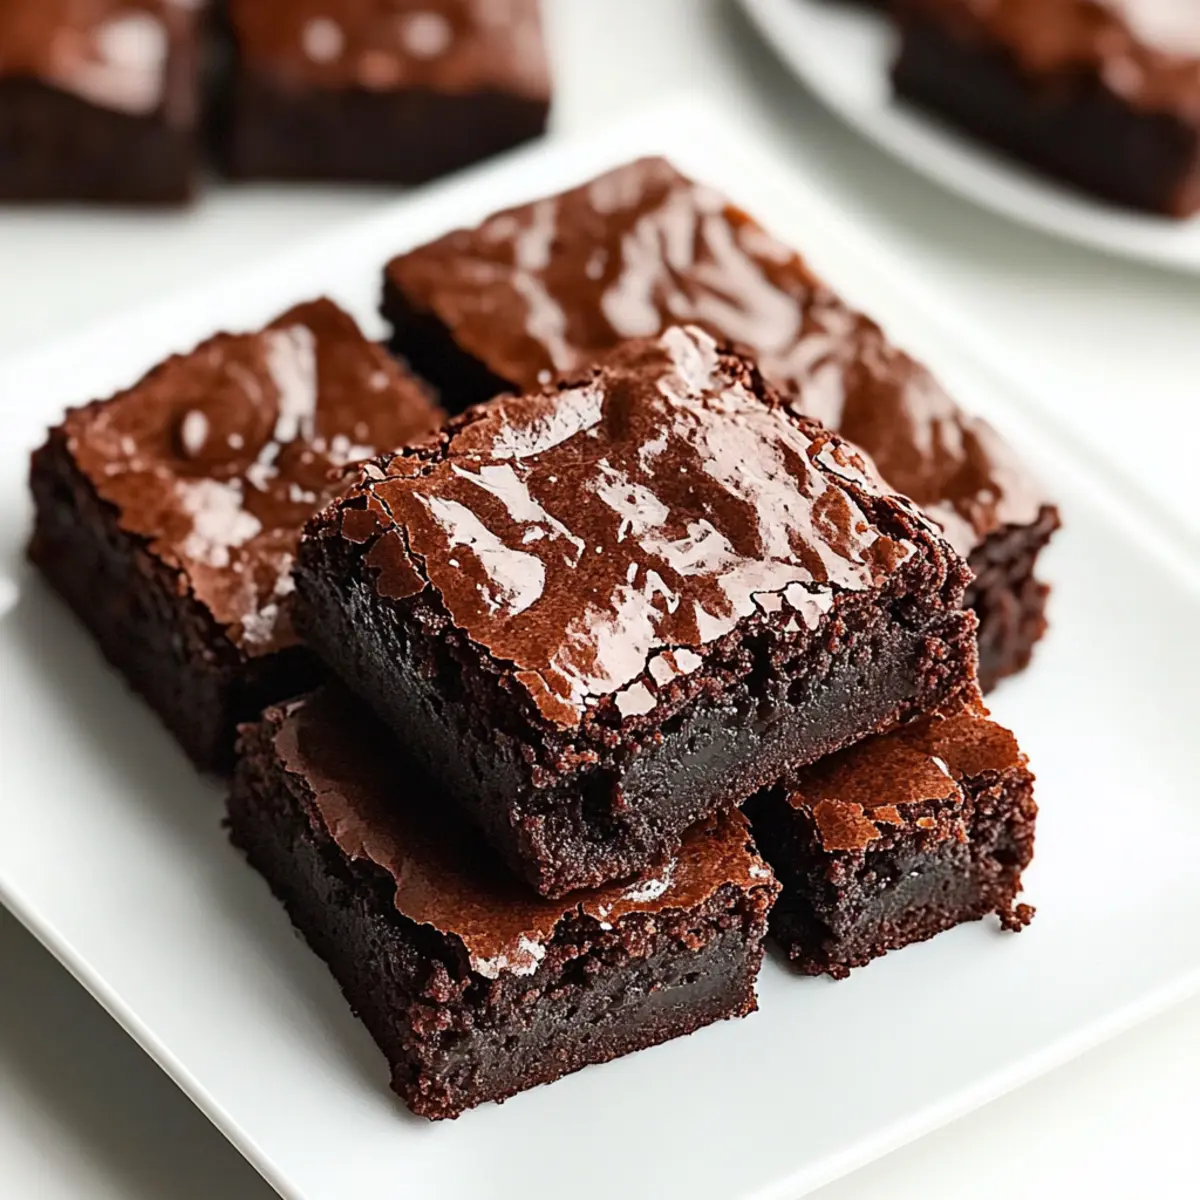
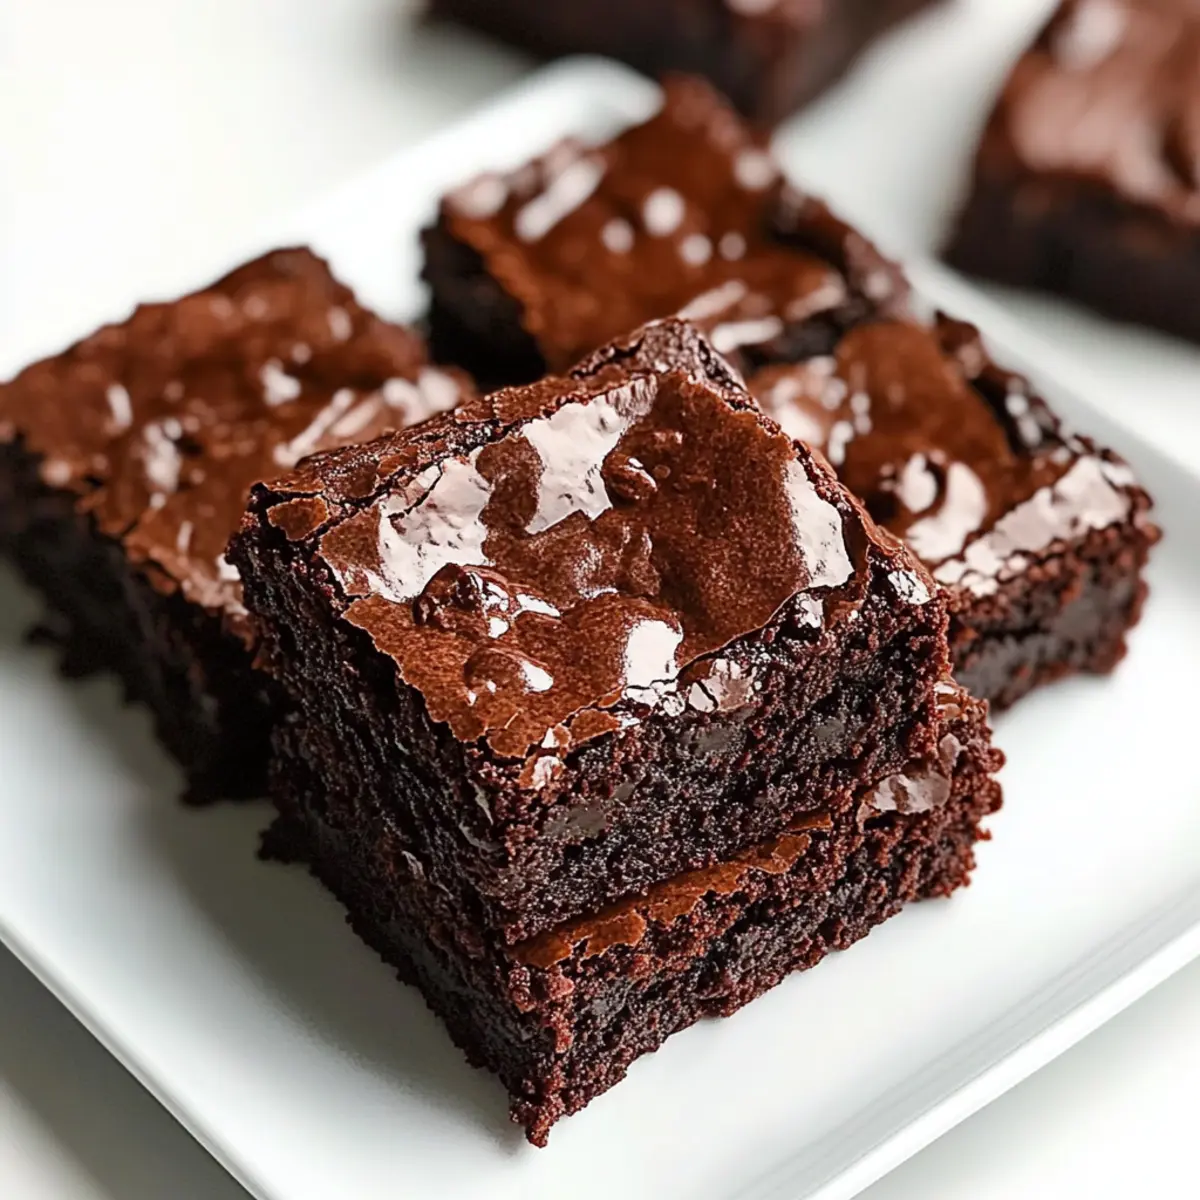
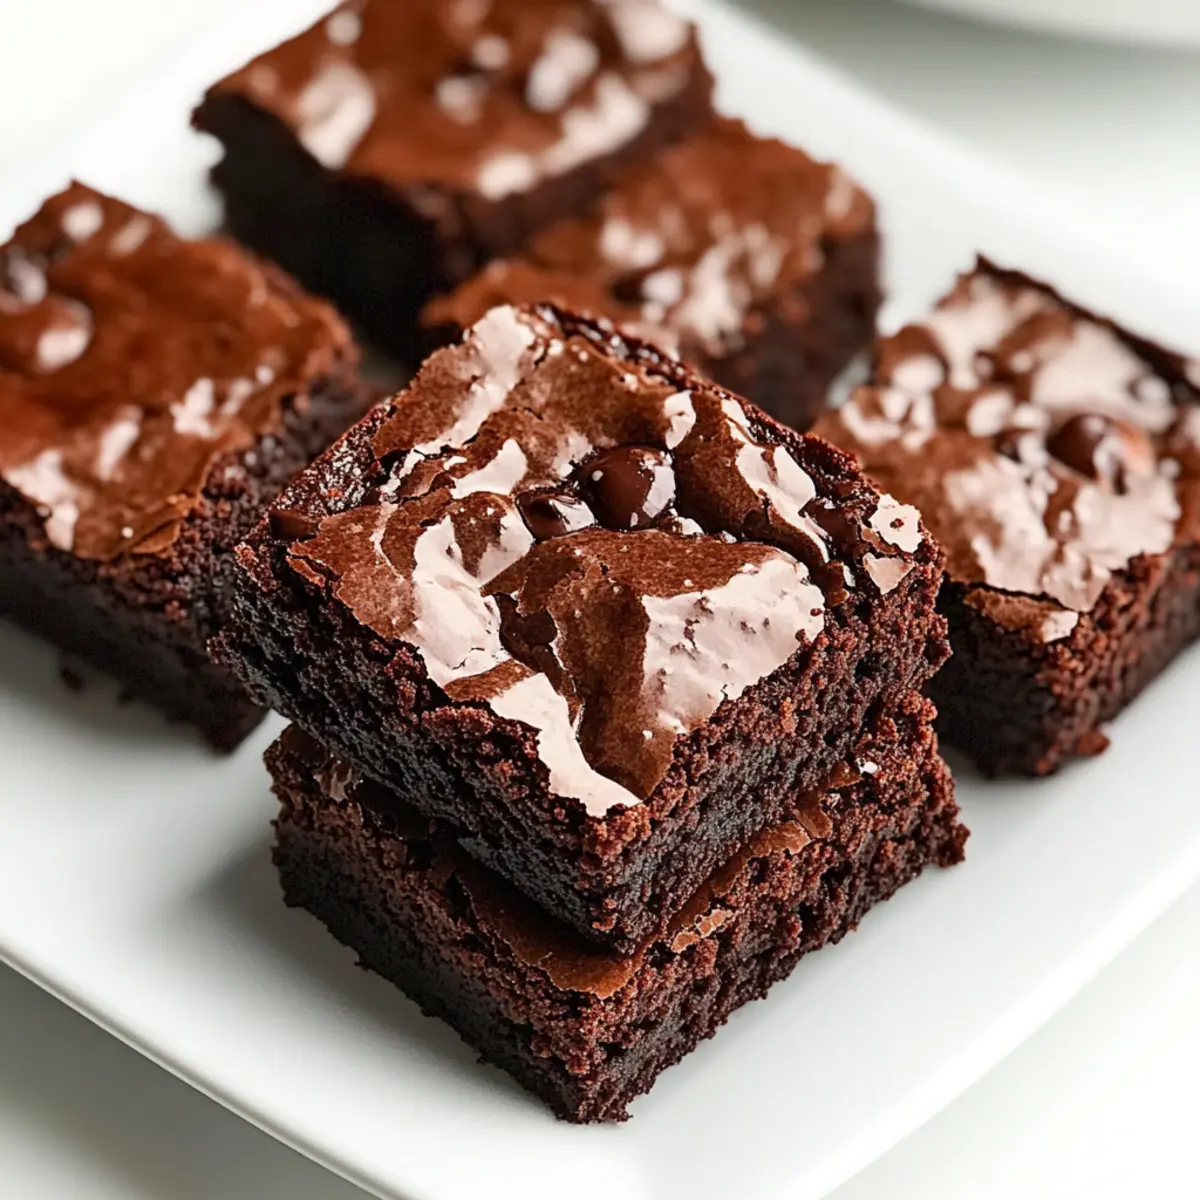
Once baked, remove the brownies from the oven and let them cool completely in the pan. This cooling step is crucial, as it allows the brownies to firm up, making them easier to cut. After about 30 minutes, gently lift them out using the parchment paper and slice into squares, revealing your delightful Greek Yogurt Brownies ready for enjoyment!
Expert Tips for Greek Yogurt Brownies
- Mix with Care: Avoid overmixing the batter to maintain that vital fudgy texture. Just fold until combined.
- Check Ingredients: Always use certified gluten-free cocoa powder and baking soda if you have sensitivities, ensuring safe enjoyment of your Greek Yogurt Brownies.
- Flavor Boost: For a richer chocolate experience, adding a spoonful of espresso powder deepens the flavor profile beautifully.
- Cool Completely: Let the brownies cool in the pan to firm up, making slicing easier and keeping them from crumbling.
- Storage Savvy: These brownies taste even better the next day, so they can be kept in the fridge for up to five days and still deliver a delightful treat!
Make Ahead Options
These Flourless Greek Yogurt Brownies are perfect for meal prep enthusiasts, allowing you to enjoy a delicious, guilt-free treat any day of the week! You can prepare the batter up to 24 hours in advance; simply mix all the wet and dry ingredients as instructed, and store the bowl covered in the refrigerator. To maintain quality, ensure the mixture is well sealed to prevent odor absorption. When you’re ready to bake, pour the chilled batter into the prepared pan and bake as usual. Alternatively, once baked and cooled, the brownies can be refrigerated for up to 5 days or frozen for easy dessert options later. Enjoy a decadent chocolate fix with minimal effort, perfect for busy weeknights!
Greek Yogurt Brownies Variations
Feel free to take these brownies to new heights with delightful twists that cater to your preferences!
-
Nutty Delight: Add a handful of walnuts or pecans to the batter for a satisfying crunch that complements the fudgy texture beautifully.
-
Vegan Option: Substitute honey with maple syrup to create a delicious vegan brownie that still retains its rich flavor while being plant-based.
-
Zesty Twist: Incorporate a teaspoon of orange or peppermint extract for an unexpected flavor boost that elevates the brownies to gourmet status.
-
Dairy-Free Indulgence: Swap dark chocolate chips for dairy-free versions to keep these brownies vegan while still providing that chocolatey goodness you crave.
-
Extra Fudgy: Replace half of the cocoa powder with melted dark chocolate for an ultra-decadent brownie that’s rich and luscious.
-
Spicy Kick: Add a pinch of cayenne pepper to the batter for a surprising and warm finish that adds depth to the chocolate flavor.
-
Fruit Fusion: Mix in mini chocolate chips and a handful of raspberries for a fruity twist that perfectly balances the chocolate richness.
-
Pair with Goodies: Enjoy your brownies warm with a scoop of vanilla frozen yogurt or serve alongside some creamy whipped cream for an indulgent dessert experience. For a delightful and light snack, you might also love pairing them with a side of Strawberry Yogurt Bites.
No matter how you choose to modify, these Greek Yogurt Brownies offer a base that’s both versatile and delicious, ready to cater to all your cravings!
What to Serve with Greek Yogurt Brownies?
Indulging in these rich chocolatey delights is even better when paired with complementary flavors and textures.
-
Vanilla Frozen Yogurt: A scoop of creamy vanilla frozen yogurt perfectly balances the fudginess of the brownies, making each bite an indulgent delight. The coolness contrasts beautifully with the warmth of the brownies.
-
Whipped Cream: A dollop of freshly whipped cream adds a light, airy texture that enhances the rich chocolate flavor, creating a blissful harmony with the brownies.
-
Fresh Berries: Juicy strawberries or raspberries bring a vibrant burst of freshness, cutting through the richness while adding a pop of color to your dessert plate.
-
Espresso or Coffee: A steaming cup of espresso or coffee pairs beautifully, enhancing the chocolate flavor and creating a cozy atmosphere for your dessert.
-
Chocolate Drizzle: A drizzle of melted dark chocolate on top elevates the experience, inviting intense chocolate lovers to savor every decadently sweet bite.
-
Chopped Nuts: Consider sprinkling some toasted walnuts or pecans for an added crunch, offering texture that complements the fudgy interior divine.
With these delightful pairings, your experience with Greek Yogurt Brownies will surely be elevated to heavenly heights!
How to Store and Freeze Greek Yogurt Brownies
Fridge: Store your Greek Yogurt Brownies in an airtight container in the refrigerator for up to 5 days; they often taste even better the next day as the flavors meld.
Freezer: For longer storage, wrap the brownies tightly in parchment paper and place them in a freezer-safe container. They can be frozen for up to 3 months, preserving their delicious flavor.
Thawing: To enjoy, simply thaw the frozen brownies in the refrigerator overnight or leave them at room temperature for a couple of hours until they soften.
Reheating: If you prefer a warm treat, pop them in the microwave for 10-15 seconds for that freshly baked taste!
Greek Yogurt Brownies Recipe FAQs
What type of Greek yogurt should I use for the brownies?
You can use any plain Greek yogurt, either full-fat or low-fat. The choice affects the richness, with full-fat yielding a creamier texture. If you’re lactose intolerant, opt for a dairy-free yogurt alternative. Just ensure it’s thick to maintain the right consistency!
How should I store the Greek Yogurt Brownies?
Store your Greek Yogurt Brownies in an airtight container in the refrigerator for up to 5 days. They actually taste fantastic the next day as the flavors blend. If you prefer to freeze them, wrap each brownie tightly in parchment paper and then place them in a freezer-safe container to preserve their deliciousness for up to 3 months.
Can I freeze Greek Yogurt Brownies? If so, how?
Absolutely! To freeze your Greek Yogurt Brownies, first, allow them to cool completely. Next, wrap each brownie securely in parchment paper, then place them into a freezer-safe container or a zip-top bag to save space. This method helps maintain their fudginess! When you’re ready to enjoy, simply thaw them in the refrigerator overnight or at room temperature for a few hours.
What if my brownies turn out too cakey?
If you find your brownies are more cake-like than fudgey, they may have been overmixed or baked too long. To avoid this, fold your dry ingredients into the wet ones gently until just combined, and be accurate with your bake time, checking for that perfect toothpick test at around 20 minutes.
Are these brownies suitable for individuals with nut allergies?
Yes, these Greek Yogurt Brownies can be made nut-free! Just ensure you don’t add any nuts as mix-ins. Additionally, double-check all your ingredients to ensure they’re free from cross-contamination if nut allergies are a concern. Enjoy peace of mind knowing you can indulge safely!
How can I modify the recipe for dietary restrictions?
For a vegan version, replace the eggs with flax eggs (mix 1 tablespoon of ground flaxseed with 2.5 tablespoons of water for each egg) and use maple syrup instead of honey. Ensure your Greek yogurt is dairy-free as well. Additionally, choosing gluten-free cocoa powder and ensuring no cross-contamination will make these brownies gluten-free friendly.
Grease Your Cravings with Decadent Greek Yogurt Brownies
Ingredients
Equipment
Method
- Preheat your oven to 350°F (175°C) and line an 8x8 inch baking pan with parchment paper.
- In a mixing bowl, whisk together Greek yogurt, eggs, honey, and vanilla extract until creamy and well combined.
- Sift in cocoa powder, baking soda, and salt; gently fold until just combined.
- Pour the batter into the prepared pan, spreading it evenly with a spatula.
- Bake for 20–25 minutes, until a toothpick comes out with a few moist crumbs.
- Let the brownies cool completely in the pan before lifting them out and slicing into squares.
Leave a Reply