
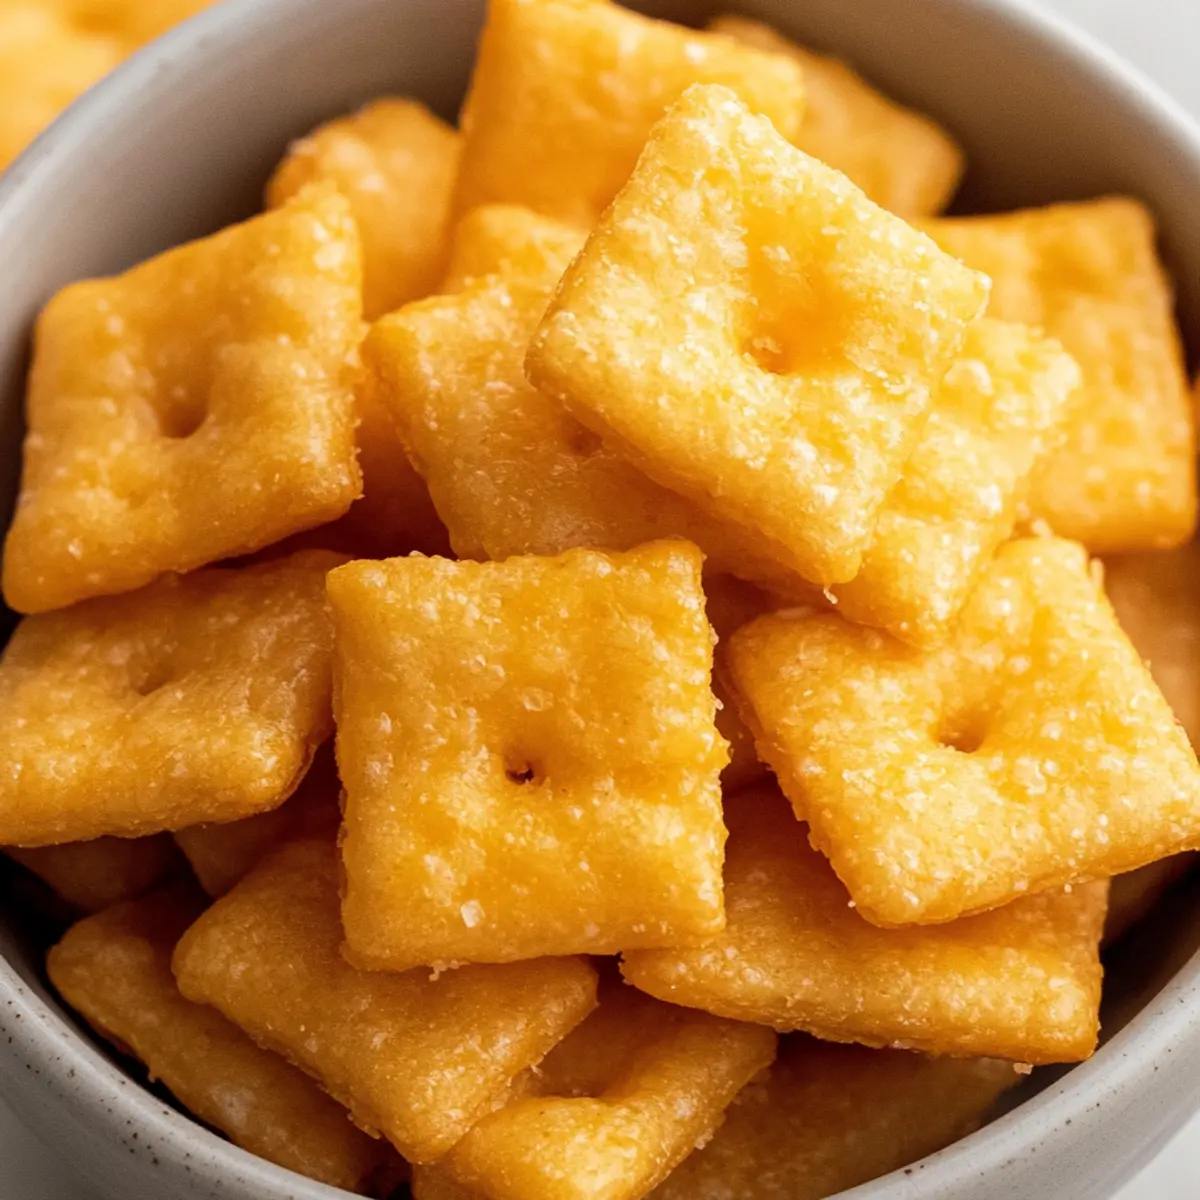
As I stood in my kitchen, a wave of nostalgia washed over me—the simple joys of childhood snacking. Enter these 3-Ingredient Gluten-Free Cheez-Its, the homemade version of a beloved classic that’s ready in under 30 minutes. With just three straightforward ingredients, these crispy treats are the ultimate solution for anyone craving a healthier, preservative-free alternative to those store-bought snacks. They’re not only gluten-free, making them suitable for various diets, but they also deliver a satisfying crunch that’s perfect for sharing with the family or indulging in solo. Curiosity piqued? Let’s dive into this deliciously simple recipe that may just become your new go-to snack!
Why Choose Homemade Gluten-Free Cheez-Its?
Quick and Easy: These bites come together in just 30 minutes, making them perfect for busy days or last-minute cravings.
Three Simple Ingredients: With only three easy-to-find ingredients, you’ll be amazed at how simple snacking can be.
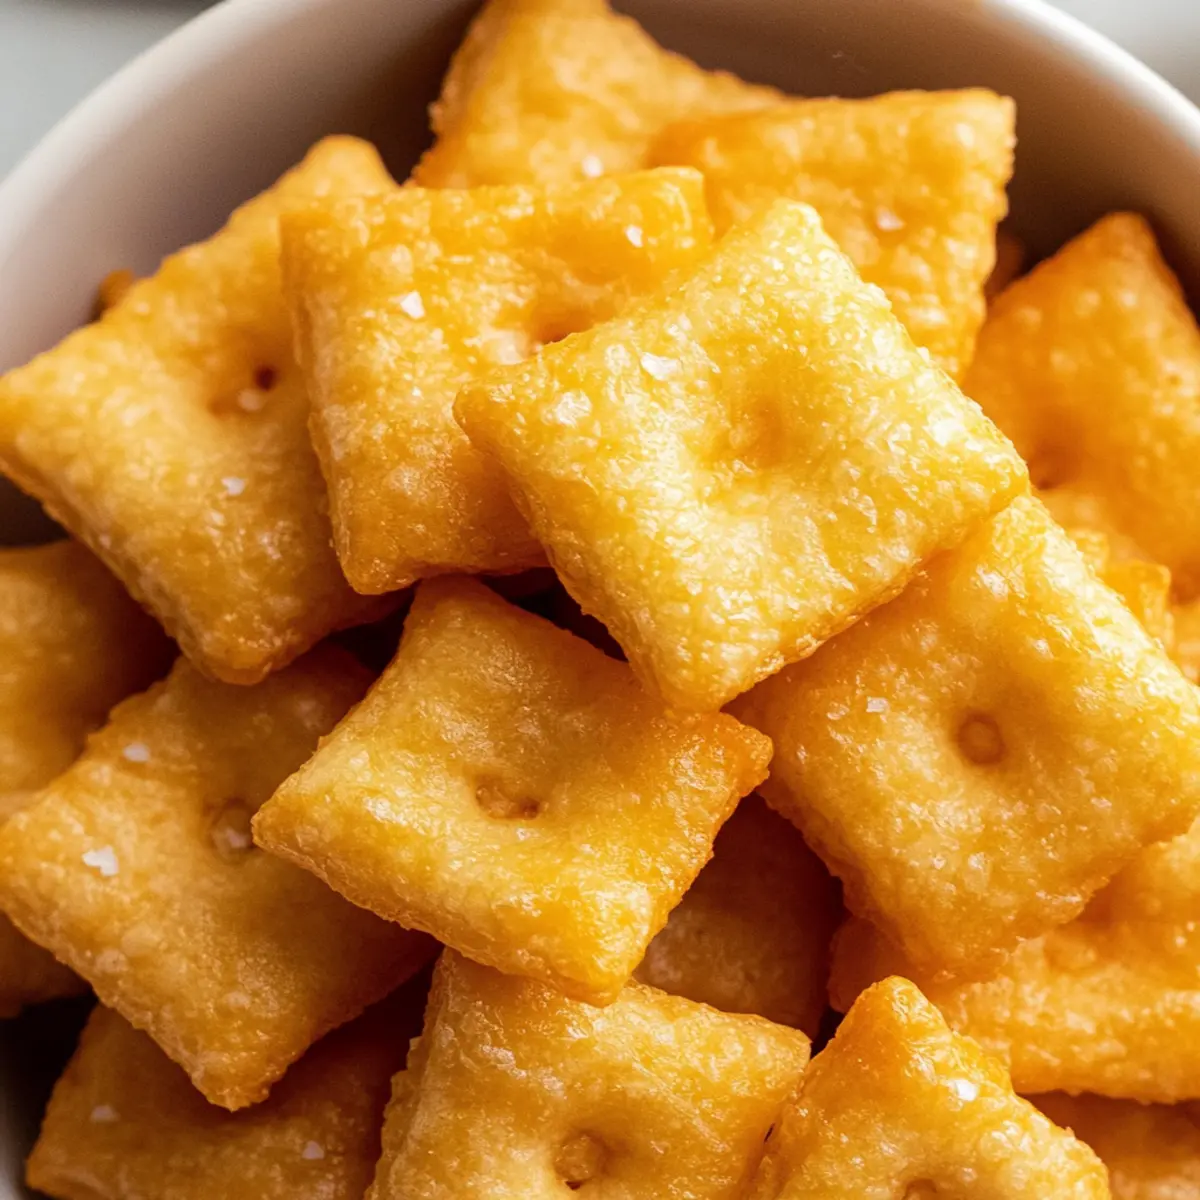
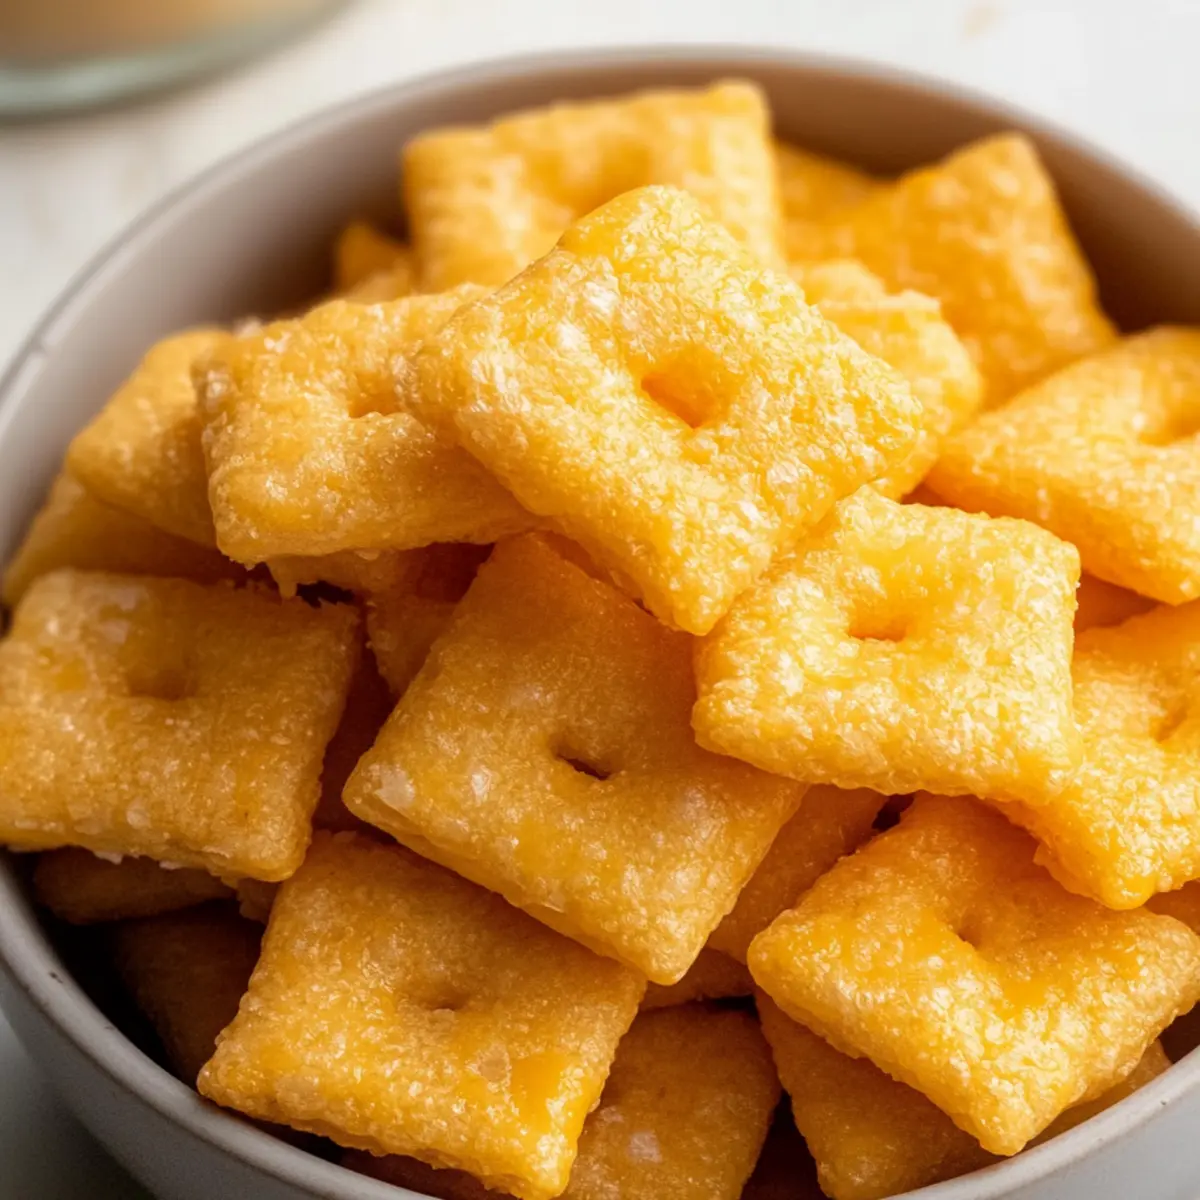
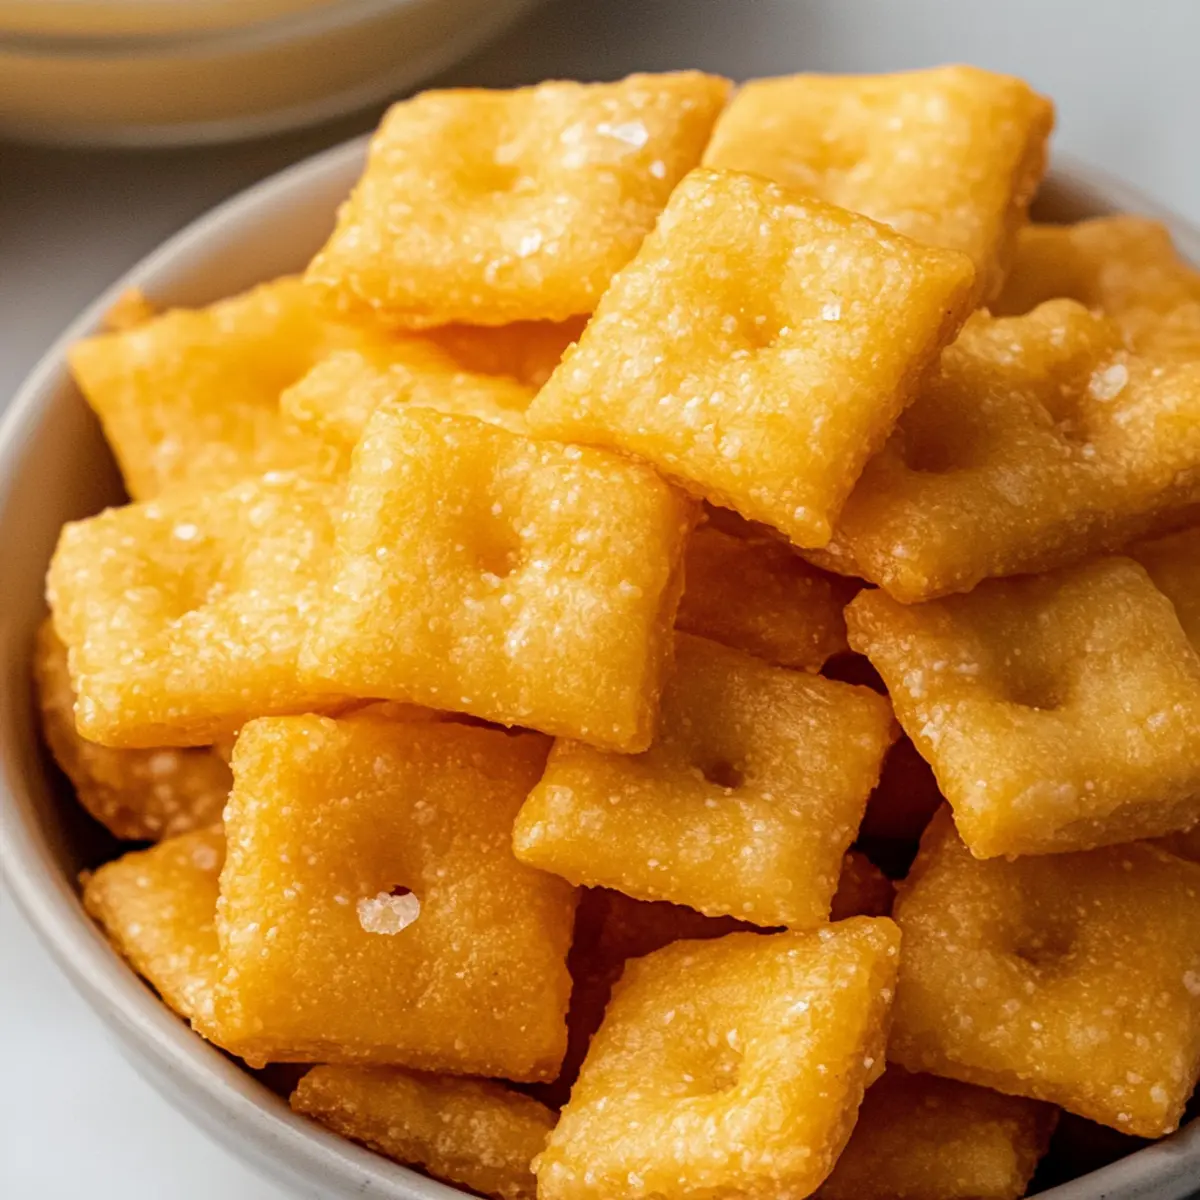
Crunchy Perfection: Enjoy the delightful crispy texture that rivals any store-bought option, giving you that satisfying crunch with every bite.
Versatile Flavor: Feel free to switch out cheeses or even try spices to make your own unique twist.
Healthier Alternative: Say goodbye to preservatives—these homemade gems are a healthier choice everyone in the family will love.
Pair them with your favorite dips, or enjoy them as a standalone snack. If you’re in the mood for more homemade fun, check out my Air Fryer Apple Fries for another quick treat!
Gluten-Free Cheez-Its Ingredients
For the Dough
• Gluten-Free All-Purpose Flour – This gives your Cheez-Its structure; opting for a blend with xanthan gum works wonders for texture.
• Shredded Cheddar Cheese – Imparts that classic cheesy flavor; if you want a vegan version, try using dairy-free cheese, keeping in mind that flavor might vary.
• Cold Butter – Ensures a rich taste and flaky texture; you can substitute with plant-based butter for a dairy-free option.
For Binding
• Cold Water – Aids in binding the dough together; use as needed to achieve the desired texture.
For Flavor
• Salt – Enhances the overall taste; consider sprinkling flaky sea salt on top for an extra kick!
Now you’re ready to embark on your homemade journey for delicious Gluten-Free Cheez-Its that will satisfy your snacking needs!
Step‑by‑Step Instructions for 3-Ingredient Gluten-Free Cheez-Its
Step 1: Preheat Your Oven
Begin by preheating your oven to 350°F (175°C). This will ensure it’s hot and ready for baking your delicious gluten-free Cheez-Its. While the oven warms up, you can gather your ingredients and equipment, such as a food processor and parchment paper, setting the scene for a smooth cooking experience.
Step 2: Combine Ingredients
In your food processor, add the gluten-free all-purpose flour, shredded cheddar cheese, cold butter, and a pinch of salt. Pulse the mixture about 10 times until it resembles coarse breadcrumbs. This step is crucial as it combines the flavors and textures, setting a solid foundation for your Cheez-Its.
Step 3: Form the Dough
Gradually pour 3 tablespoons of cold water into the food processor while pulsing the mixture. Continue to blend until the dough clumps together into a ball—this should take about 15 seconds. If the dough seems too dry, add 1-2 more tablespoons of water until you achieve a slightly sticky and cohesive texture.
Step 4: Roll Out the Dough
Transfer the dough onto a floured surface covered with two sheets of parchment paper. Roll it out to about 1/8-inch thick, ensuring an even thickness for consistent baking. Use a rolling pin to achieve this, making it easy to cut shapes later. The dough should be smooth and ready for cutting!
Step 5: Cut and Prepare Crackers
Once rolled, take a sharp knife or a pizza cutter and cut the dough into 1-inch squares. Poke a small hole in the center of each square using a fork—this will help the crackers bake evenly. For added flavor, sprinkle each square lightly with flaky sea salt before transferring them to a baking sheet.
Step 6: Bake to Perfection
Place the prepared baking sheet in your preheated oven and bake the gluten-free Cheez-Its for 12-15 minutes. Keep an eye on them! They should turn a lovely golden brown, signaling they are ready. The aroma filling your kitchen will signal that deliciousness is just around the corner.
Step 7: Cool and Store
Once baked, remove the Cheez-Its from the oven and let them cool completely on the baking sheet. This cooling time is essential as it helps retain their crunchiness. After cooling, store them in an airtight container at room temperature for up to a week, making them a perfect snack option for any time!
What to Serve with 3-Ingredient Gluten-Free Cheez-Its
These delightful homemade snacks are sure to inspire a full spread of tasty treats that complement their cheesy crunch.
-
Creamy Hummus: This flavorful dip adds a smooth texture and earthy flavor, balancing the Cheez-Its’ crispy crunch.
-
Fresh Veggie Platter: Crisp cucumber, bell peppers, and celery offer a refreshing contrast, making the perfect bite when paired together.
-
Aged Cheddar Slices: Elevate the cheese experience with rich, savory slices of aged cheddar that echo the Cheez-Its’ flavor for a double delight.
-
Guacamole: The creamy avocado dip adds a rich, zesty flavor to your snack platter, inviting everyone to enjoy a delightful crunch with a delightful dip.
-
Zesty Salsa: A tangy, fresh salsa brings a pop of flavor and a bit of heat, perfectly enhancing the simple cheesiness of the Cheez-Its.
-
Sparkling Water or Lemonade: A refreshing drink, bubbly or citrusy, can cleanse the palate and enhance the enjoyment of these savory snacks.
-
Chocolate-Dipped Strawberries: For a sweet finish, these fruity, chocolate treats provide a decadent contrast to the savory flavor of the Cheez-Its, making for a satisfying sweet-and-savory combo.
-
Mini Charcuterie Board: Arrange assorted cheeses, nuts, and dried fruits to create a delightful variety of textures and flavors that pair beautifully with Cheez-Its.
How to Store and Freeze Gluten-Free Cheez-Its
Airtight Container: Store cooled gluten-free Cheez-Its in an airtight container at room temperature for up to 1 week. This keeps them fresh and crispy.
Freezing: To freeze, place the crackers in a single layer on a baking sheet and freeze until solid. Then transfer to a zip-top bag for up to 3 months.
Reheating: For the best crunch, reheat frozen Cheez-Its in a 350°F (175°C) oven for about 5 minutes, letting them crisp back up.
Avoid Humidity: Keep stored crackers in a cool, dry place, away from moisture, to maintain their delightful texture.
Tips for the Best Gluten-Free Cheez-Its
-
Cold Ingredients: Ensure your butter and water are cold for a flaky, crispy texture. Room temperature ingredients can lead to a dense outcome.
-
Proper Flour Blend: Use a gluten-free flour blend that contains xanthan gum, which aids in binding and provides better structure for your Cheez-Its.
-
Pulsing Technique: Don’t over-pulse the dough; stop once it resembles coarse crumbs. Overworking the dough can lead to tough crackers.
-
Consistent Thickness: Roll the dough to about 1/8-inch thickness for even baking. Inconsistent thickness can cause some crackers to be overcooked or undercooked.
-
Baking Watch: Keep a close eye on the crackers while baking. They can go from golden to burnt in just a minute, so check them around the 12-minute mark.
-
Cool Completely: Allow the gluten-free Cheez-Its to cool completely on the baking sheet to maintain their crispy texture before storing.
Make Ahead Options
These 3-Ingredient Gluten-Free Cheez-Its are perfect for meal prep, allowing you to save valuable time during your busy week. You can prepare the dough up to 24 hours in advance; simply keep it wrapped tightly in plastic wrap in the refrigerator. For added convenience, you can even roll out the dough and cut it into squares ahead of time, storing them between parchment paper for up to 3 days. This way, all you need to do is bake them directly from the fridge for 12-15 minutes until golden brown, ensuring they come out just as delicious and crispy as freshly made! Enjoy the satisfaction of a homemade snack ready at a moment’s notice!
Gluten Free Cheez-Its: Variations & Substitutions
Feel free to elevate your homemade Cheez-Its by experimenting with these delightful twists that will tantalize your taste buds!
-
Dairy-Free: Swap shredded cheddar cheese with vegan cheese for a completely dairy-free snack. While the flavor may differ, the joy of snacking remains!
-
Spice It Up: Use pepper jack cheese instead of cheddar for a zesty kick. This will add a layer of heat that pairs wonderfully with your favorite dips.
-
Herb-Infused: Mix dried herbs like rosemary or basil into the dough for an aromatic twist. These flavors can transform your cheesy crackers into gourmet delights.
-
Nutty Flavor: Substitute cold butter with melted coconut oil for a slightly sweet, nutty flavor. The change in fat gives a different texture while still being delightful!
-
Garlic Lovers: Add garlic powder to the dough for an extra savory punch. This can turn your Cheez-Its into a more complex snack option, perfect for gatherings.
-
Cheesy Variations: Play around with different cheese types — gouda, swiss, or even a spicy cheddar could introduce exciting new flavors. Each option will make your Cheez-Its uniquely delicious.
-
Sweet Twist: Consider adding a hint of sweetener to create slightly sweet Cheez-Its that can serve as an interesting counterpart to savory dips.
-
Serving Ideas: Pair your Cheez-Its with guacamole or hummus for a delightful crunch that elevates snack time. If you’re craving another homemade snack, don’t forget to check out my easy recipe for Frozen Grapes—a sweet treat for all ages!
3-Ingredient Gluten-Free Cheez-Its Recipe FAQs
What type of gluten-free flour should I use?
Absolutely! For the best results, choose a gluten-free all-purpose flour blend that includes xanthan gum. This ingredient helps bind the dough and gives your Cheez-Its the structure they need to hold their shape while baking. Brands like Bob’s Red Mill or King Arthur Flour offer excellent options.
How should I store my homemade Cheez-Its?
Very simple! Store your cooled gluten-free Cheez-Its in an airtight container at room temperature for up to 1 week. Keeping the container tightly sealed ensures they stay fresh and crispy. Avoid leaving them out in the open, as exposure to air can make them lose their delightful crunch.
Can I freeze the Cheez-Its?
Certainly! To freeze your homemade Cheez-Its, place them in a single layer on a baking sheet and freeze until solid, which typically takes about 1-2 hours. Once frozen, transfer them to a zip-top bag, removing as much air as possible, and they can be stored for up to 3 months. When you’re ready to enjoy them again, reheat them in a 350°F (175°C) oven for about 5 minutes to restore their crispy texture.
What if my dough seems too dry?
If your dough ends up too dry or crumbly, it’s an easy fix! Gradually add an additional tablespoon of cold water while pulsing in the food processor until the dough starts to clump together. If necessary, you can repeat this process, adding small amounts of water, until you reach the desired dough texture, which should be slightly sticky and cohesive.
Are these Cheez-Its safe for pets or those with allergies?
While these gluten-free Cheez-Its are made with commonly used ingredients, cheese can cause digestive issues in some pets, and those with dairy allergies should replace shredded cheddar cheese with a dairy-free alternative. Always check the ingredients for any specific allergies, and consult your veterinarian if you’re unsure about sharing snacks with your furry friends!
How can I enhance the flavor of my Cheez-Its?
The more the merrier! There are countless ways to add flavor. You can mix in spices like garlic powder or paprika into the dough for an extra kick. Additionally, try sprinkling different types of seasoning blends or herbs on top just before baking to elevate the flavor profile. Experiment until you find your perfect taste!
Crunchy Gluten Free Cheez-Its You Can Make in 30 Minutes
Ingredients
Equipment
Method
- Preheat your oven to 350°F (175°C). Gather your ingredients and equipment.
- In a food processor, combine the flour, cheese, butter, and salt. Pulse until it resembles coarse breadcrumbs.
- Gradually add cold water while pulsing until the dough forms a ball, about 15 seconds.
- Transfer the dough to a floured surface and roll it out to 1/8-inch thick between two sheets of parchment paper.
- Cut the dough into 1-inch squares and poke holes in the center. Sprinkle with salt.
- Bake in the preheated oven for 12-15 minutes until golden brown.
- Let the Cheez-Its cool on the baking sheet before storing.
Leave a Reply