
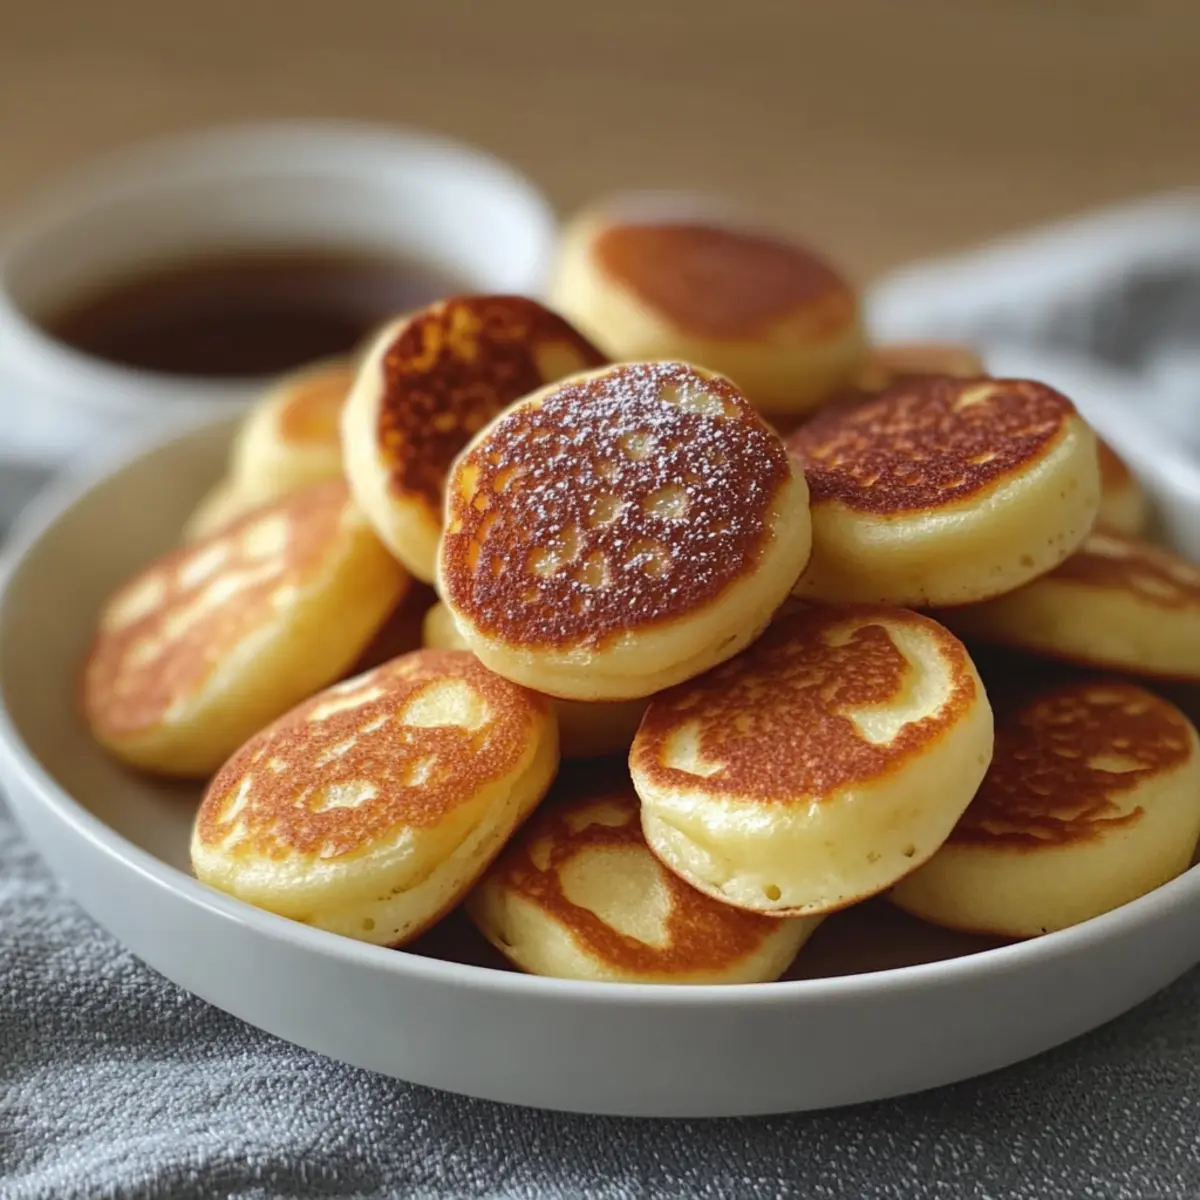
As I stood in my kitchen one morning, the aroma of warm pancakes wafting through the air brought back a wave of fond memories—lazy weekends filled with laughter and syrupy satisfaction. That’s when I thought, why not condense that experience into bite-sized joy? Enter my Breakfast Pancake Poppers! These fluffy little delights combine the traditional pancake flavors we love with the easy-breezy charm of mini muffin baking. They not only come together in under 20 minutes, making them perfect for hectic mornings, but they’re also veggie-friendly and easily adapted for gluten-free diets. Whether you’re preparing for a brunch with friends or a quick breakfast on the go, these poppers are sure to brighten your day. Curious to see how to whip up these tasty morsels? Let’s dive in!
What makes these poppers irresistible?
**Dynamic **Serving your breakfast with style is easy! These Breakfast Pancake Poppers bring a delightful twist to your morning routine.
**Quick **Ready in just 20 minutes, they’re perfect for busy schedules—no more fast food!
**Gluten-Free **Enjoy a gluten-free option that doesn’t compromise on flavor, ensuring everyone can indulge.
**Versatile **Customize them with chocolate chips or fruit for endless flavor combinations!
**Guilt-Free **At approximately 50 calories per popper, you can savor these treats without the guilt. Check out my Cinnamon Roll Ups for more quick and tasty breakfast ideas!
Breakfast Pancake Poppers Ingredients
• Perfect for busy mornings!
- For the Batter
- Flour – Provides structure and base. Substitution: Can use a 1:1 gluten-free flour blend.
- Sugar – Adds sweetness to balance flavors. Substitution: Use maple syrup or honey for a natural sweetener.
- Baking Powder – Leavens the batter for fluffiness. Note: Ensure it’s fresh for proper rise.
- Salt – Enhances overall flavor. Tip: A small quantity boosts sweetness perception.
- Milk – Hydrates the batter and adds richness. Substitution: Almond or oat milk for dairy-free option.
- Egg – Binds ingredients and adds moisture. Note: For egg-free version, use flaxseed gel or applesauce.
- Melted Butter – Adds flavor and tenderness. Substitution: Can replace with coconut oil for a dairy-free option.
- Vanilla Extract – Adds warmth and rich flavor. Note: Use pure extract for best results.
Step‑by‑Step Instructions for Breakfast Pancake Poppers
Step 1: Preheat and Prepare
Begin by preheating your oven to 375°F (190°C). While the oven heats up, grease a mini muffin tin with cooking spray or melted butter to prevent sticking. This small but essential step ensures your Breakfast Pancake Poppers come out perfectly golden and easy to pop out once baked.
Step 2: Mix Dry Ingredients
In a large mixing bowl, combine the flour, sugar, baking powder, and salt. Whisk the dry ingredients together until they are well blended, which should take about a minute. This mixture creates the base for your fluffy pancake poppers, so ensure there are no clumps of baking powder for a uniform rise.
Step 3: Whisk Wet Ingredients
In another bowl, whisk together the milk, egg, melted butter, and vanilla extract until smooth. This step should take approximately 1-2 minutes and should result in a creamy mixture without any lumps. The wet ingredients add moisture and flavor to your Breakfast Pancake Poppers, making them rich and satisfying.
Step 4: Combine Mixtures
Gradually pour the wet ingredients into the dry ingredients, stirring gently until just combined. Aim for a few lumps in the batter; this will keep the poppers light and fluffy. Take care not to overmix, as this can make the texture dense instead of airy—about 30 seconds should suffice.
Step 5: Fill Muffin Tin
Using a spoon or a small ice cream scoop, fill each muffin cup with the batter, stopping when they’re about two-thirds full. This should take around 5 minutes. It’s crucial to leave space for the poppers to rise while baking, creating that delightful golden exterior we all love.
Step 6: Bake to Perfection
Place the muffin tin in the preheated oven and bake for 10-12 minutes, or until the poppers are golden brown and a toothpick inserted into the center comes out clean. Keep an eye on them as they bake; you want that perfect, fluffy texture for your Breakfast Pancake Poppers.
Step 7: Cool and Serve
Once baked, remove the tin from the oven and allow the poppers to cool in the tray for about 5 minutes. This helps them set and makes them easier to remove. Serve warm, perhaps drizzled with syrup or sprinkled with powdered sugar, to enhance the delightful experience of your homemade Breakfast Pancake Poppers.
Expert Tips for Breakfast Pancake Poppers
-
Mix Gently: To avoid dense poppers, mix the batter gently until just combined. Overmixing results in a tough texture rather than the fluffy bite we’re aiming for!
-
Perfectly Popped: Fill your muffin tin only two-thirds full to allow room for rising. This guarantees the poppers won’t overflow while baking, achieving that perfect domed shape.
-
Flavor Boost: Enhance your Breakfast Pancake Poppers by adding mini chocolate chips, blueberries, or even spices like cinnamon directly into the batter before baking for a flavorful twist.
-
Optimal Baking Time: Keep an eye on the poppers while baking! Start checking around the 10-minute mark, as ovens vary and you want them perfectly golden without being overbaked.
-
Storage Tips: Store extra poppers in an airtight container for up to three days, or freeze them for a convenient, quick breakfast option. Just reheat for 15 seconds in the microwave for a fresh taste!
Breakfast Pancake Poppers Variations
Customize your Breakfast Pancake Poppers to delight your taste buds with exciting twists and substitutions!
- Gluten-Free: Substitute regular flour with a 1:1 gluten-free flour blend for a delicious option that everyone can enjoy.
- Dairy-Free: Swap the regular milk with almond or oat milk for a creamy texture without dairy ingredients.
- Egg-Free: Use flaxseed gel or unsweetened applesauce in place of eggs to create a moist, egg-free version for your loved ones.
- Natural Sweetener: Replace sugar with maple syrup or honey for a naturally sweetened treat that adds a comforting flavor.
- Flavor Boost: Stir in mini chocolate chips or blueberries before baking for a burst of sweetness and freshness in every bite.
- Cinnamon Twist: Add a teaspoon of ground cinnamon or a sprinkle of nutmeg to the batter to infuse warmth and spice with each mouthful.
- Crunchy Topping: Sprinkle toasted nuts or granola on top before baking for a delightful texture that contrasts beautifully with the soft poppers.
- Savory Option: Mix in crumbled feta cheese and chopped fresh herbs for a savory twist that makes for an exquisite brunch dish.
Feel free to explore exciting combinations and balance flavors just as I do with my delicious Breakfast Pancake Poppers or try a cozy recipe like Cinnamon Roll Ups. Your morning just became a canvas for culinary creativity!
How to Store and Freeze Breakfast Pancake Poppers
Airtight Container: Keep your Breakfast Pancake Poppers in an airtight container at room temperature for up to 3 days to maintain their fluffy texture and delightful taste.
Refrigeration: If you wish to extend their freshness, store the poppers in the fridge for up to a week. Just remember to reheat for 15 seconds in the microwave for a warm delight.
Freezing: For longer storage, freeze the poppers in a zipped bag for up to one month. They are still delicious after thawing and reheating.
Reheating: When ready to enjoy, microwave each popper for 15-20 seconds until warm, preserving their fluffy goodness for a satisfying breakfast!
Make Ahead Options
These Breakfast Pancake Poppers are a dream for meal prep enthusiasts! You can prepare the batter up to 24 hours in advance by mixing the dry ingredients and storing them separately in an airtight container. The wet ingredients can also be whisked together and refrigerated overnight. When you’re ready to enjoy them, simply combine the wet and dry ingredients and bake as directed. For longer storage, you can freeze the baked poppers in a zipped bag for up to one month. To maintain their delightful texture, reheat them directly in the microwave for about 15 seconds before serving. This way, you’ll have fluffy, homemade Breakfast Pancake Poppers ready to brighten any morning with minimal fuss!
What to Serve with Breakfast Pancake Poppers
Start your day bright with these delightful bites alongside the perfect accompaniments that elevate your breakfast experience.
- Fresh Fruit Salad: A medley of seasonal fruits adds vibrant colors and natural sweetness, balancing the fluffiness of the poppers.
- Crispy Bacon: The salty, crunchy texture of crispy bacon contrasts beautifully with the soft pancake poppers, creating a satisfying bite.
- Maple Syrup Dip: Serve warm syrup on the side for dipping, enhancing the sweetness while keeping breakfast fun and interactive.
- Creamy Greek Yogurt: A dollop of yogurt adds a refreshing creaminess, making an excellent match for the fluffy texture of the poppers.
- Savory Egg Muffins: Pairing with egg muffins is a wonderful way to introduce protein into your meal, creating a well-rounded breakfast.
- Coffee or Herbal Tea: A warm beverage helps to balance out the sweetness of the dish, creating the perfect cozy morning atmosphere.
- Lightly Spiced Chai: The aromatic spices of chai tea complement the vanilla flavor in your pancake poppers, making every bite more delightful.
- Whipped Cream Topping: A splurge of whipped cream brings indulgence and pairs beautifully for a special breakfast treat to please everyone.
Breakfast Pancake Poppers Recipe FAQs
What type of flour should I use for the poppers?
Absolutely! For a light and fluffy texture, all-purpose flour works beautifully. If you’re looking for a gluten-free option, use a 1:1 gluten-free flour blend. This substitution holds up well, ensuring that everyone can enjoy the delicious taste of these mini pancakes!
How should I store leftover pancake poppers?
To keep your Breakfast Pancake Poppers fresh, store them in an airtight container at room temperature for up to 3 days. If you want to extend their shelf-life, they can also be refrigerated for up to a week. Just ensure they’re properly sealed to prevent drying out!
Can I freeze pancake poppers, and how should I do it?
Absolutely! To freeze your Breakfast Pancake Poppers, place them in a zipped bag or airtight container, and they will stay fresh for up to 3 months. Make sure to let them cool completely before freezing to avoid moisture build-up. When you’re ready to enjoy them, simply reheat in the microwave for 15-20 seconds for a homemade taste!
What should I do if my poppers come out dense?
Very! If your poppers turn out dense, it’s most likely due to overmixing the batter. To achieve that delightful fluffy texture, make sure to mix until just combined! Also, check that your baking powder is fresh to ensure proper leavening. Aim for a few lumps in the batter for the best final result.
Can I make these nut-free or dairy-free?
Yes, indeed! For a nut-free option, use regular dairy milk or oat milk instead of almond milk. If you’re looking for a completely dairy-free alternative, almond or oat milk works well, and you can substitute melted butter with coconut oil. These adjustments allow everyone to enjoy the goodness of these poppers!
Are pancake poppers safe for kids?
The more the merrier! These Breakfast Pancake Poppers make a great, kid-friendly treat. They’re light and delicious, perfect for little fingers to dip. Just be cautious with any mix-ins like chocolate chips or nuts, based on your child’s dietary needs or any allergies they may have.
Delicious Breakfast Pancake Poppers for Effortless Mornings
Ingredients
Equipment
Method
- Preheat your oven to 375°F (190°C) and grease a mini muffin tin.
- In a large mixing bowl, combine flour, sugar, baking powder, and salt.
- In another bowl, whisk together the milk, egg, melted butter, and vanilla extract.
- Gradually pour the wet ingredients into the dry ingredients, stirring gently until just combined.
- Fill each muffin cup with the batter, stopping when they're about two-thirds full.
- Bake for 10-12 minutes, or until the poppers are golden brown and a toothpick comes out clean.
- Remove from the oven and allow to cool in the tray for about 5 minutes before serving.
Leave a Reply