
The aroma of freshly baked bread has an uncanny ability to transport me back to my grandmother’s kitchen, where warm rolls would rise alongside hearty soups. Today, I’m thrilled to share my version of that beloved comfort food—Garlicky Keto Rolls. These fluffy, cheesy low-carb delights offer the perfect sidekick to any meal, ensuring you can savor all the satisfying flavors without the guilt of traditional bread. Whipping them up is a breeze, making them a go-to for busy evenings or special gatherings. Imagine serving these golden beauties, brushed with delicious garlic topping, to family and friends, all while staying true to your keto lifestyle. Are you ready to elevate your dining experience with these irresistible rolls?

Why Are These Keto Garlic Rolls Perfect?
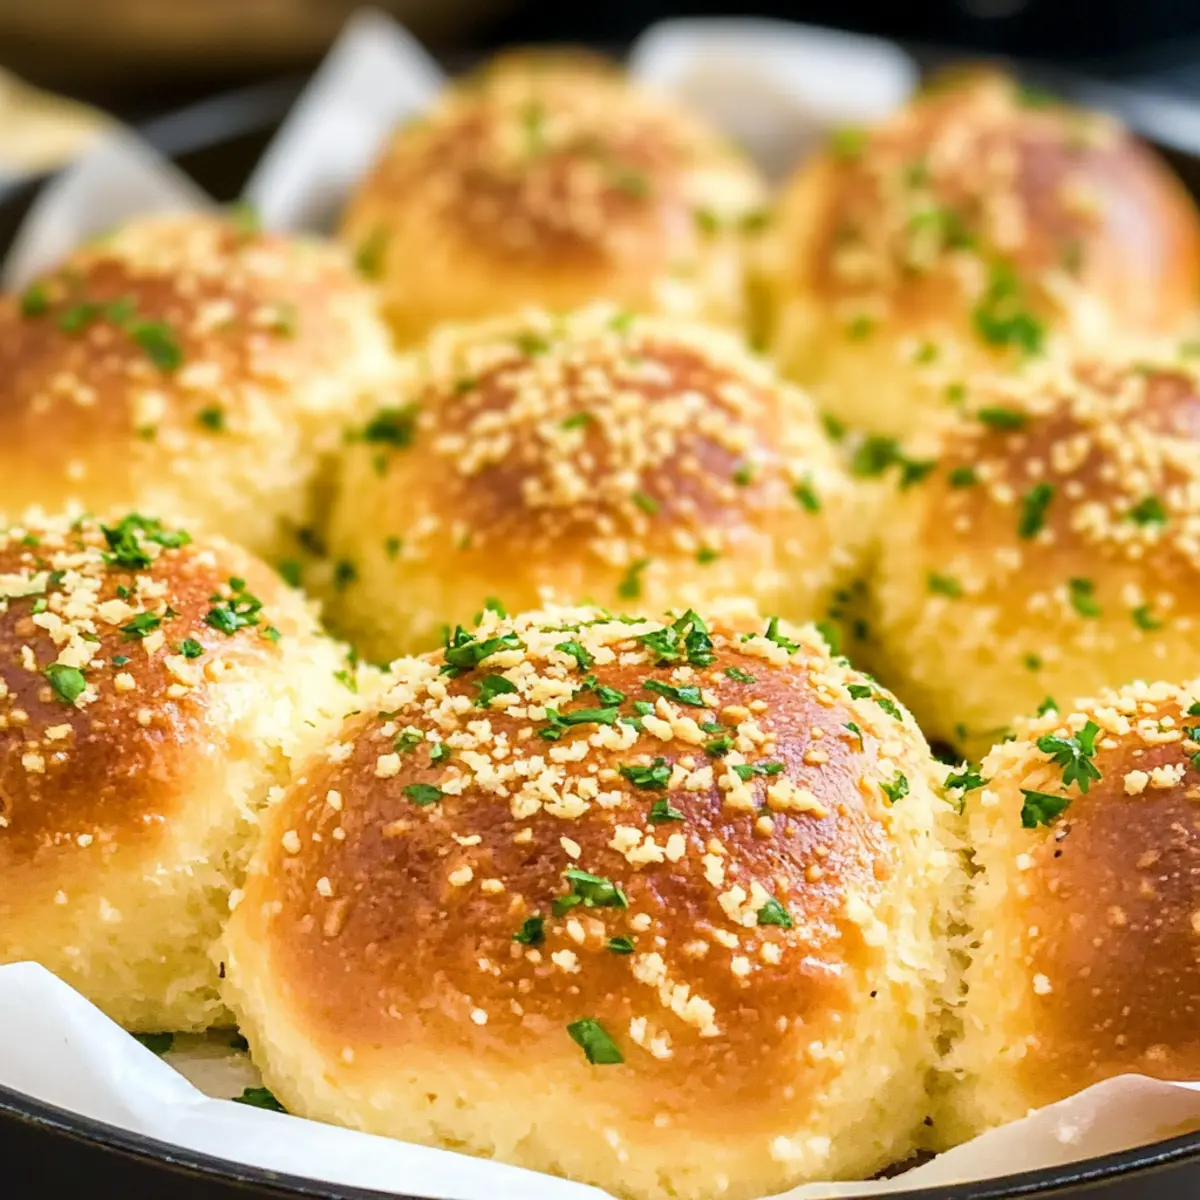
Fluffy Texture: The combination of mozzarella and cream cheese creates a light and airy roll that will make you forget all about traditional bread.
Bold Flavor: Enhanced with garlic powder and a savory topping, each roll bursts with flavor, making them a delightful addition to any meal.
Quick & Easy: With simple ingredients and straightforward steps, these rolls come together in no time—perfect for a busy weeknight!
Versatile Pairing: Serve them alongside keto pasta, hearty soups, or even salads for a satisfying side that fits seamlessly into your favorite dishes, much like Vegetable Egg Rolls or Orange Sweet Rolls.
Guilt-Free Indulgence: Packed with only 4g of net carbs each, these rolls allow you to enjoy comfort food without compromising your diet.
Elevate your meals with these Garlicky Keto Rolls that promise to please even the pickiest eaters!
Garlicky Keto Roll Ingredients
• For the Dough
- Mozzarella cheese – Provides chewiness and structure; use part skim low moisture for best results.
- Cream cheese – Adds moisture and richness; can be replaced with other soft cheeses if needed.
- Almond flour – Main dry ingredient for structure; super fine almond flour is recommended for best texture.
- Coconut flour – Adds lightness and helps bind the ingredients; precise measurement is key to avoid texture issues.
- Baking powder – Provides leavening for the rolls; choose aluminum-free to keep flavors pure.
- Garlic powder – Enhances the overall flavor; fresh garlic can substitute but may change texture.
- Eggs – Acts as a binding agent and adds moisture; experiment with replacements for a vegan option if desired.
• For Topping
- Parmesan cheese – Adds a delicious flavor when rolling the dough balls; use freshly grated for best results.
- Garlic (minced) – Infuses the topping with a fresh garlic flavor and aroma; feel free to adjust to taste.
- Olive oil & butter – Provides richness and helps the topping stick; can substitute with plant-based oils for a dairy-free option.
- Parsley – Adds a burst of freshness for garnish; optional but enhances the presentation.
With these Garlicky Keto Roll ingredients, you’re just moments away from a delightful low-carb treat that will elevate your meal experience!
Step‑by‑Step Instructions for Garlicky Keto Rolls
Step 1: Preheat the Oven and Prepare the Pan
Begin by preheating your oven to 350°F (175°C). While the oven is heating, line an 8-inch round baking pan with parchment paper, ensuring the parchment fits snugly to prevent the rolls from sticking. This will create a lovely golden crust for your Garlicky Keto Rolls as they bake.
Step 2: Mix Dry Ingredients
In a spacious mixing bowl, combine the almond flour, coconut flour, garlic powder, and baking powder. Whisk these dry ingredients together until they are well blended and free of lumps. This creates a uniform base that will help your Garlicky Keto Rolls achieve the perfect texture.
Step 3: Melt the Cheeses
Take a microwave-safe bowl and add the mozzarella and cream cheese. Microwave on high for 30 seconds, then stir. Repeat this process until the cheeses are melted and have reached a smooth, gooey consistency. This melted cheese mixture will give your rolls that delightful stretchy texture that makes Garlicky Keto Rolls so inviting!
Step 4: Combine Ingredients in Food Processor
Once the cheeses are melted, transfer the mixture into a food processor. Add the beaten eggs and the dry flour mixture. Pulse the ingredients until they are fully combined and form a sticky dough. This ensures that all flavors meld together beautifully, making your Garlicky Keto Rolls irresistibly delicious.
Step 5: Knead the Dough
Turn the sticky dough onto a clean surface and wrap it in plastic wrap. Knead it gently for a few minutes until it becomes smooth and pliable. This step helps develop gluten-like properties, vital for the structure of your Garlicky Keto Rolls, giving them that fluffy quality we all adore.
Step 6: Shape the Rolls
Divide the dough into 8 equal portions and roll each piece into a ball, ensuring they are uniform in size. This will promote even baking. You might want to flour your hands slightly to prevent sticking. Place them spaced apart on the prepared baking pan so they have room to rise and expand.
Step 7: Coat the Rolls in Parmesan
On a separate plate, pour out the grated Parmesan cheese. Take each dough ball and roll it in the cheese, coating it on all sides. This will add a savory flavor and a lovely texture to your Garlicky Keto Rolls as they bake, forming a crispy, cheesy crust.
Step 8: Bake the Rolls
Place the baking pan in your preheated oven and bake for 25-30 minutes. Keep an eye on them as they bake—look for a golden-brown color and a puffy appearance. This visual cue indicates that your Garlicky Keto Rolls are perfectly cooked and ready to be whisked away!
Step 9: Prepare the Garlic Topping
While the rolls are baking, make the garlic topping by simmering minced garlic, olive oil, and butter in a small saucepan over low heat. Stir in chopped parsley just before removing it from heat. This fragrant mixture will elevate your Garlicky Keto Rolls to a whole new level of flavor!
Step 10: Brush the Topping
Once the rolls are done baking, remove them from the oven and immediately brush the warm garlic topping generously over each roll. The heat from the rolls will help absorb the delicious garlic-butter goodness, ensuring that every bite is filled with flavor and richness.
Step 11: Serve and Enjoy
Let the Garlicky Keto Rolls cool slightly before serving. These delightful rolls are best enjoyed warm, allowing you to experience their fluffy, cheesy interior. Pair them with your favorite keto dishes and watch your family and friends delight in each savory bite!
Storage Tips for Garlicky Keto Rolls
Fridge: Store your Garlicky Keto Rolls in an airtight container for up to 3 days. They will maintain their delicious flavor and texture when properly sealed.
Freezer: For longer storage, freeze the rolls in a single layer on a baking sheet. Once frozen, transfer to a freezer-safe bag for up to 1 month.
Reheating: Reheat in the oven at 350°F (175°C) for about 10-15 minutes, allowing them to regain their pillowy texture. Microwave reheating can make them chewy, so the oven is recommended.
Serving: Brush with additional garlic topping post-reheating for an extra burst of flavor and warmth!
What to Serve with Garlicky Keto Rolls
Imagine the warm scent of freshly baked bread filling your home, inviting everyone to gather around the table for a satisfying meal.
-
Hearty Keto Soup: A creamy mushroom or tomato soup complements the fluffy texture of the rolls, providing a balanced bite.
-
Zesty Salad: A crisp, lemon-dressed arugula salad adds freshness and acidity, enhancing the savory flavors of the rolls.
-
Keto Pasta: Serve alongside a rich Alfredo or marinara sauce to make every bite of pasta with melted rolls an indulgent experience.
-
Oven-Roasted Vegetables: Roasted Brussels sprouts or zucchini add a crunchy contrast, bringing a burst of color and flavor to your plate.
-
Stuffed Chicken Breast: Pair the rolls with juicy, herb-stuffed chicken for a satisfying, well-rounded meal that delights the senses.
-
Sparkling Water: A refreshing drink choice that cleanses the palate between bites, balancing out the richness of the rolls with a crisp, bubbly note.
Elevate your dining experience by serving these delightful Garlicky Keto Rolls alongside these perfectly complementary dishes!
Make Ahead Options
These Garlicky Keto Rolls are perfect for meal prep enthusiasts! You can prepare the dough up to 24 hours in advance by following all the steps until shaping the rolls (steps 1-6). Once shaped, store them in an airtight container in the refrigerator. When you’re ready to enjoy, simply roll them in Parmesan cheese (step 7), bake at 350°F for 25-30 minutes, and brush with garlic topping for that fresh flavor. For longer storage, freeze the unbaked dough balls for up to 3 months—when the craving strikes, just bake from frozen, adding a few extra minutes to the cooking time. With these make-ahead tips, you can savor delicious low-carb goodness with minimal effort!
Garlicky Keto Rolls Variations & Substitutions
Feel free to make these Garlicky Keto Rolls uniquely yours with these delicious and creative variations!
-
Dairy-Free: Substitute cream cheese and mozzarella with vegan cheese alternatives for a completely dairy-free version. The flavors will still shine through while adhering to your dietary preferences.
-
Herb-Infused: Incorporate fresh or dried herbs like oregano, thyme, or rosemary into the dough for a fragrant twist. These additions can elevate the flavor profile, making each bite sing with nature’s bounty.
-
Add Some Spice: Toss in a pinch of red pepper flakes or chopped jalapeños into the dough for a delightful heat. It’ll add a zing that complements the garlicky goodness beautifully.
-
Cheese Lovers: Can’t get enough cheese? Experiment with different cheeses like cheddar or pepper jack for added flavor. Just make sure to adjust the texture with your liquid ingredients as needed.
-
Garlic Lovers: If you adore garlic, increase the amount of minced garlic in the topping for a bolder flavor. Just be prepared for an irresistible aroma wafting through your kitchen!
-
Nut-Free: Use sunflower seed flour as a substitute for almond flour to create a nut-free version. This way, more people can enjoy these fluffy delights without worry.
-
Individual Rolls: Instead of making them in one big batch, space out the dough balls on the tray or use muffin tins for cute individual rolls that make for perfect portion control!
-
Sweeter Roll: Add a touch of sweetener like erythritol to the dough for a subtly sweeter roll that can pair wonderfully with your favorite savory dishes or hearty soups.
These variations not only allow you to personalize your Garlicky Keto Rolls but also add a world of flavors that will keep your meals exciting. Whether you’re having them with creamy soups or as a stand-alone snack, these rolls are sure to impress family and friends!
Expert Tips for Garlicky Keto Rolls
-
Cheese Care: Ensure that the cream cheese is fully submerged under mozzarella when microwaving to prevent scorching, which preserves the creamy texture of your Garlicky Keto Rolls.
-
Use a Food Processor: Mixing the dough in a food processor creates a uniform texture and minimizes mess. If you’re mixing by hand, be prepared for a longer process.
-
Watch the Bake Time: Keep an eye on the rolls while they bake; overbaking can lead to dryness. Look for a golden-brown exterior for perfect Garlicky Keto Rolls.
-
Storage Tips: These rolls are best enjoyed fresh but can be stored in an airtight container in the fridge for up to 3 days. Reheat in the oven for optimal texture.
-
Experiment with Flour: Almond flour gives the best results, but if you choose to use coconut flour, remember that it absorbs more moisture; adjust the quantities accordingly to maintain texture.

Garlicky Keto Rolls Recipe FAQs
What type of mozzarella cheese should I use?
For the best results, use part skim low moisture mozzarella cheese. It provides ideal chewiness and structure for your rolls. Avoid fresh mozzarella as it can lead to a soggier result.
How should I store my Garlicky Keto Rolls?
You can store your rolls in an airtight container in the fridge for up to 3 days. They will retain their delicious flavor and texture when properly sealed. For longer storage, place them in the freezer for up to 1 month. Just remember to wrap them individually or store them in a single layer initially to avoid them sticking together.
Can I freeze Garlicky Keto Rolls?
Absolutely! To freeze, arrange your rolls on a baking sheet in a single layer, ensuring they don’t touch. Place the sheet in the freezer until they’re fully frozen, then transfer the rolls to a freezer-safe bag. They’ll keep well for up to 1 month. When ready to enjoy, simply reheat in the oven for the best texture.
How can I troubleshoot if my rolls turn out too dry?
If your rolls come out dry, it’s often due to overbaking. Always aim for a golden-brown color and puffy appearance to ensure they are perfectly cooked. Another tip is to make sure you are using the correct flour ratios and not too much coconut flour, as it absorbs more moisture than almond flour.
Are these rolls suitable for a keto diet?
Yes! Each Garlicky Keto Roll contains approximately 4g of net carbs, making them a fantastic choice for anyone following a ketogenic lifestyle. They allow you to indulge in the comforting taste of bread without all the carbs.

Garlicky Keto Rolls: Soft, Cheesy Delight for Low-Carb Lovers
Ingredients
Equipment
Method
- Preheat your oven to 350°F (175°C) and line an 8-inch round baking pan with parchment paper.
- In a mixing bowl, combine the almond flour, coconut flour, garlic powder, and baking powder.
- Melt the mozzarella and cream cheese in a microwave-safe bowl until smooth.
- Transfer the melted cheese to a food processor, add the beaten eggs and dry ingredients, and pulse to form a sticky dough.
- Knead the dough on a clean surface until smooth and pliable.
- Divide the dough into 8 equal portions, rolling each into a ball.
- Roll each dough ball in the grated Parmesan cheese to coat.
- Bake the rolls for 25-30 minutes, until golden brown.
- Simmer minced garlic, olive oil, and butter in a saucepan to prepare the topping.
- Brush the garlic topping over the rolls once they are baked.
- Let the rolls cool slightly before serving.
Leave a Reply