
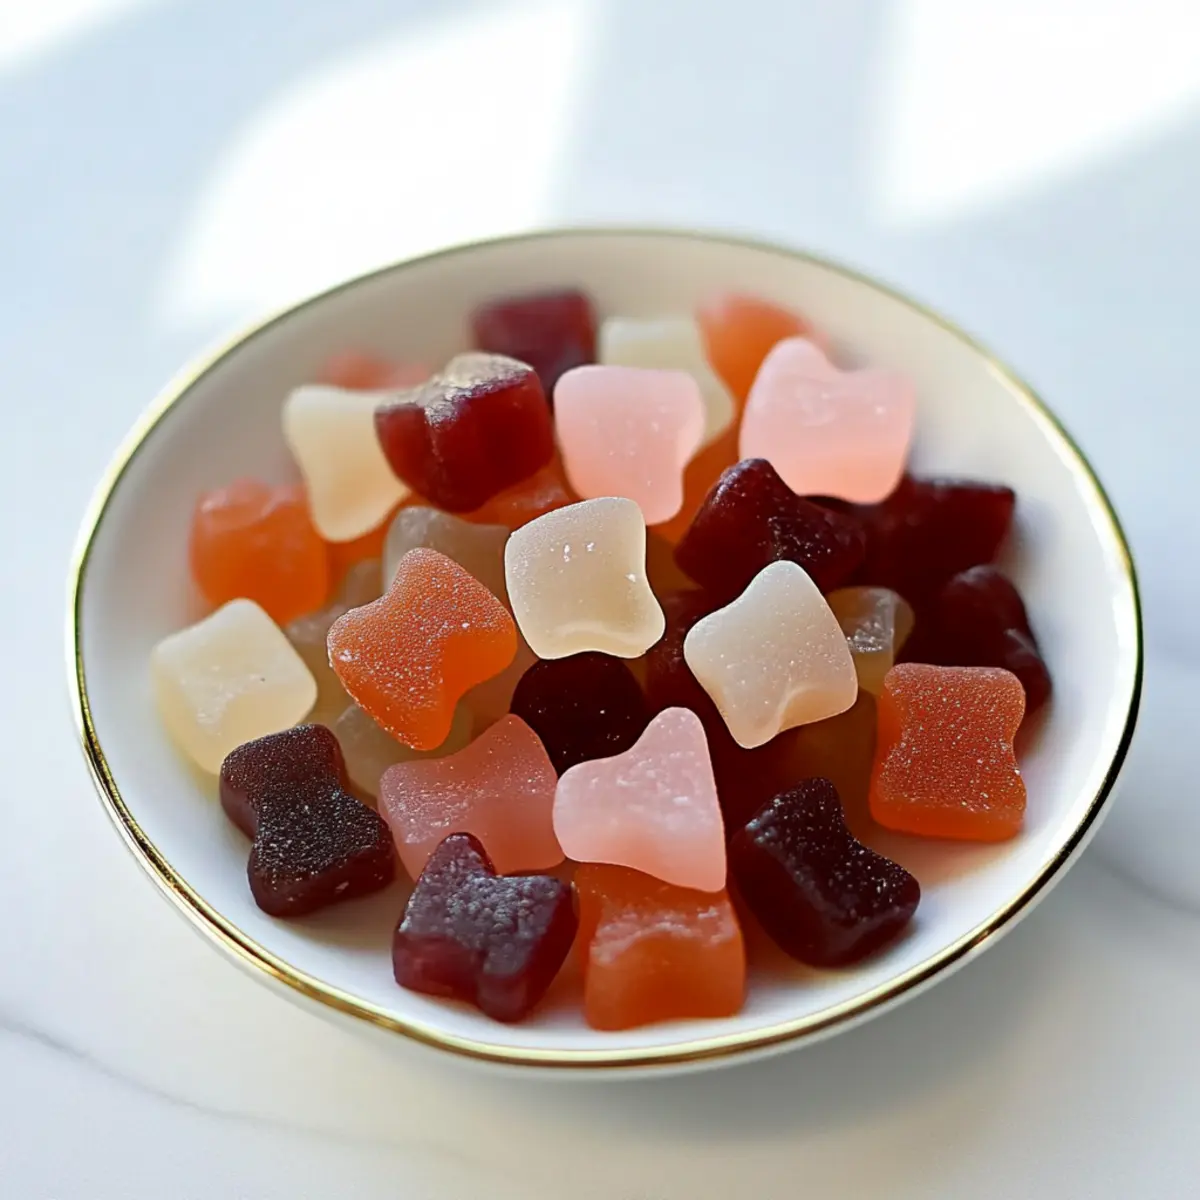
As I was standing in the kitchen, prepped for a new culinary adventure, I realized how transformative a little magic can be—particularly when it comes to gut health. These Easy Gut Healing Gummies are not just a treat for your taste buds; they come packed with benefits that make snacking both fun and guilt-free. With their simple blend of fruit juice and gelatin, they whip up in no time and offer a perfect gluten-free, dairy-free, and paleo-friendly option for any health-conscious eater. You won’t believe how easy it is to create these delightful bites that support your wellness journey. Curious to find out how to make them and customize flavors to suit your palate? Let’s dive into this deliciously healthy recipe!
Why Choose Gut Healing Gummies?
Deliciously Fun: These gut healing gummies offer a playful twist on wellness, making health enjoyable rather than a chore.
Customizable Flavors: With so many juice options, you can experiment to your heart’s content and find your favorite flavor combinations!
Quick Preparation: Whipping up these gummies is a breeze, requiring minimal effort in the kitchen—perfect for busy lifestyles.
Family-Friendly Snack: Kids and adults alike will love the chewy texture and fruity taste, making these gummies an ideal guilt-free treat.
Health Benefits: Packed with collagen-rich gelatin, these gummies not only satisfy sweet cravings but also support gut health in a delectable way. Check out more in our Nutritional Notes section for details on the benefits of gut health!
Gut Healing Gummies Ingredients
For the Gummies
- Coconut oil – Greasing the pan ensures easy gummy removal. Any neutral oil can be used for greasing.
- Juice (4 cups, divided) – Adds sweetness and flavor to your gummies. Avoid pineapple juice as it prevents setting; alternatively, try cranberry, watermelon, mango, or guava.
- Gelatin (8 tablespoons) – The main ingredient that provides structure and gut health benefits. Vital Proteins is recommended; substitutes include agar-agar, though it lacks the health benefits of beef gelatin.
Feel free to use this ingredient list as a guide while you prepare your delightful gut healing gummies!
Step‑by‑Step Instructions for Gut Healing Gummies
Step 1: Grease the Pan
Begin by lightly greasing an 8”x8” pan with coconut oil using a paper towel or your fingers to ensure an even layer. This will help the gummies slide out effortlessly when they’re ready. Set the pan aside as you prepare the rest of your ingredients, ensuring a smooth process for making your gut healing gummies.
Step 2: Bloom the Gelatin
In a shallow bowl, sprinkle 8 tablespoons of gelatin over 3 cups of your chosen juice, allowing it to sit for 3-5 minutes. This blooming process is crucial, as it hydrates the gelatin grains, giving your gummies the perfect chewy texture. While waiting, feel free to admire the vibrant color of the juice and anticipate the fruity treats to come.
Step 3: Heat the Juice
Next, pour the remaining 1 cup of juice into a saucepan and heat it over medium-low heat. Stir occasionally, watching for small bubbles to form at the edges, indicating it’s hot but not boiling—about 3-5 minutes. This step blends flavors and gets the juice ready to melt the bloomed gelatin, ensuring a smooth mixture for your gut healing gummies.
Step 4: Combine Ingredients
Once the juice is hot and gently bubbling, remove it from the heat and carefully add the bloomed gelatin mixture. Stir vigorously with a whisk or wooden spoon until the gelatin is completely dissolved and the mixture is homogenous. You should see no clumps or graininess; the mixture will be glossy and inviting, just right for forming your gummy treats.
Step 5: Pour and Chill
Pour the blended mixture into your greased pan, using a spatula to scrape every last bit from the bowl. Spread it evenly, then place the pan in the refrigerator to set for 4-5 hours, or until firm to the touch. As they chill, resist the urge to peek too often—it’s all part of the anticipation for these gut healing gummies to come to life!
Step 6: Cut and Serve
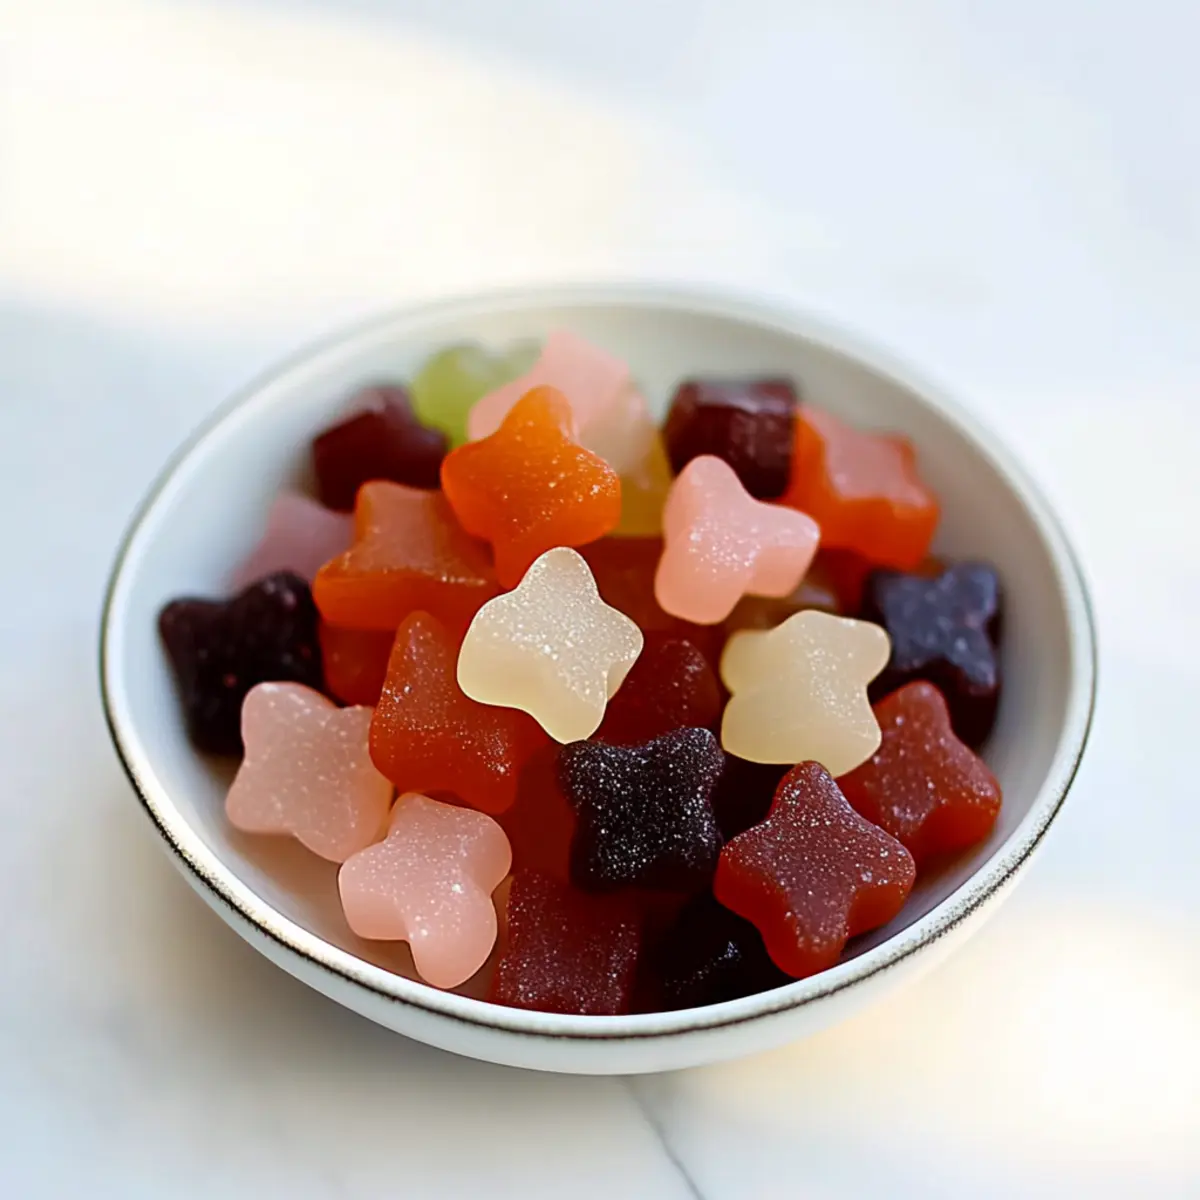
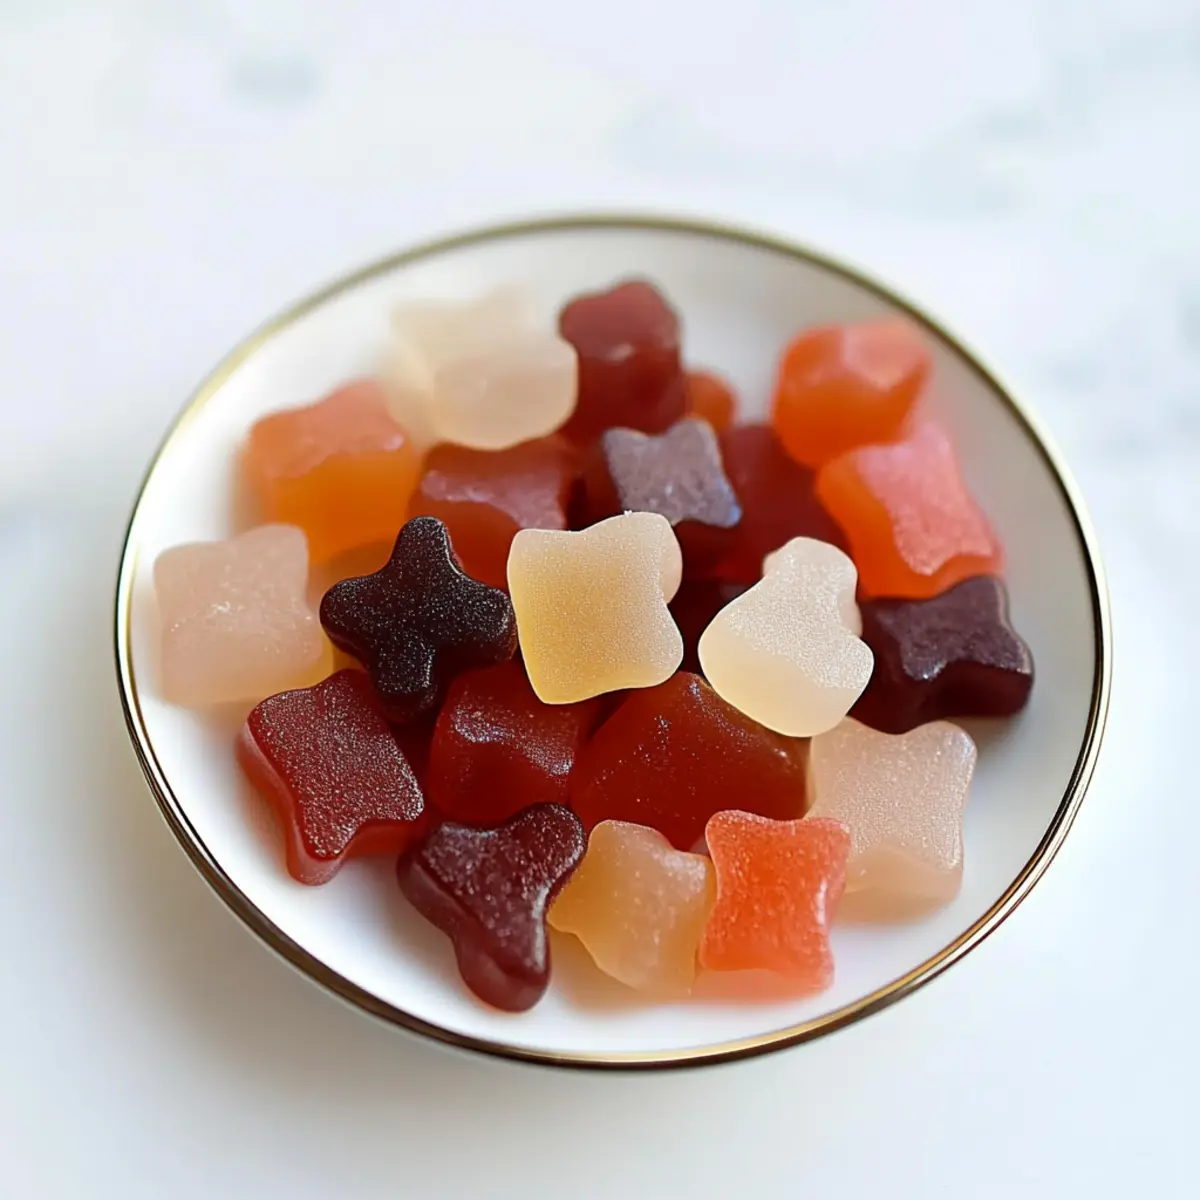
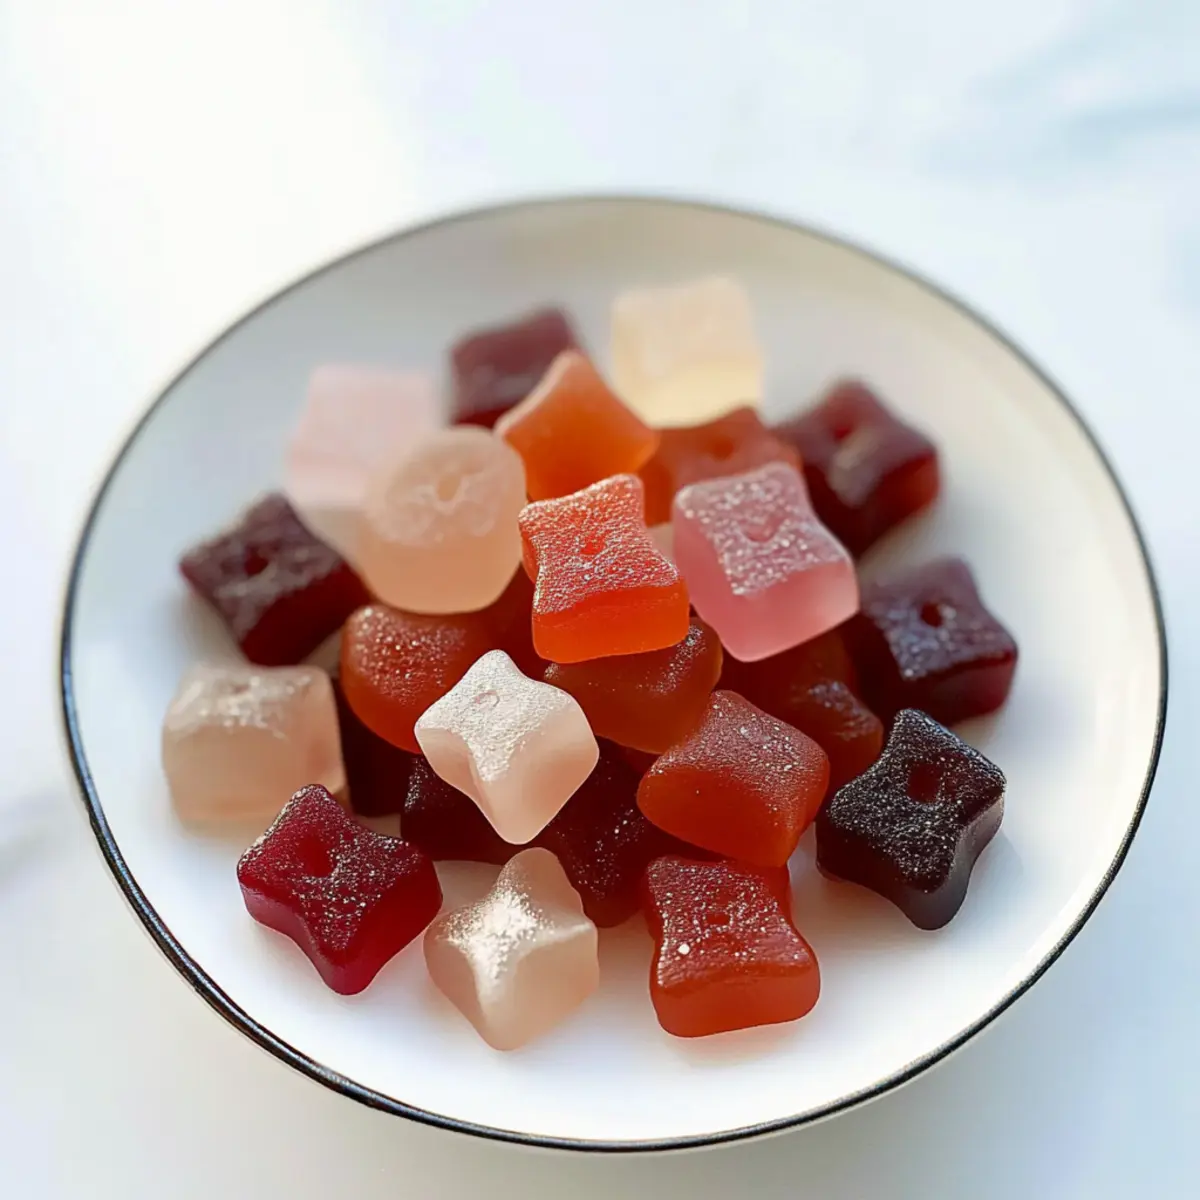
Once fully set, take the pan out of the refrigerator and let it sit at room temperature for about 5 minutes. This allows the gummies to be easier to cut. Use a sharp knife or cookie cutters to slice into squares or fun shapes—pick your favorite! These vibrant, chewy gut healing gummies are now ready for snacking, offering a healthy treat you’ll love.
Expert Tips for Gut Healing Gummies
-
Proper Gelatin Blooming: Allow gelatin to bloom for at least 5 minutes; this ensures a smooth texture in your gut healing gummies.
-
Juice Choices: Experiment with different juice flavors, but remember to avoid pineapple as it won’t allow the gummies to set properly.
-
Storage Method: Keep your gummies in an airtight container in the fridge, where they can stay fresh for up to one week.
-
Using Cookie Cutters: For added fun, use cookie cutters to create playful shapes, but note that size may affect setting time slightly.
-
Quality of Ingredients: Choose high-quality gelatin, like Vital Proteins, for better gut health benefits and a superior texture in your gummies.
Make Ahead Options
These gut healing gummies are fantastic for meal prep! You can bloom the gelatin and mix the juice up to 24 hours in advance, storing the mixture in the refrigerator until you’re ready to finish. To do this, simply follow the first three steps—greasing the pan, blooming the gelatin, and heating the juice—then cover the bowl with plastic wrap and refrigerate. When you’re ready to prepare the gummies, combine the gelatin with the hot juice, pour into the pan, and chill for 4-5 hours to set. This prep-ahead approach saves precious time on busy days, ensuring you enjoy deliciously healthy snacks just as fresh and flavorful!
What to Serve with Easy Gut Healing Gummies?
These delightful bites offer a fun way to nurture your well-being and can easily be paired with nourishing treats for a wholesome meal.
- Fresh Fruit Salad: A medley of colorful fruits adds a refreshing crunch and enhances the fruity flavor of the gummies.
- Coconut Yogurt Parfait: The creaminess of coconut yogurt adds a delightful contrast, while probiotics complement the gut-friendly benefits.
- Nut Butter Toast: Whole grain or gluten-free toast topped with almond or peanut butter adds protein and a satisfying texture.
- Green Smoothie: A vibrant green smoothie packed with spinach and banana can provide vitamins and minerals, making it a perfect pairing for these gummies.
- Herbal Tea: A warm herbal infusion, like ginger or chamomile, offers a soothing complement and supports digestion.
- Dark Chocolate Squares: For an indulgent touch, pairs rich dark chocolate with gummies for a playful combination of textures and flavors.
- Homemade Granola: Crunchy, wholesome granola sprinkled with nuts and seeds adds a delightful crunch and heartiness to your snack time.
- Sparkling Water with Citrus: Refreshing sparkling water with a slice of lemon or lime elevates any occasion and enhances the fruity flavors of your gummies.
Gut Healing Gummies Variations & Substitutions
Feel free to explore these delightful twists that will take your gut healing gummies from simple to sensational!
-
Vegan Option: Swap beef gelatin for agar-agar. This allows a plant-based twist but may alter the texture slightly.
-
Juice Variety: Experiment with seasonal fruits like kiwi or berry blends for a vibrant taste. Each fruit brings its own unique flavor and health benefits.
-
Fun Shapes: Use silicone molds for creative gummy shapes. Not only does this add flair, but it also makes them more appealing to kids!
-
Add Superfoods: Stir in chia seeds or spirulina powder for an extra nutrient boost without changing the flavor profile.
-
Sweetener Swap: If desired, add a few drops of liquid stevia or honey to the juice mixture for added sweetness without extra sugar.
-
Spiced Gummies: Consider adding a pinch of ground ginger or turmeric. These spices not only enhance flavor but also provide anti-inflammatory benefits.
-
Berry Blast: Combine mixed berry juice for a berry explosion flavor packed with antioxidants. This vibrant combo delights the senses, making gummy time even more fun!
-
Citrus Zing: Try a mix of orange and raspberry juice for an invigorating burst of flavor that’s refreshing and kid-approved.
These variations will inspire creativity and tailor your gut healing gummies to what you enjoy most. Whether you’re looking for healthy snacks for kids or simply want to indulge your own taste buds, there’s a perfect gummy option for everyone. For more sweet inspiration, check out our Serving Suggestions section!
How to Store and Freeze Gut Healing Gummies
Fridge: Keep your gut healing gummies in an airtight container in the fridge for up to one week for maximum freshness and flavor.
Room Temperature: It’s best to avoid storing gummies at room temperature, as heat and moisture can compromise their texture and cause them to melt or become sticky.
Freezer: If you want to store your gummies for a longer period, freeze them in a single layer on a baking sheet before transferring to an airtight container, where they can last up to 3 months.
Reheating: When ready to enjoy, simply let frozen gummies thaw at room temperature or in the fridge. There’s no need for reheating as they taste best when enjoyed chilled!
Gut Healing Gummies Recipe FAQs
How do I choose the right juice for my gummies?
Absolutely! Opt for juices that are rich in flavor, such as cranberry, watermelon, mango, or guava. Just make sure to avoid pineapple juice, as it prevents the gelatin from setting properly. If you’re feeling adventurous, you can mix and match juices to create your unique flavor blend.
How should I store my gut healing gummies?
Keep your gut healing gummies in an airtight container in the refrigerator for up to one week. This will help maintain their freshness and texture. Be sure to check for any signs of moisture or stickiness, which may indicate they should be consumed sooner.
Can I freeze gut healing gummies, and how do I do it?
Very! To freeze your gummies, first place them in a single layer on a baking sheet, ensuring they’re not touching. Freeze them for about 1-2 hours until firm, then transfer them to an airtight container. They can be stored in the freezer for up to 3 months. When you’re ready to enjoy, simply let them thaw at room temperature or in the fridge—it’s that easy!
What if my gummies don’t set?
No worries! If your gummies don’t set properly, it may be due to insufficient gelatin blooming or using the wrong type of juice. To remedy this, double-check that you’ve allowed the gelatin at least 5 minutes to bloom in the juice before heating it. If they are still too soft after chilling, you can reheat the mixture (without boiling), add extra gelatin, and re-pour into the pan to set again.
Are these gummies safe for kids and pets?
While these gut healing gummies are a delightful and healthy snack for kids, be cautious if you have pets. The gummies contain gelatin, which is generally safe for dogs, but avoid giving them to cats or other pets without consulting a veterinarian first. Always monitor your kids to ensure they don’t consume too many at once as well!
Do these gummies contain allergenic ingredients?
Great question! The recipe is inherently gluten-free, dairy-free, and paleo-friendly. However, if you are allergic or sensitive to specific fruits or gelatin, be mindful when selecting juice and gelatin brands. Always consider your or your family members’ dietary restrictions to ensure everyone can safely enjoy these gut healing gummies!
Delicious Gut Healing Gummies You'll Love to Snack On
Ingredients
Equipment
Method
- Grease the pan with coconut oil to ensure an even layer for easy gummy removal.
- Sprinkle gelatin over 3 cups of your chosen juice and let it sit for 3-5 minutes to bloom.
- Heat the remaining 1 cup of juice in a saucepan over medium-low heat for 3-5 minutes.
- Combine the hot juice with the bloomed gelatin mixture and stir until dissolved.
- Pour the mixture into the greased pan and refrigerate for 4-5 hours until set.
- Cut into squares or shapes and enjoy your healthy snacks.
Leave a Reply