
As I stood at the kitchen counter, the rich aroma of melting butter filled the air, instantly transporting me back to childhood memories of comforting afternoons spent baking with family. Today, I’m excited to share my go-to recipe for chewy homemade chocolate chip cookies—those golden-brown delights that balance gooey chocolate chunks with a soft, buttery texture. These cookies are not only a fantastic way to satisfy your sweet tooth, but they’re also a time-saver, with quick prep that will have you indulging in just over half an hour. Perfect for both family gatherings and solo snack attacks, you’ll find that this classic treat keeps everyone coming back for seconds. Ready to dive into the bliss of homemade cookies? Let’s get baking!
Why Are These Cookies So Irresistible?
Homemade Delight: There’s nothing quite like the aroma of freshly baked cookies wafting through your home, creating a nostalgic atmosphere.
Quick Prep: With just 30 minutes from start to finish, you can enjoy warm, gooey cookies that are ready to devour!
Chewy Perfection: This recipe strikes the ideal balance between chewy centers and crispy edges, making each bite heavenly.
Endless Variations: Whether you’re a fan of nuts, dried fruits, or different chocolates, these cookies can easily be customized to suit any palate, just like my Coconut Lime Fish for a twist on flavors.
Crowd-Pleasing: Perfect for gatherings or cozy nights in, these cookies are sure to delight friends and family alike.
Chocolate Chip Cookie Ingredients
Get ready to whip up something delicious with these must-have ingredients!
For the Cookie Dough
• All-purpose Flour – Provides structure to the cookies; for a gluten-free version, opt for a gluten-free flour blend.
• Unsalted Butter – Adds richness and moisture; substitute with half coconut oil for a dairy-free alternative.
• Granulated Sugar – Offers sweetness and texture; for a deeper flavor, consider using brown sugar instead.
• Brown Sugar – Contributes moisture and a luscious caramel flavor; adjust the ratio based on desired chewiness.
• Eggs – Binds everything together and enhances richness; a flax egg works great for a vegan option.
• Vanilla Extract – Elevates the flavor; pure extract is best for a delightful taste.
• Baking Soda – Causes the cookies to rise; in a pinch, you may use baking powder.
• Salt – Balances sweetness and enhances overall flavor; don’t skip this ingredient for the best taste.
• Chocolate Chips – The star of the show, bringing in that sweet richness; dark chocolate or dairy-free options can be great substitutes.
With these ingredients gathered, you’re on your way to achieving the perfect chocolate chip cookies, surely a classic comfort that everyone will adore!
Step‑by‑Step Instructions for Chewy Homemade Chocolate Chip Cookies
Step 1: Preheat the Oven
Begin by preheating your oven to 350°F (175°C). This crucial step ensures that your cookies bake evenly and rise perfectly. As the temperature rises, gather your ingredients and let the unsalted butter come to room temperature—this will help create that delicious, fluffy texture in your dough.
Step 2: Cream the Butter and Sugars
In a large mixing bowl, combine the room-temperature unsalted butter, granulated sugar, and brown sugar. Using an electric mixer, beat the mixture on medium speed until it’s light and fluffy, about 2-3 minutes. You’ll know it’s ready when the mixture is pale in color and has a creamy consistency that almost resembles whipped frosting.
Step 3: Add Eggs and Vanilla
Next, add the eggs one at a time to the butter-sugar mixture, mixing well after each addition. This will ensure your cookies have the proper texture and structure. Then, stir in the vanilla extract, allowing the sweet aroma to fill your kitchen and enhance the overall flavor of your chewy homemade chocolate chip cookies.
Step 4: Mix Dry Ingredients
In a separate bowl, whisk together the all-purpose flour, baking soda, and salt. This step is important as it evenly distributes the leavening agent and ensures that your cookies will rise and have a balanced flavor. Make sure to break up any flour clumps you might see, resulting in a smooth, cohesive texture in your final cookie dough.
Step 5: Combine Wet and Dry Ingredients
Gradually add the dry ingredients to the wet mixture, mixing on low speed until just combined. Be careful not to overmix, as this can lead to tough cookies. The dough should be thick and slightly sticky, holding together beautifully without being crumbly.
Step 6: Fold in Chocolate Chips
Using a spatula, gently fold in the chocolate chips until they’re evenly distributed throughout the dough. This step gives your cookies that delightful melt-in-your-mouth experience. If you’re feeling adventurous, consider adding in chopped nuts or swapping out chocolate chips for another fun variation, just like my Coconut Lime Fish can add a twist to dinner.
Step 7: Scoop the Dough
Line your baking sheets with parchment paper for easy cleanup. Using a cookie scoop or tablespoon, drop rounded balls of dough onto the prepared baking sheets, spacing them about 2 inches apart. This gives your cookies room to spread while baking, resulting in those perfect chewy edges and soft centers.
Step 8: Bake the Cookies
Place the baking sheets in the preheated oven and bake for 10-12 minutes. Keep an eye on the cookies and look for golden-brown edges while the centers remain slightly soft—a sign that they will continue to firm up as they cool.
Step 9: Cool on Baking Sheets
Once baked, remove the cookies from the oven and let them cool on the baking sheets for about 5 minutes. This resting time allows the cookies to set properly, ensuring they’re chewy and delicious. After cooling, transfer the cookies to wire racks to cool completely, allowing your kitchen to be filled with that irresistible, fresh-baked aroma.
Expert Tips for Chewy Homemade Cookies
Perfect Butter: Let the butter come to room temperature to ensure easy creaming, resulting in a lighter cookie texture.
Don’t Overmix: Mix the dry ingredients just until combined to prevent tough cookies; you’ll want that chewy goodness in every bite.
Uniform Size: Use a cookie scoop to ensure uniform sizes, leading to consistent baking and avoiding burnt edges on smaller cookies.
Baking Time: Underbake slightly for softer cookies; they will continue to set up on the baking sheet after removing them from the oven.
Storage Secrets: Store cooled cookies in an airtight container for up to a week for optimal freshness and to keep their chewy texture intact.
Enjoy baking your chewy homemade chocolate chip cookies, guaranteed to satisfy all cravings!
Make Ahead Options
These chewy homemade chocolate chip cookies are perfect for meal prep, making your baking experience delightful and hassle-free! You can prepare the cookie dough up to 3 days in advance by mixing all the ingredients, then refrigerating the dough tightly wrapped in plastic wrap. This not only allows the flavors to meld but also helps to maintain that chewy texture. When you’re ready to bake, simply scoop the dough onto lined baking sheets and let it sit at room temperature for about 10-15 minutes before baking as directed. For even quicker access, you can freeze individual cookie dough balls for up to 3 months—just bake straight from the freezer, adding a couple of extra minutes to the baking time. Enjoy warm, fresh cookies with minimal effort and maximum flavor!
Customization for Chocolate Chip Cookies
Feel free to explore endless possibilities and personalize your chocolate chip cookie experience with these delightful variations!
-
Gluten-Free: Substitute all-purpose flour with a gluten-free flour blend for everyone to enjoy without compromising flavor.
-
Dairy-Free: Replace unsalted butter with half coconut oil or dairy-free butter, allowing a rich, creamy texture without dairy.
-
Crunchy Nuts: Stir in chopped walnuts or pecans to add a satisfying crunch amidst the chewy cookie base. The contrasting textures in every bite truly elevate the experience!
-
Flavored Extracts: Experiment with almond or hazelnut extract for a unique twist on classic flavors. You’ll be amazed at how these simple changes can open up a whole new world of taste!
-
Oatmeal Cookie Twist: Incorporate oats into the dough for a chewier texture and hearty flavor. The oatmeal adds depth, making for a truly comforting cookie.
-
Spicy Kick: Add a pinch of cayenne pepper or chili powder for a surprising heat element that pairs beautifully with chocolate. It’s a bold yet delightful choice that’s perfect for adventurous palates!
-
Dried Fruit Delight: Swap chocolate chips for dried fruits like cranberries or apricots for a sweet and tangy touch. This offers a burst of fruity goodness that balances well with the cookie’s sweetness.
-
Melt-in-Your-Mouth Chocolate: Go for dark chocolate or mix in white chocolate chips for a dessert that caters to different tastes. Each type of chocolate brings its own magic to the cookie experience, reminiscent of that cherished childhood bakery smell.
Feel inspired to mix and match, just like with my Ground Beef Bowl variations, and discover your favorite combinations!
Storage Tips for Chocolate Chip Cookies
Room Temperature: Store the cookies in an airtight container at room temperature for up to 1 week to maintain their delightful chewiness and flavor.
Freezer: For longer storage, freeze the cookies in a single layer on a baking sheet, then transfer them to a zip-top bag. They’ll keep for up to 3 months, ready to be enjoyed whenever cravings strike!
Reheating: To revive frozen chocolate chip cookies, simply thaw them in the refrigerator overnight or microwave for 10-15 seconds until warm and gooey again.
Avoiding Staleness: To prevent cookies from drying out, place a slice of bread in the container; it helps maintain moisture and keeps your homemade treats fresh longer.
What to Serve with Chewy Homemade Chocolate Chip Cookies
The perfect balance of warmth and sweetness, these delightful cookies come alive when paired with complementary treats and beverages.
- Cold Glass of Milk: A classic pairing that enhances the cookies’ sweetness, balancing the rich chocolate flavors beautifully.
- Rich Coffee: The robust bitterness of coffee contrasts the sweet cookies, making each bite an indulgent experience.
- Vanilla Ice Cream: Top your warm cookies with creamy vanilla ice cream for a delicious sundae-inspired dessert. When the ice cream melts onto the cookies, it creates a heavenly combination.
- Fresh Berries: Juicy strawberries or raspberries add a refreshing tartness, cutting through the sweetness of the cookies while providing a burst of color and flavor.
- Caramel Sauce Drizzle: Elevate your cookies with a drizzle of warm caramel sauce for an extra layer of sweetness and richness.
- Spiced Chai Tea: The warm, spiced flavors of chai tea create a comforting pairing, enhancing the melt-in-your-mouth experience of the cookies.
- Chocolate Milkshake: Indulge your sweet tooth with a thick, chocolatey shake that complements the chocolate chips in each cookie.
- Nutty Granola: A crunchy, nutty granola can provide a delightful contrast to the chewy texture of the cookies, offering an unexpected twist that feels nutritious.
- Coconut Macaroons: Adding these sweet, chewy treats can create a delightful dessert platter that channels tropical vibes, perfect for sharing.
- Toasted Hazelnut Coffee: The nutty undertones of toasted hazelnut coffee harmonize wonderfully with the buttery goodness of the cookies.
Chocolate Chip Cookies Recipe FAQs
How do I choose the right chocolate chips for my cookies?
Absolutely! The type of chocolate chips can completely change your cookie experience. For a classic taste, semi-sweet chocolate chips are a favorite. If you’re looking for a richer flavor, dark chocolate chips work wonderfully. For a sweet twist, consider milk chocolate chips, or for a healthier option, go with dairy-free or dark chocolate chips. Try experimenting with flavored chips, like peanut butter or butterscotch, for a unique treat!
How should I store my chocolate chip cookies?
To keep your cookies fresh and chewy, store them in an airtight container at room temperature for up to 1 week. If you’d like to extend their shelf life, freezing is a fantastic option! Simply freeze the cookies in a single layer on a baking sheet for about an hour, then transfer them to a zip-top bag or an airtight container. They’ll stay good for up to 3 months. Just remember to label the container with the date, so you can keep track!
Can I freeze cookie dough for later use?
Very! Freezing cookie dough is a great way to always have fresh cookies on hand. To do this, scoop the dough into balls and place them on a baking sheet lined with parchment paper. Freeze them for about 1-2 hours until solid, then transfer them to a zip-top bag. When you’re ready to bake, simply preheat the oven and add a couple of extra minutes to the baking time. This way, you get freshly baked cookies almost effortlessly!
What if my cookie dough is too dry or crumbly?
If your dough seems too dry and crumbly, don’t worry, it’s an easy fix! Start by adding a teaspoon of milk or water to the dough, mixing it in until just combined. If it’s still not holding together, repeat this step, but be cautious—only add small amounts at a time. Remember, you want the dough to be thick and slightly sticky, not overly wet.
Are there any alternatives for allergies or dietary restrictions?
Of course! If you need to accommodate dietary restrictions, there are plenty of alternatives available. For a dairy-free version, you can substitute the unsalted butter with coconut oil or vegan butter. For eggs, a flax egg (1 tablespoon of ground flaxseed mixed with 2.5 tablespoons of water and allowed to sit for 5 minutes) works beautifully. Additionally, you can replace all-purpose flour with a gluten-free flour blend for those who need a gluten-free treat. Just ensure the chocolate chips you choose are also dairy-free if you’re avoiding animal products!
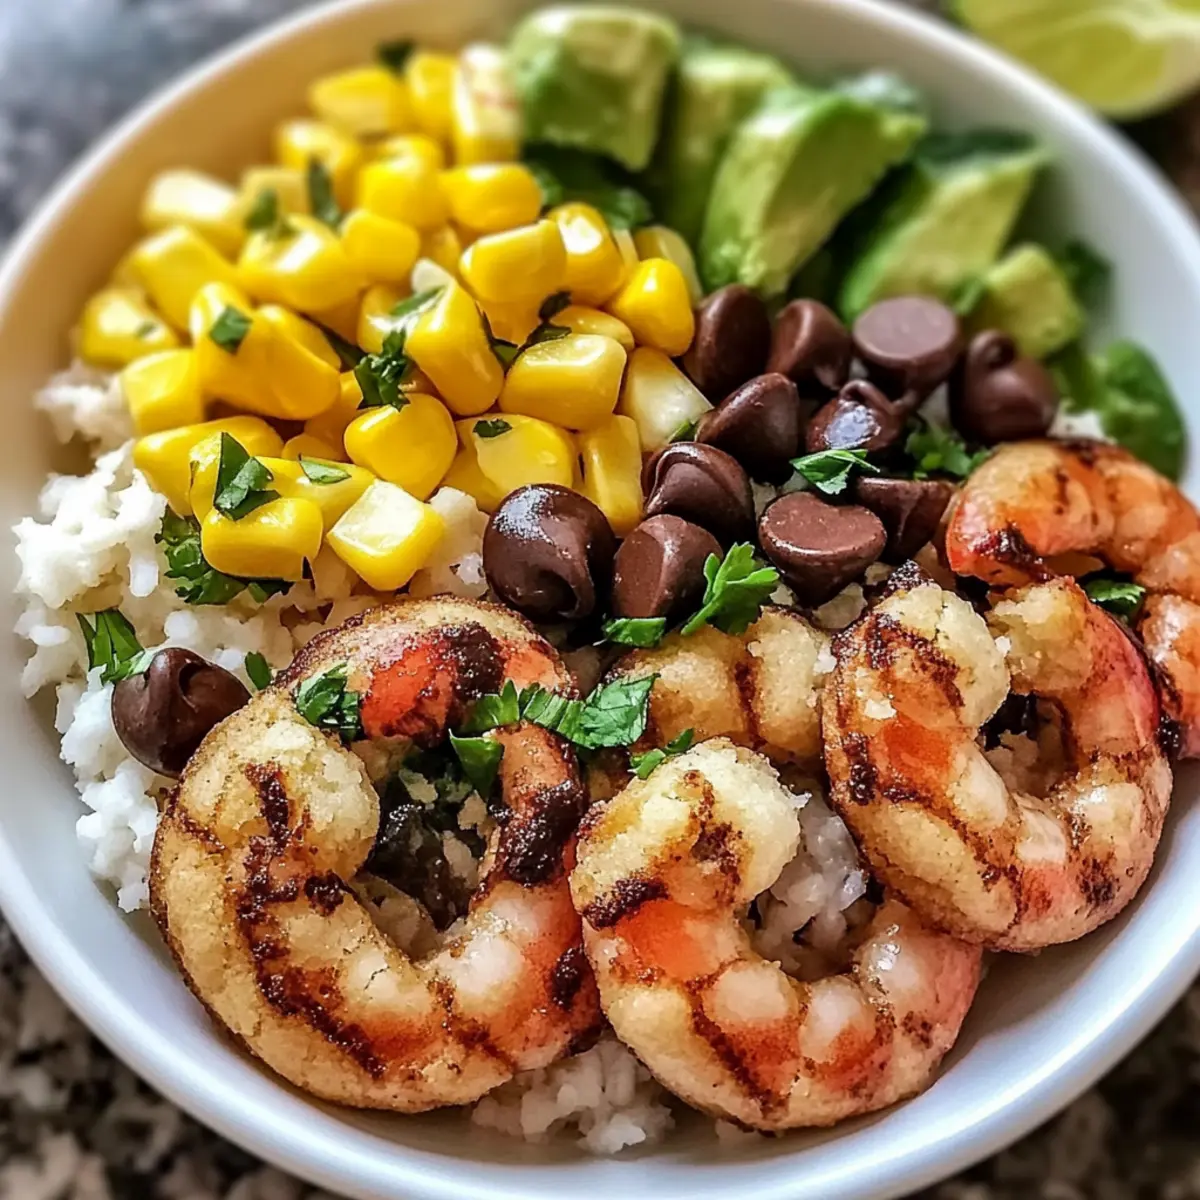
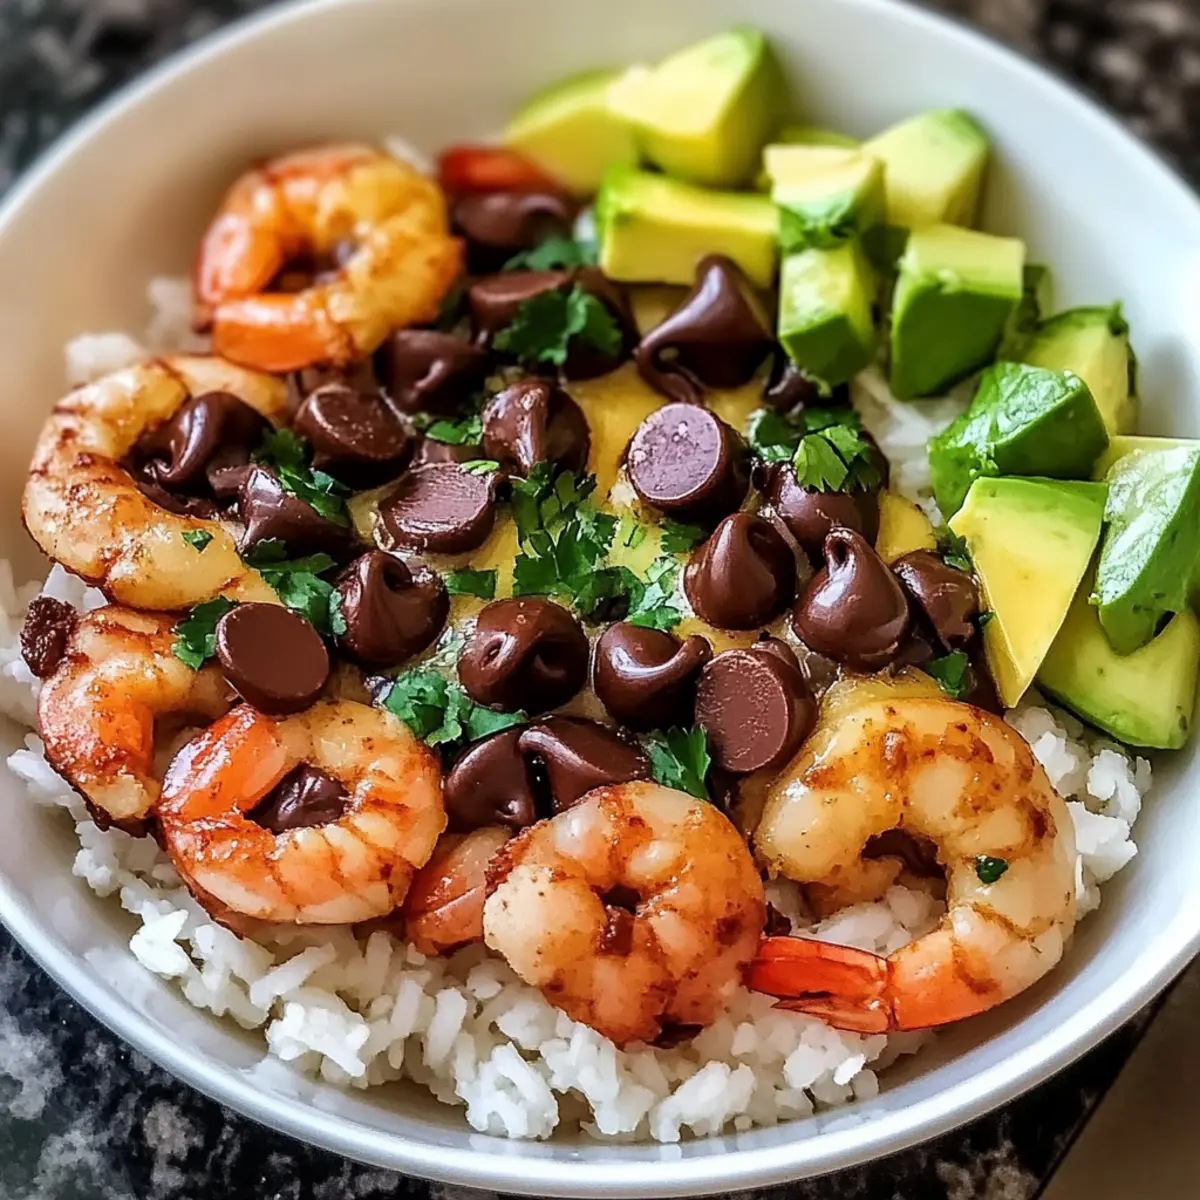
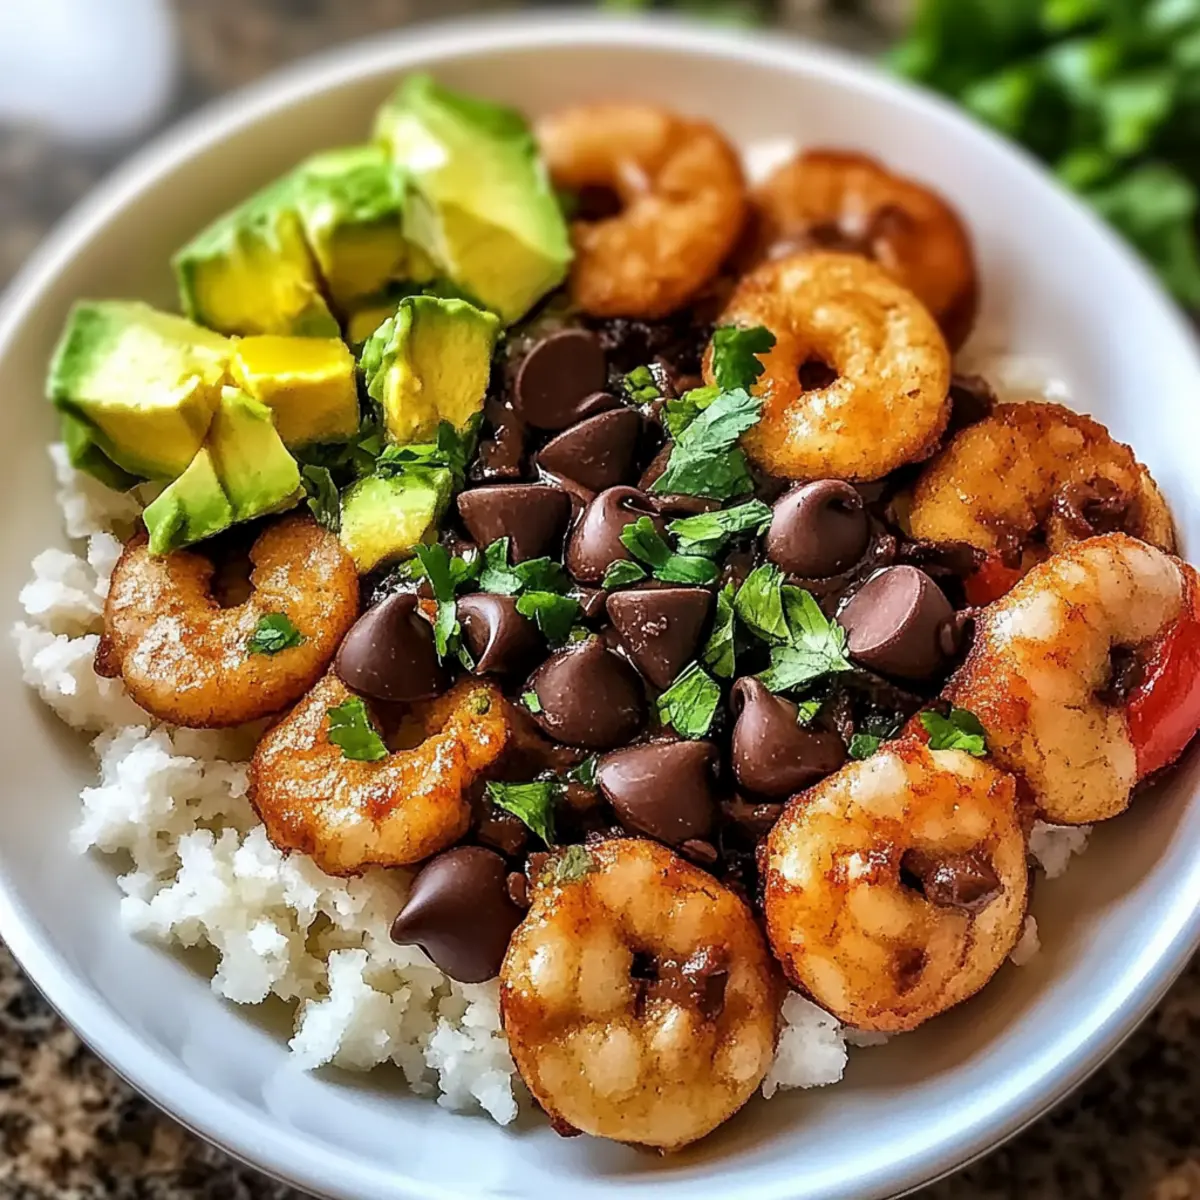
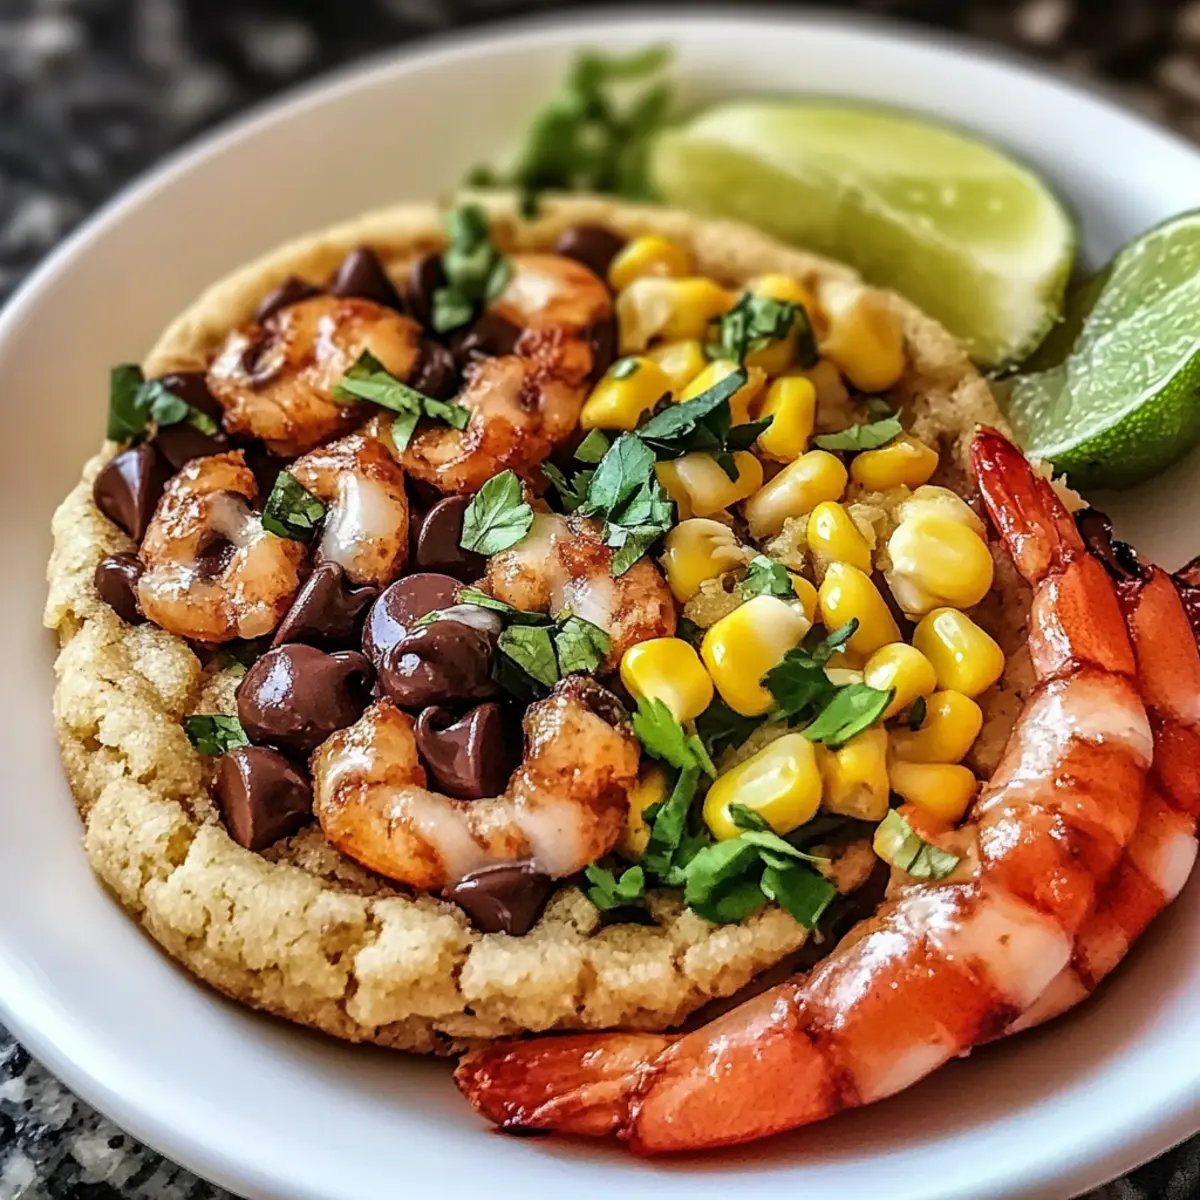
Zesty Chipotle Lime Shrimp Bowl for a Flavorful Feast
Ingredients
Equipment
Method
- Preheat your oven to 400°F (200°C). Prepare a baking sheet.
- In a mixing bowl, toss shrimp with olive oil, chipotle powder, lime zest, and lime juice.
- Spread seasoned shrimp on the baking sheet in a single layer.
- Bake in preheated oven for 10-12 minutes, or until shrimp are pink and opaque.
- While shrimp is baking, prepare rice and optional ingredients.
- Assemble your bowls by layering cooked rice, black beans, corn, baked shrimp, and avocado.
- Garnish with chopped cilantro before serving.
Leave a Reply