
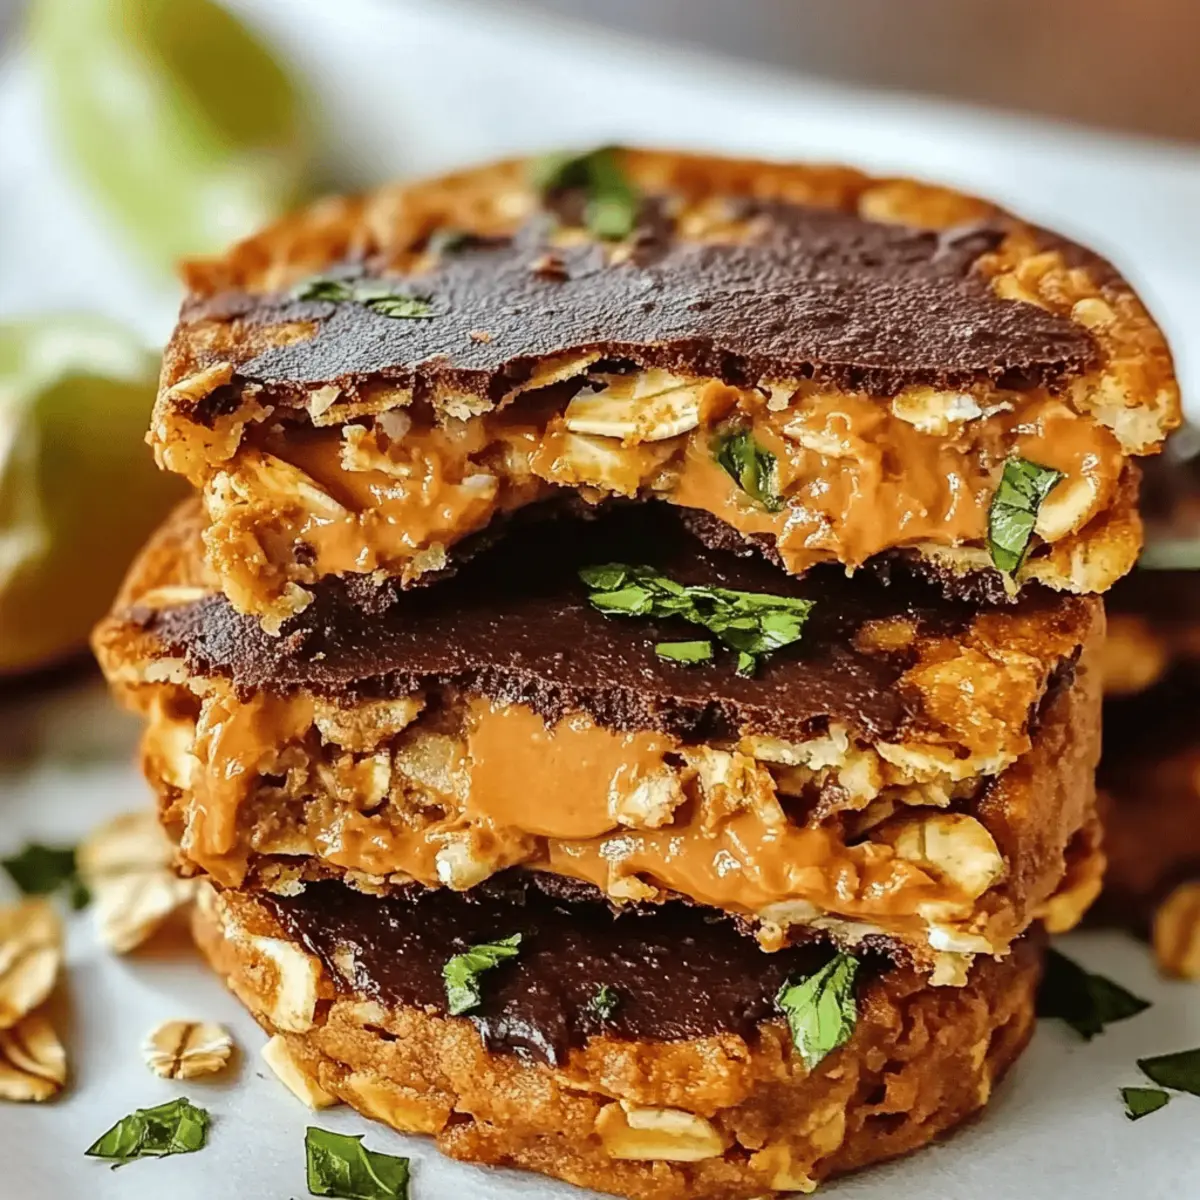
As I stood in my kitchen, the aroma of melting chocolate wafting through the air, I felt an instant wave of nostalgia. These 4-Ingredient No-Bake Chocolate Oat Cookies take me back to simpler times, when the joy of baking was about the love put into every bite. With just a handful of ingredients, this recipe is not only a fantastic way to satisfy those late-night sweet cravings, but it’s also incredibly quick to whip up—ready in just 15 minutes! Plus, they’re naturally gluten-free and completely customizable, making them a great option for anyone seeking a delicious treat without the fuss. Whether you need a last-minute dessert or a wholesome snack, these cookies have got you covered. What fun variations are you thinking of trying out?
Why Are These Cookies So Amazing?
Simplicity at its finest: With only four ingredients, these no-bake chocolate oat cookies are incredibly easy to make, even for beginner bakers.
Versatile options: You can easily transform this recipe into gluten-free or vegan versions by selecting the right substitutes, ensuring everyone can enjoy them.
Quick satisfaction: In just 15 minutes, you can have a delicious treat ready to chill, perfect for those moments when that sweet craving hits unexpectedly.
Nutritious indulgence: Packed with oats and nut butter, these cookies are a wholesome snack option that delivers satisfaction without the guilt.
Whether you’re pairing them with a glass of milk or serving them alongside fresh fruit, these cookies are sure to impress. Looking for more delicious ideas? Check out my Chicken Cottage Cheese for a tasty meal or indulge in Crack Chicken Tenders if you’re in the mood for something savory!
4-Ingredient No-Bake Chocolate Oat Cookies
• Uncover how to whip up these delightful cookies in just a few steps!
For the Base
- Rolled Oats – Provides structure and chewiness; use certified gluten-free oats for a gluten-free version.
- Peanut Butter – Adds creaminess and binding; substitute with almond butter for a nut-free option.
For the Sweetener
- Honey or Maple Syrup – Acts as a sweetener and moisture; opt for maple syrup to keep it vegan.
For the Chocolate Flavor
- Cocoa Powder – Imparts rich chocolate flavor; make sure to use unsweetened cocoa powder for balanced sweetness.
Feel free to experiment with extra ingredients or variations as you create your own perfect batch of these delicious no-bake chocolate oat cookies!
Step‑by‑Step Instructions for 4-Ingredient No-Bake Chocolate Oat Cookies
Step 1: Combine Dry Ingredients
In a mixing bowl, add 1 cup of rolled oats and 1/3 cup of unsweetened cocoa powder. Stir together until the oats are evenly coated with cocoa. This mixture will provide the foundation for your chocolate oat cookies, offering a delightful chewy texture.
Step 2: Mix Wet Ingredients
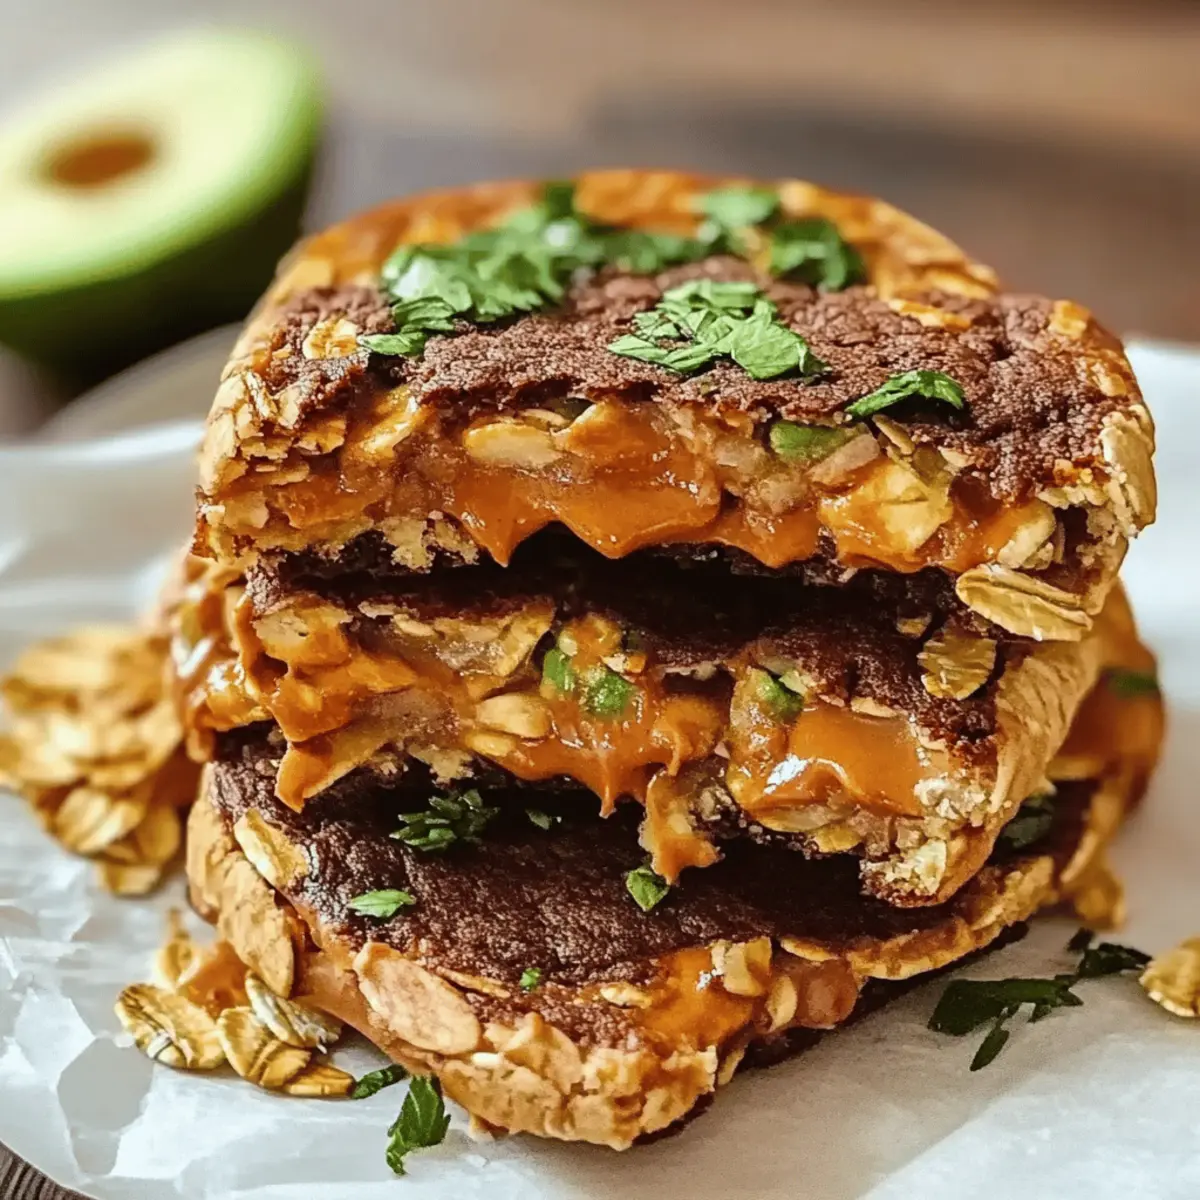
In a separate bowl, combine 1/2 cup of peanut butter and 1/3 cup of honey or maple syrup. Use a spatula to mix these ingredients until you achieve a smooth, creamy consistency. This mixture will act as the binding agent, adding rich flavor to your no-bake cookies.
Step 3: Combine Mixtures
Gradually fold the wet mixture into the dry ingredients, stirring until everything is well combined. Ensure that all the oats are thoroughly coated in the peanut butter and honey mixture, forming a sticky, cohesive dough. This step is crucial for maintaining the cookie’s structure once molded.
Step 4: Form Cookies
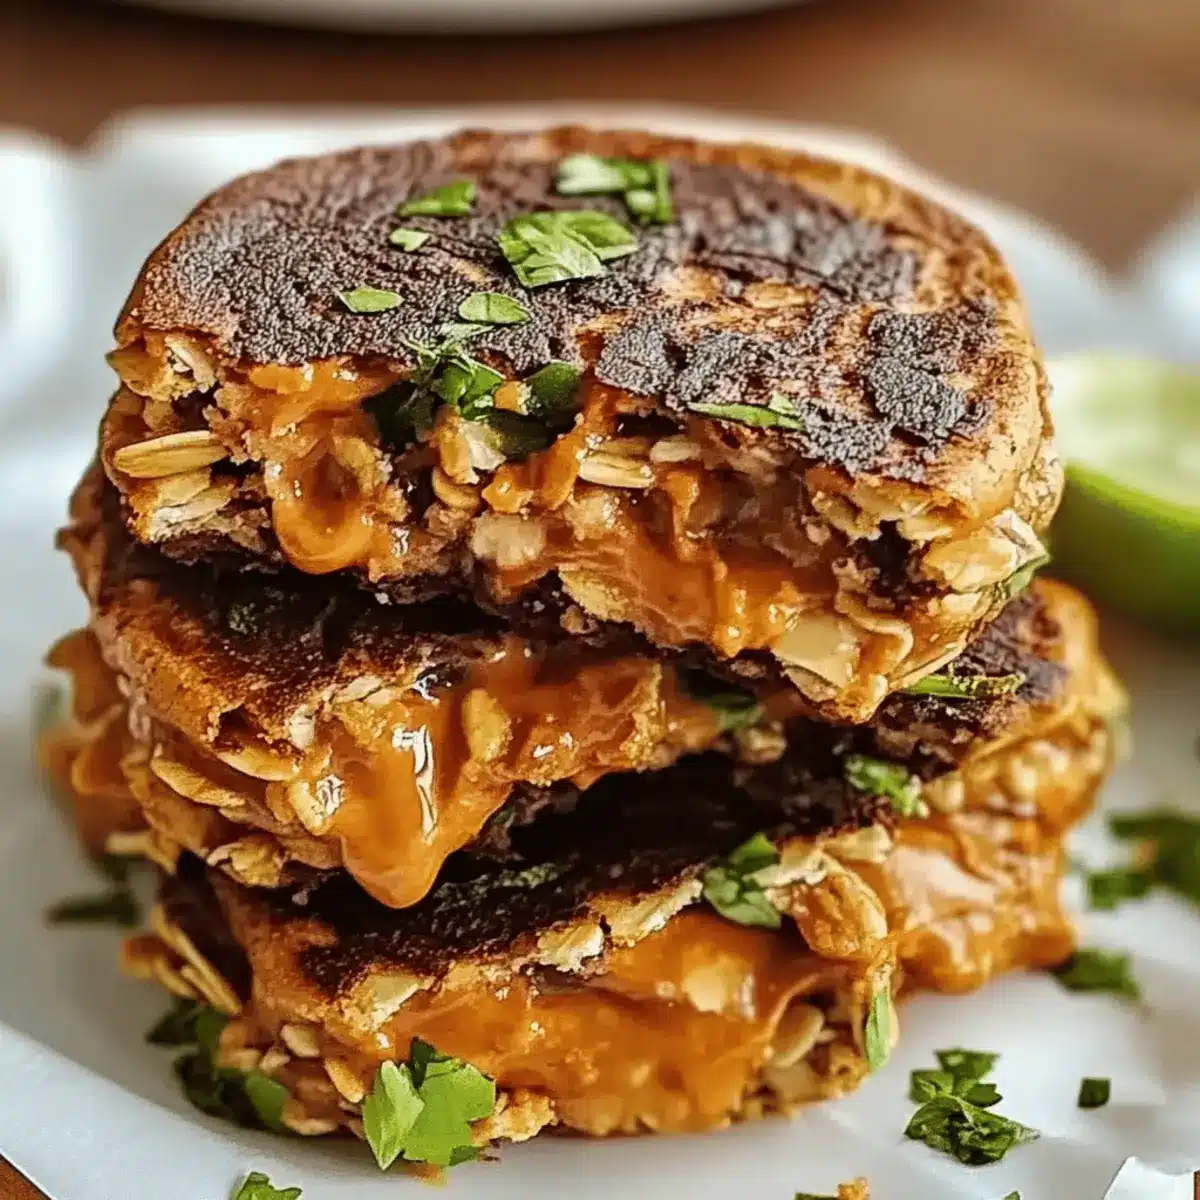
Using a tablespoon, scoop out portions of the cookie mixture and shape them into balls. Place each ball onto a parchment-lined baking sheet, leaving space between them for even setting. The chocolate oat cookies should have a rustic look, giving you an insight into their homemade charm.
Step 5: Chill to Set
Refrigerate the baking sheet for at least 30 minutes, allowing the cookies to firm up and hold their shape. You’ll know they’re ready when they feel solid to the touch but still have a slight give. This chilling step is essential for achieving the perfect texture.
Step 6: Serve and Enjoy
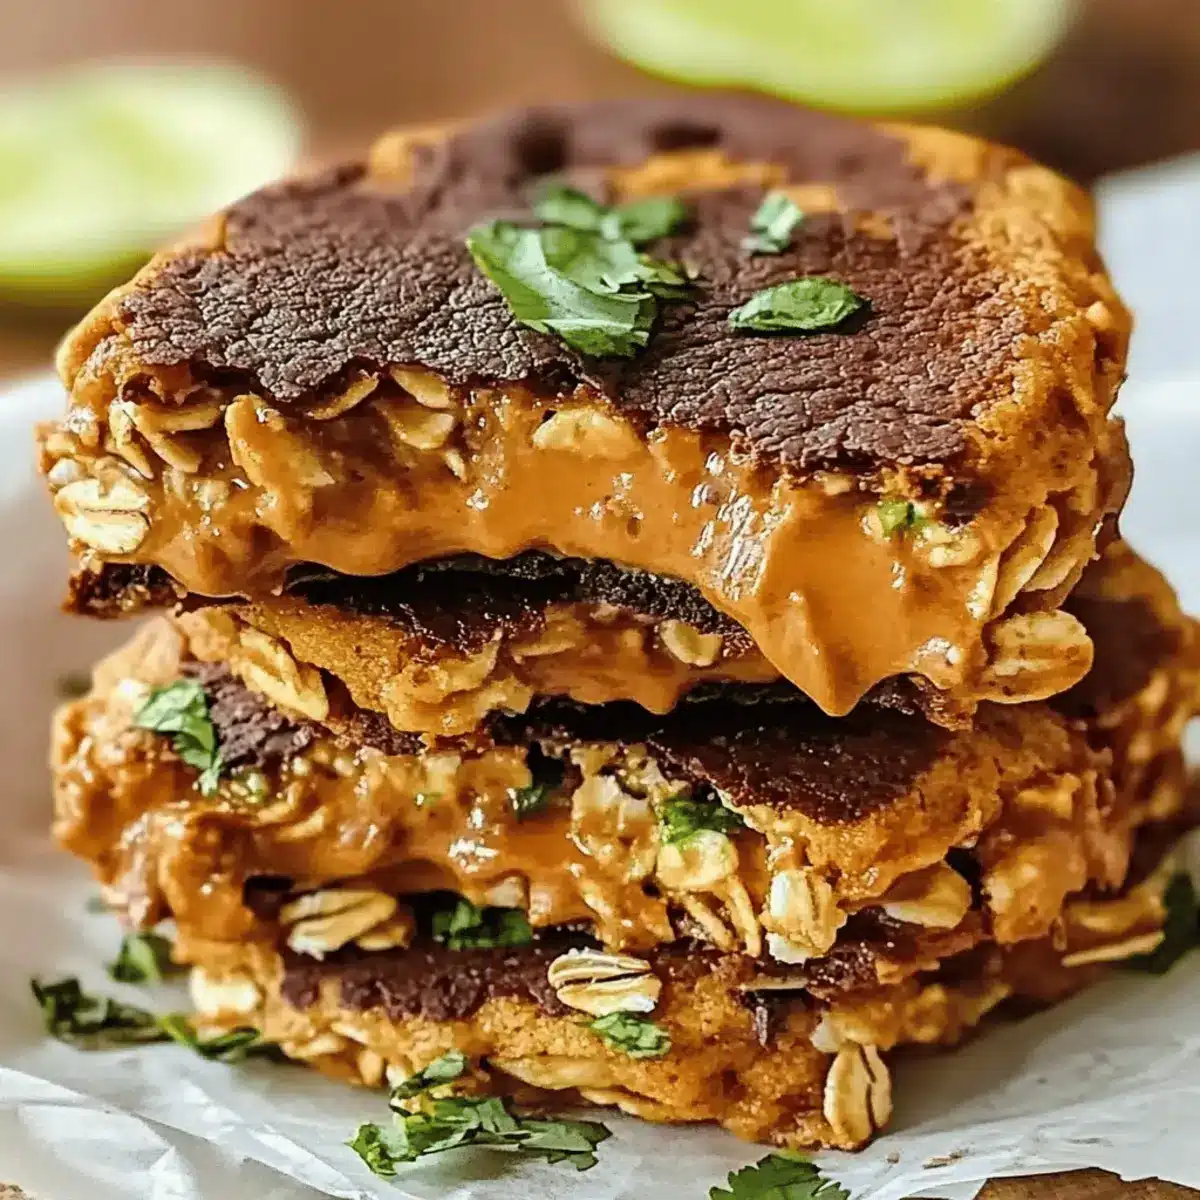
Once chilled, remove the cookies from the refrigerator, and they’re ready to be served! You can enjoy these delicious no-bake chocolate oat cookies cold or at room temperature. Snack on them straight from the tray or pair them with a glass of milk for an extra treat.
Make Ahead Options
These 4-Ingredient No-Bake Chocolate Oat Cookies are perfect for busy home cooks looking to save time without sacrificing taste! You can prepare the cookie mixture up to 3 days in advance—simply combine the rolled oats, cocoa powder, peanut butter, and honey or maple syrup as directed. Once mixed, store the dough in an airtight container in the refrigerator to keep it fresh. When you’re ready to serve, just scoop and form the cookies, then chill them for at least 30 minutes to set. This way, you’ll enjoy delicious cookies at a moment’s notice, just as satisfying as if you made them fresh!
Expert Tips for No-Bake Chocolate Oat Cookies
- Melt Your Peanut Butter: Heating the peanut butter slightly before mixing can create a smoother texture and help with better incorporation.
- Avoid Crumbly Cookies: Ensure all ingredients are well mixed; any dry pockets can lead to cookies that fall apart.
- Chill Wisely: Don’t over-chill your cookies; they should be firm yet soft to the bite. Aim for a balance when setting in the refrigerator.
- Customize with Add-ins: Feel free to experiment by adding nuts, chocolate chips, or dried fruit for extra flavor and texture in your no-bake chocolate oat cookies.
- Use Quality Ingredients: Opt for high-quality cocoa powder and natural sweeteners for the best flavorful experience in every bite.
Variations & Substitutions for Chocolate Oat Cookies
Experiment and make these cookies your own with these fun variations that cater to all tastes!
- Nut-Free: Replace peanut butter with sunflower seed butter to enjoy a nut-free twist that still binds everything together beautifully.
- Vegan Delight: Opt for maple syrup instead of honey for a completely vegan-friendly treat without losing the sweetness all cookie lovers crave.
- Gluten-Free: Use certified gluten-free oats to create a batch that everyone can enjoy, ensuring the same great taste and texture without gluten.
- Flavor Boost: Mix in 1/2 cup of chocolate chips or dried fruit, like cranberries or apricots, for a delicious surprise in every bite. Chocolate and nut butter make quite the dynamic duo!
- Extra Crunch: Toss in some chopped nuts like almonds or walnuts for a delightful crunch that contrasts perfectly with the chewy texture of the oats.
- Spice It Up: Incorporate a pinch of cinnamon or a splash of vanilla extract for a warm, cozy flavor that will transport you to your favorite bakery.
- Low-Calorie Option: Swap out honey for a sugar substitute, like agave syrup or stevia, to lower calories while still satisfying that sweet tooth.
- Fruity Twist: Add puréed banana or applesauce in place of some of the peanut butter for a find flavor variation that adds natural sweetness and moisture.
Being free to adapt your recipes keeps the love for cooking alive. Serve your creations with a side of fresh fruit or pair with a glass of your favorite milk for a deliciously balanced treat! Looking for other incredible meal ideas? Try out this Crockpot Chicken and Potatoes for an easy dinner or enjoy my Hawaiian Chicken Salad for a delightful lunch experience!
Storage Tips for 4-Ingredient No-Bake Chocolate Oat Cookies
- Room Temperature: Store cookies in an airtight container at room temperature for up to 1 week. This keeps them fresh for snacking on-the-go or enjoying evenings at home.
- Fridge: If you prefer an extra-chilled treat, keep the cookies in the refrigerator for longer-lasting freshness. They can stay good for up to 2 weeks.
- Freezer: For longer storage, freeze the cookies in a single layer on a baking sheet, then transfer to an airtight container. They can be frozen for up to 3 months.
- Reheating: There’s no need to reheat these no-bake chocolate oat cookies, but you can let them sit at room temperature for a few minutes if they’ve been in the fridge to soften slightly.
What to Serve with 4-Ingredient No-Bake Chocolate Oat Cookies
What could enhance the delightful chocolatey goodness of these bites?
Pairing these cookies with a variety of flavors and textures can elevate your snacking experience to new heights.
-
Creamy Yogurt: The cool creaminess of yogurt adds a delicious contrast to the chewy cookies, making for a well-balanced snack.
-
Fresh Berries: Juicy blueberries or strawberries provide a burst of freshness that complements the rich chocolate flavor beautifully.
-
Nutty Granola: Sprinkle some granola on top for an extra crunch that pairs perfectly with the soft texture of the cookies.
-
Cold Glass of Milk: A classic pairing, milk’s subtle flavors enhance each bite of the cookies and make for a nostalgic treat.
-
Coconut Whipped Cream: Lusciously fluffy coconut cream on the side offers a light, tropical twist that can make your taste buds dance.
-
Dark Chocolate Dipping Sauce: Drizzling or dipping your cookies into a rich chocolate sauce can intensify the chocolate experience and please any chocolate lover.
-
Chai Tea: The warm, spiced notes of chai make for a cozy pairing, balancing the sweetness while offering a comforting touch.
Elevate your cookie delight by exploring these delicious combinations that turn a simple treat into a full snacking experience!
4-Ingredient No-Bake Chocolate Oat Cookies Recipe FAQs
How can I choose the right oats for this recipe?
Absolutely! For these no-bake chocolate oat cookies, I recommend using rolled oats as they provide the best texture. If you’re making a gluten-free version, make sure to select oats labeled as “certified gluten-free,” as this ensures they haven’t been contaminated with gluten during processing.
What is the best way to store these cookies?
Store your 4-ingredient no-bake chocolate oat cookies in an airtight container at room temperature for up to 1 week. If you’d like to prolong their freshness, keep them in the refrigerator, where they can last for up to 2 weeks. Just remember to bring them back to room temperature before serving for the best taste!
Can I freeze the cookies, and if so, how?
Yes, you can freeze these delicious cookies! To freeze, place them in a single layer on a baking sheet, ensuring they are not touching. Freeze for about 1 to 2 hours until solid, then transfer them to an airtight container or freezer bag. They can be stored frozen for up to 3 months. When ready to enjoy, simply let them thaw in the fridge overnight or at room temperature for a couple of hours.
What should I do if my cookies are crumbly?
If your no-bake chocolate oat cookies are crumbly, it may be due to not mixing the wet and dry ingredients thoroughly enough. Make sure all the oats are fully coated with the peanut butter and sweetener mixture. If the mixture feels too dry, try adding a tiny bit more peanut butter or a drizzle of honey/maple syrup to help bind the ingredients together smoothly.
Are there any dietary considerations for these cookies?
Very! These cookies can easily accommodate various dietary needs. For a gluten-free option, use certified gluten-free oats. To make them vegan, simply replace honey with maple syrup. If you have nut allergies, you can substitute peanut butter with sunflower seed butter or tahini for a nut-free treat. Just be mindful of the brand you choose, as some may still contain allergens.
What potential add-ins can I include?
The more the merrier! Feel free to tailor your no-bake chocolate oat cookies by adding chocolate chips, dried fruits like cranberries or raisins, or even chopped nuts for an extra crunch. Just make sure any add-ins complement the cookies’ base flavors without overwhelming them. Have fun experimenting with different combinations!
Irresistible Chicken Avocado Melt Sandwich You’ll Love
Ingredients
Equipment
Method
- In a mixing bowl, add rolled oats and cocoa powder. Stir until evenly coated.
- In a separate bowl, mix peanut butter and honey or maple syrup until smooth.
- Fold the wet mixture into the dry ingredients until well combined.
- Scoop out portions, shape into balls, and place on a parchment-lined baking sheet.
- Refrigerate for at least 30 minutes to firm up.
- Serve chilled or at room temperature.
Leave a Reply