
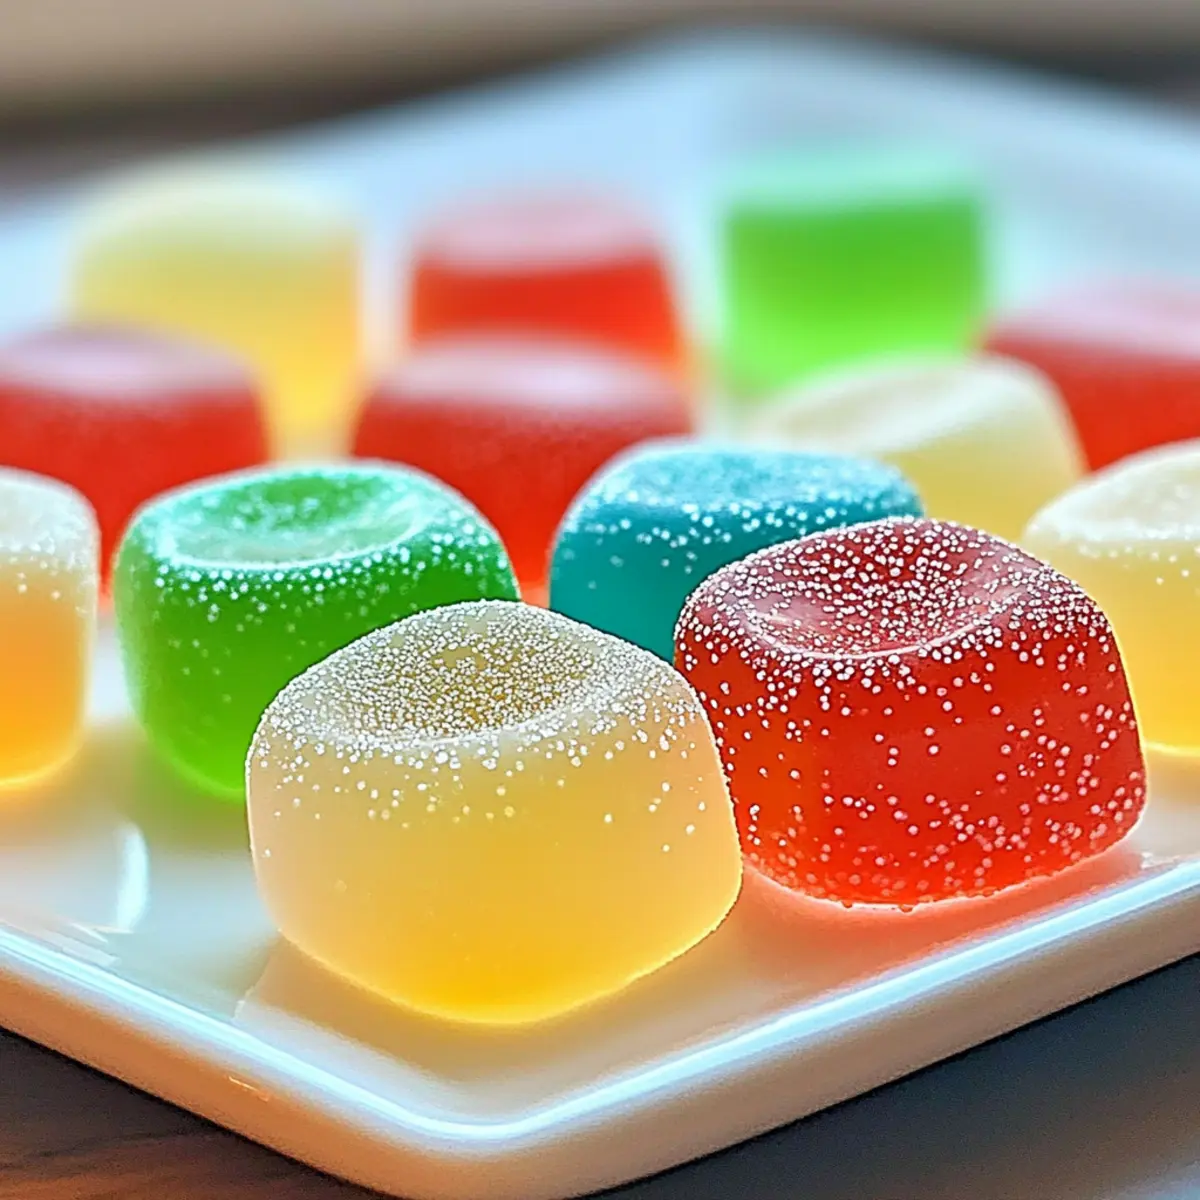
As I rummaged through my pantry, the sight of those bright, colorful Jello packets made my heart skip a beat. It’s amazing how something so simple can weave a tapestry of fun and nostalgia, doesn’t it? These Irresistible Jello Candy Melts are not just a feast for the eyes; they offer a delightful burst of fruity flavors and a unique melt-in-your-mouth texture that’s perfect for any occasion. Plus, they’re super easy to whip up and gluten-free, making them an ideal treat for everyone. Whether you’re looking to impress at a party or simply indulge your sweet tooth, these customizable candies are sure to be a hit. So, what flavors will you choose to create your masterpiece?
Why are Jello Candy Melts a must-try?
Customization, the beauty of this recipe lies in its versatility; you can mix and match flavors to suit your taste. Simplicity, these delightful candies require minimal ingredients and effort—perfect for even beginner chefs! Crowd-Pleaser, children and adults alike will adore these vibrant treats, making them ideal for parties or gatherings. Texture, enjoy a unique melt-in-your-mouth experience that contrasts chewy sweetness with a slight firmness. Want to explore more fun candy ideas? Check out my Easy Candy Recipes for further inspiration!
Jello Candy Melts Ingredients
For the Candy Mix
- Jello Powder – Provides the fruity flavor and vibrant color; feel free to experiment with any flavor that excites you!
- Confectioners’ Sugar – Enhances sweetness; use powdered sugar if you don’t have confectioners’ on hand.
- Butter – Adds richness and binds the ingredients; opt for vegan butter to make it dairy-free.
- Vanilla Extract – Elevates the flavor profile; almond extract can offer a delightful twist instead.
- Water – Necessary for mixing the ingredients; flavored liquids like fruit juice can add an extra burst of taste.
For Optional Add-ins
- Sprinkles or Edible Glitter – Perfect for decorating; these fun additions can elevate the visual appeal and excitement.
- Nuts or Coconut Flakes – Add texture and a distinct nutty flavor; a wonderful way to personalize your Jello Candy Melts!
These Jello Candy Melts ingredients come together to create a fun and customizable treat that’s both easy to make and gluten-free!
Step‑by‑Step Instructions for Jello Candy Melts
Step 1: Prepare Workspace
Begin by clearing your kitchen countertop and gathering all necessary ingredients for your Jello Candy Melts. Ensure you have a large mixing bowl, a small saucepan, parchment paper, and a cookie sheet ready. This prep will streamline the process, allowing you to focus on creating these delicious candies without unnecessary interruptions.
Step 2: Mix Dry Ingredients
In a large bowl, combine the Jello powder and confectioners’ sugar, mixing thoroughly until well blended. You should see a unified color that reflects the vibrant Jello you chose. This step is crucial as it ensures the flavors meld beautifully in your Jello Candy Melts, setting the stage for a sweet, fruity treat that will delight everyone.
Step 3: Melt Butter
Place your butter in a small saucepan and melt it over low heat, stirring gently to prevent browning. Keep an eye on it, as this should only take a couple of minutes. Once fully melted, remove from heat and allow the butter to cool slightly, ensuring a perfect blend of flavors when mixed with your dry ingredients.
Step 4: Combine Wet Ingredients
Pour the melted butter into the bowl with your dry ingredients. Now, add the vanilla extract and just enough water to form a thick, sticky paste. Stir consistently until you achieve a smooth consistency, ensuring that all components are well incorporated. This mixture is the foundation of your Jello Candy Melts, bursting with flavor and ready to take shape.
Step 5: Shape Candy Melts
With clean hands, form small balls or flat discs of candy from the mixture and place them neatly on a parchment paper-lined baking sheet. Aim for uniform sizes to ensure even consistency in your Jello Candy Melts, making them visually appealing. This is where you can get creative; the shape ultimately adds to the fun!
Step 6: Chill
Once shaped, place the baking sheet in the refrigerator for approximately one hour. This chilling time allows your Jello Candy Melts to firm up, developing that perfect texture that’s both chewy and firm. Keep an eye on them, and they’ll be ready when they no longer stick to your fingers when touched.
Expert Tips for Jello Candy Melts
-
Mix Thoroughly: Ensure you combine the Jello powder and confectioners’ sugar well. This promotes an even flavor distribution throughout your Jello Candy Melts.
-
Careful Butter Melting: Melt the butter over low heat and avoid browning. This keeps your candy mix creamy and prevents unwanted flavors.
-
Use Molds: For exciting shapes, pour the mixture into silicone molds while it’s still warm. This makes for eye-catching treats that everyone will love!
-
Add Textures: Consider incorporating nuts, coconut flakes, or sprinkles into the mixture for added texture. This can create delightful surprises in every bite.
-
Proper Storage: Store your Jello Candy Melts in an airtight container to maintain freshness. They can last at room temperature for up to two weeks without losing their charm.
-
Flavor Adventures: Don’t hesitate to mix flavors; combining fruity options like cherry and lemon can lead to exciting new tastes in your Jello Candy Melts.
Jello Candy Melts Variations & Substitutions
Feel free to add your personal touch to these delightful candy melts and let your creativity shine!
- Flavored Juices: Swap out water for fruit juice like orange or pineapple for a zesty twist.
- Nutty Delight: Fold in crushed nuts or shredded coconut for added crunch and a unique flavor profile.
- Festive Shapes: Use seasonal or occasion-themed molds, like stars for holidays or hearts for celebrations.
- Spicy Kick: Add a pinch of cayenne or chili powder to your mix for a surprising heat that’s balanced by the sweetness.
- Dairy-Free: Substitute butter with coconut oil or vegan butter for a delicious, dairy-free version.
- Colorful Layers: Layer different colors of Jello in your molds, letting each layer set before adding the next for an artistic touch.
- Herbal Infusions: Experiment with adding fresh herbs like mint or basil for an unexpected flavor combination that excites the palate.
- Chocolate Drizzle: Once set, drizzle melted chocolate over the tops for a decadent finish and an eye-catching presentation.
For more fun recipes to keep your kitchen buzzing, visit my Easy Candy Recipes and start your next culinary adventure!
What to Serve with Irresistible Jello Candy Melts
Imagine your gathering illuminated by laughter and colorful treats, with these delightful Jello Candy Melts leading the parade of sweetness!
- Fruit Skewers: Bright and juicy, these fresh fruit skewers add a refreshing crunch that complements the chewy texture of the candy melts.
- Chocolate Fondue: A rich, warm dip brings out a delightful contrast of flavors and indulgence, making for a fun interactive dessert.
- Ice Cream: Serve alongside a scoop of creamy vanilla or fruity sorbet for a delightful flavor fusion that dazzles the palate.
- Popcorn Bar: A colorful array of popcorn flavors adds fun textures and creativity, allowing guests to mix and match their treats.
- Lemonade or Fruit Punch: Bright and tangy drinks elevate the festive atmosphere and provide a refreshing balance to the sweetness.
- Mini Cupcakes: These bite-sized delights, frosted in fun colors, create a delightful duo with the Jello Candy Melts for a party favorite.
- Cheese Platter: Offer a savory cheese selection for a sophisticated balance, with richer tastes balancing the fruity sweetness of the candy.
- Milkshake Station: An array of flavors lets everyone customize their shakes, turning the dessert table into a whimsical celebration.
How to Store and Freeze Jello Candy Melts
Airtight Container: Store your Jello Candy Melts in an airtight container at room temperature for up to two weeks to maintain their chewy texture and fruity flavor.
Refrigeration: If you prefer them chilled, keep the candies in the fridge for up to 1 month. Just ensure they are well wrapped to prevent drying out.
Freezing: For longer storage, freeze Jello Candy Melts in a single layer on a baking sheet before transferring them to a freezer-safe bag for up to 3 months.
Reheating: If you want to soften them, let the candies sit at room temperature for about 10 minutes before enjoying.
Make Ahead Options
These Jello Candy Melts are perfect for busy home cooks looking to save time! You can prepare the candy mixture up to 24 hours in advance by combining the dry ingredients (Jello powder and confectioners’ sugar) ahead of time and storing them in an airtight container. This way, when you’re ready to make the treats, all you need to do is melt the butter, combine the wet ingredients, and shape the melts. For optimal freshness, chill the shaped melts in the refrigerator for about an hour before serving. They’ll be just as delightful and flavorful, ensuring your sweet creations are ready to impress without the last-minute rush!
Jello Candy Melts Recipe FAQs
How do I choose the right ripeness of ingredients?
Absolutely! When it comes to selecting ingredients for your Jello Candy Melts, the Jello powder should be fresh and vibrant, as expired powder can lose its flavor and color intensity. Look for bright packaging without any signs of damage. The butter should be fresh and creamy, without any off odors. If using vanilla extract, ensure it’s pure for the best flavor.
What’s the best way to store Jello Candy Melts?
Very! To preserve the delightful texture and flavors of your Jello Candy Melts, store them in an airtight container at room temperature. They can last this way for up to two weeks. If you like, you can pop them in the refrigerator for a cooler treat, extending their shelf life slightly to about one month. Just be sure they’re well covered to avoid drying out!
Can I freeze Jello Candy Melts, and how?
Certainly! Freezing your Jello Candy Melts is a great way to enjoy them later. Begin by placing your candy melts in a single layer on a baking sheet and put them in the freezer for about an hour until they’re firm. After that, transfer them to a freezer-safe bag, ensuring you squeeze out as much air as possible. They can stay frozen for up to 3 months! When you’re ready to enjoy them, let them sit at room temperature for about 10 minutes to soften slightly.
What should I do if my Jello Candy Melts are too sticky?
Not to worry! If your Jello Candy Melts turn out too sticky, it might be due to an excess of moisture or not enough confectioners’ sugar in the mix. To fix this, add a little more confectioners’ sugar, about a tablespoon at a time, until the mixture reaches a more manageable consistency. Ensure that you mix thoroughly, and if necessary, refrigerate the mixture for a short time to help it firm up before shaping.
Are Jello Candy Melts safe for people with dietary restrictions?
Absolutely! Jello Candy Melts can be a fun treat for many, as they are gluten-free depending on the specific Jello flavor used. However, it’s essential to check the packaging for any allergens and consider using vegan butter if you’re dairy-sensitive. If making these for children or guests, feel free to ask about allergies beforehand to make sure everyone enjoys safely!
Can I customize the flavors and colors of my Jello Candy Melts?
Very much so! The beauty of Jello Candy Melts lies in their customization. Mix and match different Jello flavors to create unique combinations, like strawberry-lime or orange-grapefruit. You can also experiment with food coloring for vibrant hues that can match a theme. This approach not only makes your treats tastier but also adds a personal touch to every batch you create.
Colorful Jello Candy Melts: Easy, Fun, and Customizable Treats
Ingredients
Equipment
Method
- Begin by clearing your kitchen countertop and gathering all necessary ingredients.
- In a large bowl, combine the Jello powder and confectioners' sugar, mixing until well blended.
- Place the butter in a small saucepan and melt over low heat.
- Pour the melted butter into the dry ingredients, add vanilla extract and enough water to make a sticky paste.
- Form small balls or flat discs from the mixture and place them on a parchment-lined baking sheet.
- Refrigerate the baking sheet for approximately one hour until the candies firm up.
Leave a Reply