
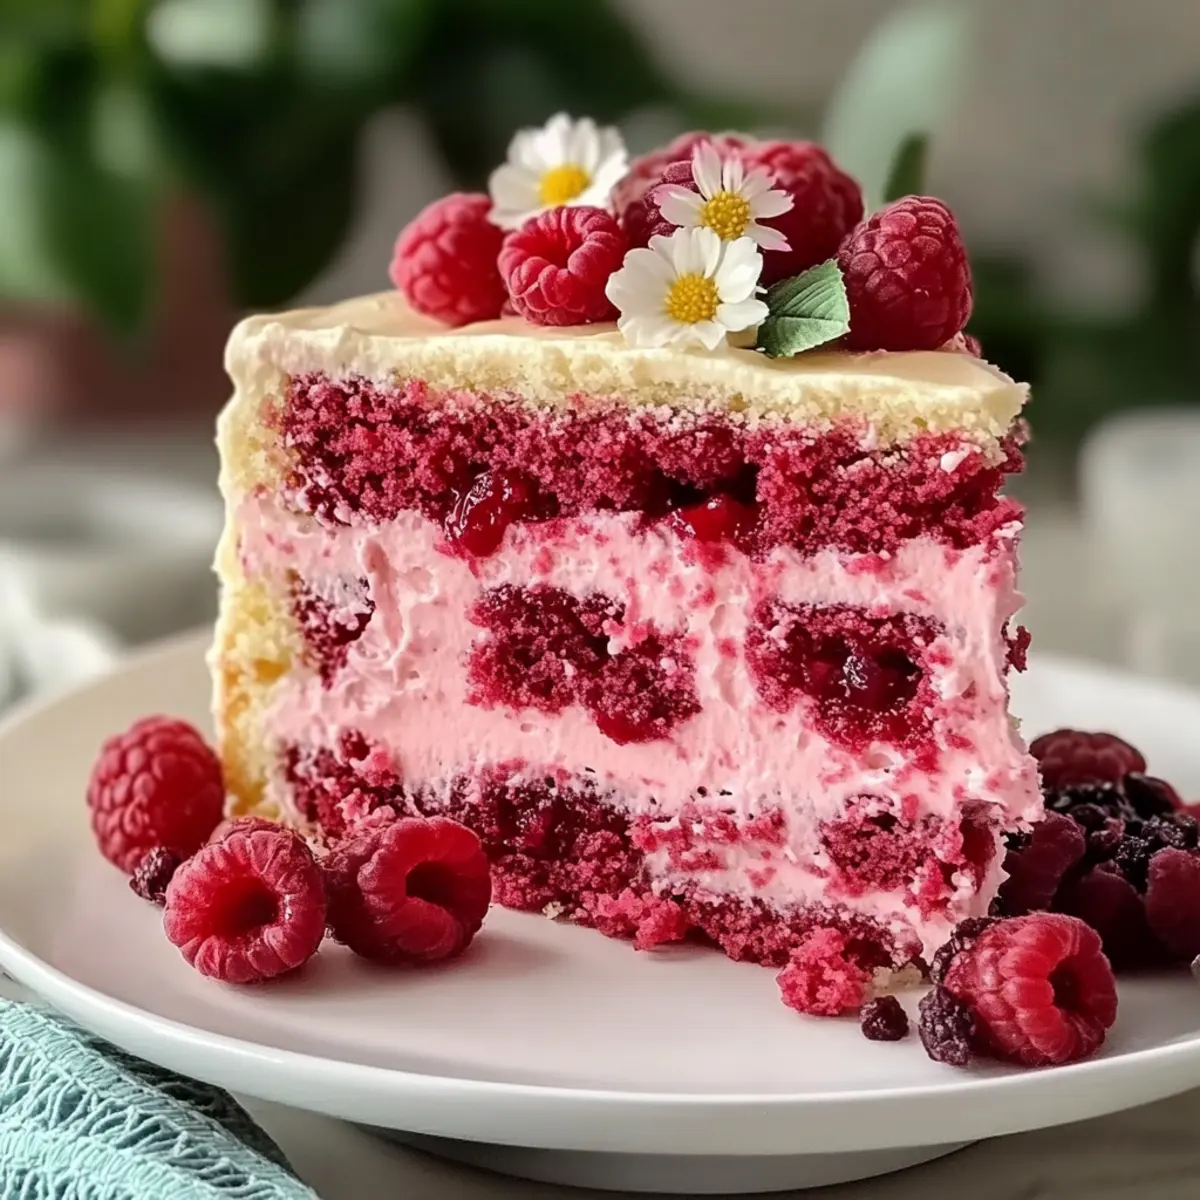
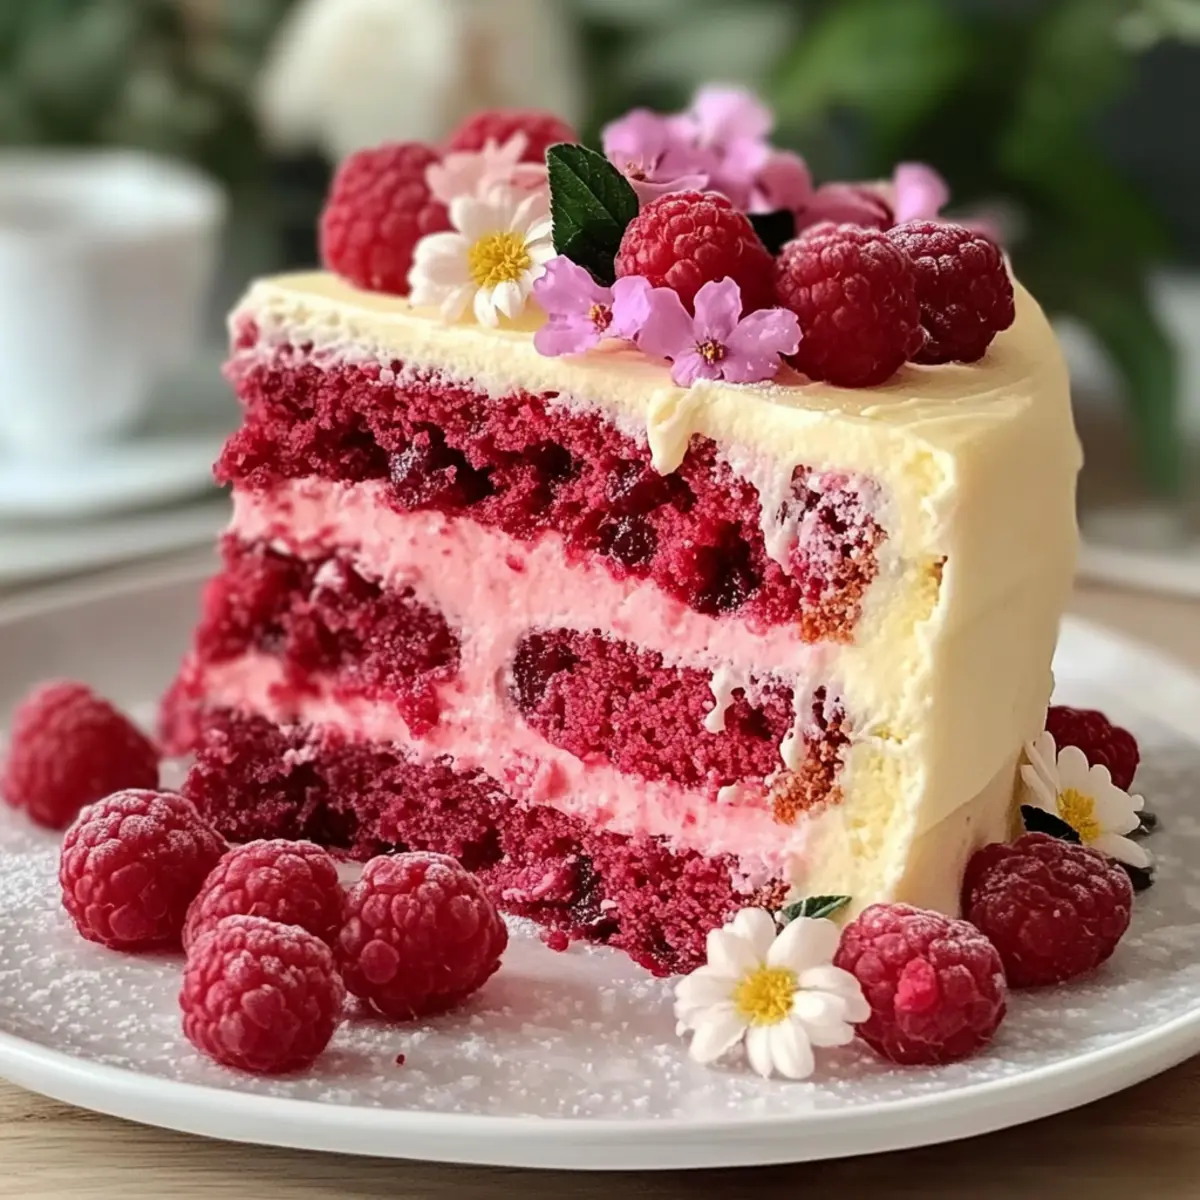
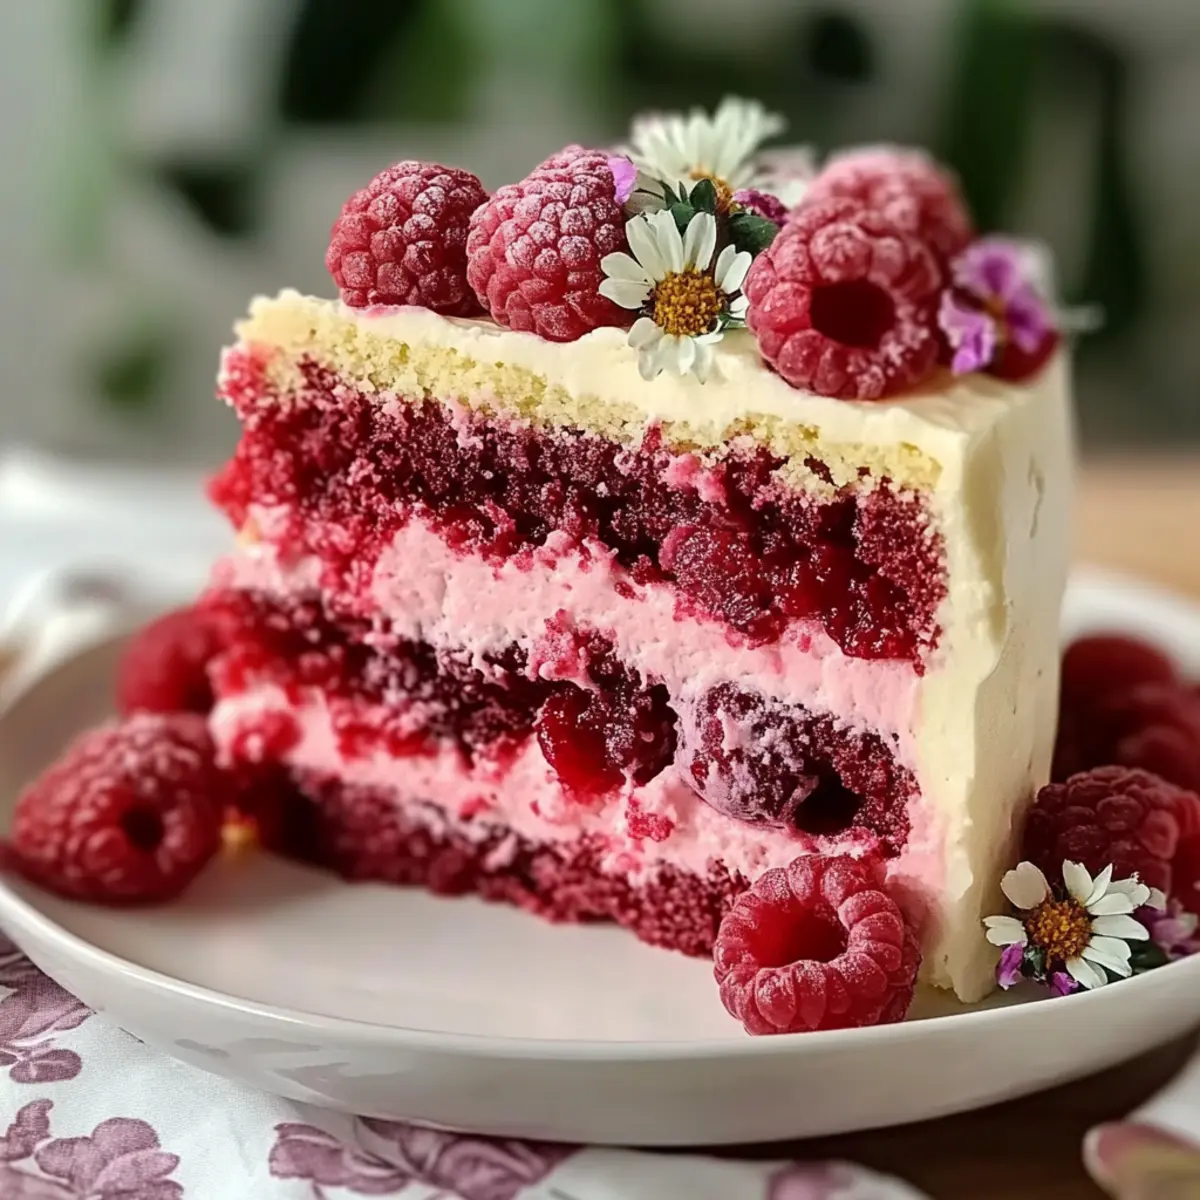
A vibrant splash of color and flavor awaits as you dive into my Raspberry Layer Cake adventure! When I first perfected this recipe, I couldn’t believe how something so elegant could be made with such ease. This delightful dessert features moist layers of vanilla cake, each wrapped around a tangy raspberry filling and smothered in silky Swiss Meringue Buttercream. Not only is it an absolute showstopper for any celebration, but it’s also a crowd-pleaser that will have everyone reaching for seconds. Plus, the beautiful layers make it perfect for adding your own creative flair! Ready to impress your friends and family with this stunning homemade treat? Let’s get started!

Why is Raspberry Layer Cake a Must-Try?
Elegance in Simplicity: This cake brings together moist layers of vanilla and tart raspberry for a stunning dessert that looks as amazing as it tastes.
Versatile Flavors: Feel free to mix in other berries or even go chocolatey for a rich twist.
Quick and Easy: With straightforward steps, you’ll feel like a pro in no time—even if you’re new to baking!
Perfect for Celebrations: Whether it’s a birthday, anniversary, or just a fun dessert night, this Raspberry Layer Cake is sure to impress.
Make Ahead: The cake layers and filling can be prepared in advance, letting you enjoy stress-free party planning!
If you’re looking for more delicious ideas, don’t miss out on my Fruity Pebbles Cheesecake or the Pumpkin Cupcakes Deliciously. Indulge your sweet tooth today!
Raspberry Layer Cake Ingredients
• Discover the magic of this Raspberry Layer Cake with these essential components!
For the Cake Layers
• All-purpose flour – Provides structure and stability; a gluten-free flour blend can be a substitute, but results may differ.
• Baking powder – Aids in leavening, creating a light texture for the cake.
• Baking soda – Helps achieve a lighter crumb, especially when paired with acidic ingredients like buttermilk.
• Salt – Enhances overall flavor, balancing the sweetness of the cake.
• Unsalted butter – Adds richness and moisture; using cold butter during creaming will produce a lighter texture.
• Granulated sugar – Sweetens the cake while aiding in browning.
• Eggs – Provide moisture and structure; make sure they’re at room temperature for better incorporation.
• Vanilla extract – Adds depth and warmth to the flavor profile.
• Buttermilk – Contributes to tenderness and moisture due to its acidity; can be substituted with milk mixed with vinegar or lemon juice (1 cup minus 1 tsp).
For the Raspberry Filling
• Fresh raspberries – The star ingredient for the vibrant filling; frozen raspberries can also work if fresh are unavailable.
• Lemon juice – Brightens the flavor of the raspberry filling, enhancing its tartness.
• Cornstarch – Thickens the raspberry filling; arrowroot powder can be used as an alternative.
• Water – Creates a slurry to help thicken the filling.
For the Swiss Meringue Buttercream
• Egg whites – Essential for providing volume and stability to the buttercream.
• Powdered sugar – Sweetens and stabilizes the buttercream, giving it that delightful smoothness.
For Decoration
• Edible flowers – Optional, but adds an elegant touch for presentation.
Gather these ingredients, and you’re ready to create a stunning Raspberry Layer Cake that will warm hearts and fill stomachs!
Step‑by‑Step Instructions for Raspberry Layer Cake
Step 1: Preheat the Oven
Begin by preheating your oven to 350°F (175°C). While the oven heats, prepare three 9-inch round cake pans by greasing them with butter and dusting with flour, ensuring an easy release once baked. Set them aside as the oven reaches the perfect temperature for baking the moist layers of your Raspberry Layer Cake.
Step 2: Combine Dry Ingredients
In a medium bowl, whisk together 2 cups of all-purpose flour, 2 teaspoons of baking powder, 1 teaspoon of baking soda, and 1/2 teaspoon of salt. This mixture is crucial for a well-risen cake, so stir until all ingredients are evenly distributed. Set aside the bowl while you prepare the wet mixture for the Raspberry Layer Cake to keep your baking organized.
Step 3: Cream Butter and Sugar
In a large mixing bowl, use a hand mixer or stand mixer fitted with the paddle attachment to cream together 1 cup of unsalted butter and 1 ¾ cups of granulated sugar on medium speed. Beat until the mixture turns light and fluffy, about 4-5 minutes. This step is essential for incorporating air into the batter, contributing to the cake’s moist texture.
Step 4: Incorporate Eggs and Vanilla
Add 3 large eggs, one at a time, to the creamed butter and sugar mixture, blending well after each addition. Follow with 1 teaspoon of vanilla extract and mix until fully incorporated. Scrape down the sides of the bowl to ensure everything is combined, creating a rich base for your delicious Raspberry Layer Cake.
Step 5: Mix in Dry Ingredients and Buttermilk
Alternately add the dry ingredients and 1 cup of buttermilk to the butter mixture, starting and ending with the dry ingredients. Mix on low speed until just combined; avoid overmixing to keep the cake light and airy. You want a smooth batter that’s slightly thick, ready to pour into the prepared pans.
Step 6: Bake the Cake Layers
Divide the batter evenly among the three prepared pans, smoothing the tops with a spatula. Place them in the preheated oven and bake for 25-30 minutes or until a toothpick inserted into the center comes out clean. Once baked, the layers should have a golden color and spring back gently when touched, indicating they’re perfectly done.
Step 7: Cool the Cake Layers
After baking, allow the cake layers to cool in the pans for 10 minutes. Then, gently remove them from the pans and transfer to a wire rack to cool completely. This step prevents condensation and sogginess in your moist Raspberry Layer Cake, ensuring firm yet tender cake layers ready for assembly.
Step 8: Prepare the Raspberry Filling
While the cakes cool, make the raspberry filling by combining 2 cups of fresh raspberries, 1/2 cup of sugar, and 1 tablespoon of lemon juice in a saucepan over medium heat. Stir occasionally until the raspberries break down, about 5-7 minutes. This mixture will create a flavorful filling that pairs beautifully with the cake.
Step 9: Thicken the Filling
In a small bowl, create a slurry by mixing 2 tablespoons of cornstarch with 2 tablespoons of water. Stir this mixture into the raspberry filling on the stove and continue cooking for an additional 2-3 minutes until it thickens. Remove from heat and allow the filling to cool completely before using it in the Raspberry Layer Cake.
Step 10: Make the Swiss Meringue Buttercream
In a heatproof bowl, combine 4 large egg whites and 1 cup of granulated sugar. Set the bowl over a pan of simmering water and whisk constantly until the sugar dissolves and the mixture reaches 160°F (70°C) on a candy thermometer. This step ensures your buttercream is safe to eat and stable.
Step 11: Whip the Buttercream
Once heated, transfer the mixture to a stand mixer and whip on high speed until stiff peaks form and the meringue cools to room temperature, about 8-10 minutes. Gradually add 2 cups of unsalted butter, one tablespoon at a time, mixing until the buttercream is smooth and creamy. Add 1 teaspoon of vanilla extract and a pinch of salt for flavor in your Raspberry Layer Cake.
Step 12: Assemble the Cake
Place one layer of the cooled cake on a cake stand or serving plate. Spread a layer of raspberry filling and then a layer of buttercream on top. Repeat with the second layer, and top it with the final cake layer. Apply a thin crumb coat of buttercream around the entire cake, then chill for 30 minutes to set. Finish by frosting the cake with a thicker layer of buttercream and decorate it with fresh raspberries and edible flowers for a stunning Raspberry Layer Cake presentation.
Expert Tips for Raspberry Layer Cake
Room Temperature Ingredients: Ensure all ingredients like eggs and butter are at room temperature for better incorporation and a smooth batter.
Quality Matters: Use high-quality vanilla extract and fresh raspberries for the best flavor. Cheap substitutes can diminish the cake’s overall taste.
Don’t Overmix: When combining wet and dry ingredients, mix until just combined. Overmixing can lead to a tough texture in your Raspberry Layer Cake.
Cool Completely: Allow cake layers to cool completely before frosting to prevent the buttercream from melting or sliding off.
Check for Doneness: Use a toothpick to test for doneness. If it comes out clean, your cake is ready! Overbaking can lead to dryness, so keep an eye on your layers.
Raspberry Layer Cake Variations & Substitutions
Feel free to add your own personal touch to this delightful recipe with these fun twists!
- Mixed Berries: Combine fresh blueberries or strawberries with raspberries for a colorful, berry-packed filling.
- Chocolate Twist: Add ½ cup of cocoa powder to the cake batter for a rich chocolate raspberry experience.
- Zesty Lemon: Fold in the zest of one lemon into the batter; this brightens flavors and adds a refreshing twist.
- Berry Cupcakes: Bake the batter in muffin tins for charming raspberry cupcakes, perfect for parties or lunches.
- Nutty Crumble: Incorporate chopped nuts, like almonds or hazelnuts, into the cake batter for added texture and flavor.
- Vegan Version: Substitute eggs with flax eggs and use plant-based butter or coconut oil for a vegan-friendly version.
- Spicy Kick: Add a pinch of cayenne pepper or cinnamon to the raspberry filling for a surprising, spicy warmth.
- Almond Flour: Swap half of the all-purpose flour with almond flour for a nutty flavor and moist texture.
For more delicious ideas, don’t forget to check out my Orange Creamsicle Cheesecake for a delightful fruity twist or indulge in my Apple Crisp Mini Cheesecakes that are sure to please!
How to Store and Freeze Raspberry Layer Cake
Fridge: Store leftover Raspberry Layer Cake in an airtight container for up to 3 days to maintain its moist texture and flavorful layers.
Freezer: For longer storage, freeze unassembled cake layers separately, wrapped tightly in plastic wrap and aluminum foil, for up to 2 months.
Reheating: When ready to enjoy, thaw the cake layers overnight in the fridge, then assemble with filling and buttercream when fully defrosted.
Decoration Tip: If freezing, wait to add decorative elements like edible flowers and fresh raspberries until after thawing and before serving for the best presentation.
Make Ahead Options
These Raspberry Layer Cake preparations are perfect for busy home cooks looking to save time! You can bake the cake layers and prepare the raspberry filling up to 24 hours in advance. Simply allow the layers to cool completely, then wrap them tightly in plastic wrap to prevent drying out and refrigerate. The raspberry filling should be cooled and stored in an airtight container in the fridge as well. When you’re ready to serve, assemble the cake by layering the chilled cake with the raspberry filling and buttercream, then finish with any additional decorations. This way, you’ll have a stunning dessert with minimal effort on the day of your event!
What to Serve with Raspberry Layer Cake
A stunning dessert deserves delightful companions that enhance the entire experience, making every bite even more satisfying.
- Whipped Cream: A dollop of freshly whipped cream lightens each forkful, providing a fluffy contrast to the dense cake layers.
- Vanilla Ice Cream: Creamy vanilla ice cream melts into the cake, making each bite a heavenly blend of flavors that dance on your palate.
- Fresh Berries: A side of fresh raspberries or strawberries adds a vibrant splash and complements the flavor of the cake beautifully, enhancing its fruity essence.
- Lemon Sorbet: The refreshing tartness of lemon sorbet cuts through the sweetness, offering a zesty palate cleanser that resets your tastebuds.
- Coffee: A warm mug of rich coffee pairs perfectly with this dessert, balancing the sweetness and bringing out the raspberry’s vibrant notes.
- Sparkling Wine: A glass of bubbly sparkling wine or prosecco elevates any occasion, making your cake feel even more special with its celebratory fizz.
- Chocolate Ganache: Drizzling warm chocolate ganache over a slice adds an indulgent touch, creating a wonderful marriage between chocolate and raspberry flavors.
- Nutty Biscotti: Crunchy biscotti provide a nice textural contrast, perfect for dipping into your coffee or enjoying alongside the cake.
- Mint Tea: A refreshing cup of mint tea complements the sweetness while adding soothing herbal notes to your dessert experience.
Raspberry Layer Cake Recipe FAQs
How do I choose the right raspberries for my cake?
Absolutely! When selecting raspberries for your cake, look for plump, vibrant berries with a deep color and slight sheen. Avoid any with dark spots or mushiness, as these can indicate overripeness. If fresh raspberries aren’t available, frozen ones can work just fine; just be sure to thaw and drain any excess moisture before using them in your filling.
How should I store my Raspberry Layer Cake?
To keep your cake fresh and moist, store leftover Raspberry Layer Cake in an airtight container in the refrigerator for up to 3 days. If you notice any signs of sogginess or if you’re worried about it drying out over time, you can wrap individual slices in plastic wrap before placing them in the container. This keeps them tasty for your next sweet craving!
Can I freeze Raspberry Layer Cake?
Very! You can freeze your Raspberry Layer Cake, but it’s best to freeze the unassembled layers. Wrap each cake layer tightly in plastic wrap and then in aluminum foil to protect against freezer burn. This way, they can last up to 2 months! When you’re ready to enjoy, thaw the layers overnight in the fridge before frosting and assembling.
What should I do if my cake layers turn out dry?
If your cake layers end up dry, don’t despair! Next time, ensure you’re measuring your flour correctly—too much can make the cake dense and dry. Also, avoid overbaking; remember to check for doneness with a toothpick at the lower end of the baking time. If you’ve already baked them, you can drizzle a simple syrup over the cooled layers to add moisture back in before frosting!
Is Raspberry Layer Cake suitable for everyone, including pets?
While this Raspberry Layer Cake is a delicious treat for people, it’s important to note that it contains ingredients such as sugar and butter that aren’t ideal for pets, especially dogs. Make sure to keep it out of reach of any furry friends and be mindful of those with dairy allergies, as this cake contains both butter and eggs. Always try to make a note of any dietary restrictions your guests might have!
Can I make adjustments to the buttercream for dietary considerations?
Absolutely! If you’re looking to make a dairy-free version of the Swiss Meringue Buttercream, you can substitute vegan butter for the unsalted butter and use aquafaba (the liquid from canned chickpeas) in place of egg whites. This adaptation still provides a creamy, rich texture without compromising on the flavor of your Raspberry Layer Cake!
Delicious Raspberry Layer Cake: Moist & Easy to Make
Ingredients
Equipment
Method
- Preheat the oven to 350°F (175°C) and prepare three 9-inch round cake pans with butter and flour.
- In a medium bowl, whisk together the dry ingredients: flour, baking powder, baking soda, and salt.
- Cream the butter and sugar together until light and fluffy, about 4-5 minutes.
- Add the eggs one at a time, incorporating vanilla extract until fully combined.
- Alternate adding the dry mixture and buttermilk to the butter mixture, starting and ending with dry ingredients.
- Divide the batter among the prepared pans and bake for 25-30 minutes.
- Cool the cake layers in the pans for 10 minutes, then transfer to a wire rack to cool completely.
- Prepare the raspberry filling by cooking raspberries, sugar, and lemon juice until the raspberries break down.
- Thicken the raspberry filling by adding a cornstarch slurry and cooking until thickened.
- For the buttercream, heat egg whites and sugar until the mixture reaches 160°F, then whip to stiff peaks.
- Gradually add butter to the meringue, mixing until smooth and creamy, then add vanilla and salt.
- Assemble the cake by layering cake, raspberry filling, and buttercream, then frost with a crumb coat.
- Chill the cake to set the crumb coat, then frost with a thicker layer of buttercream and garnish as desired.
Leave a Reply