
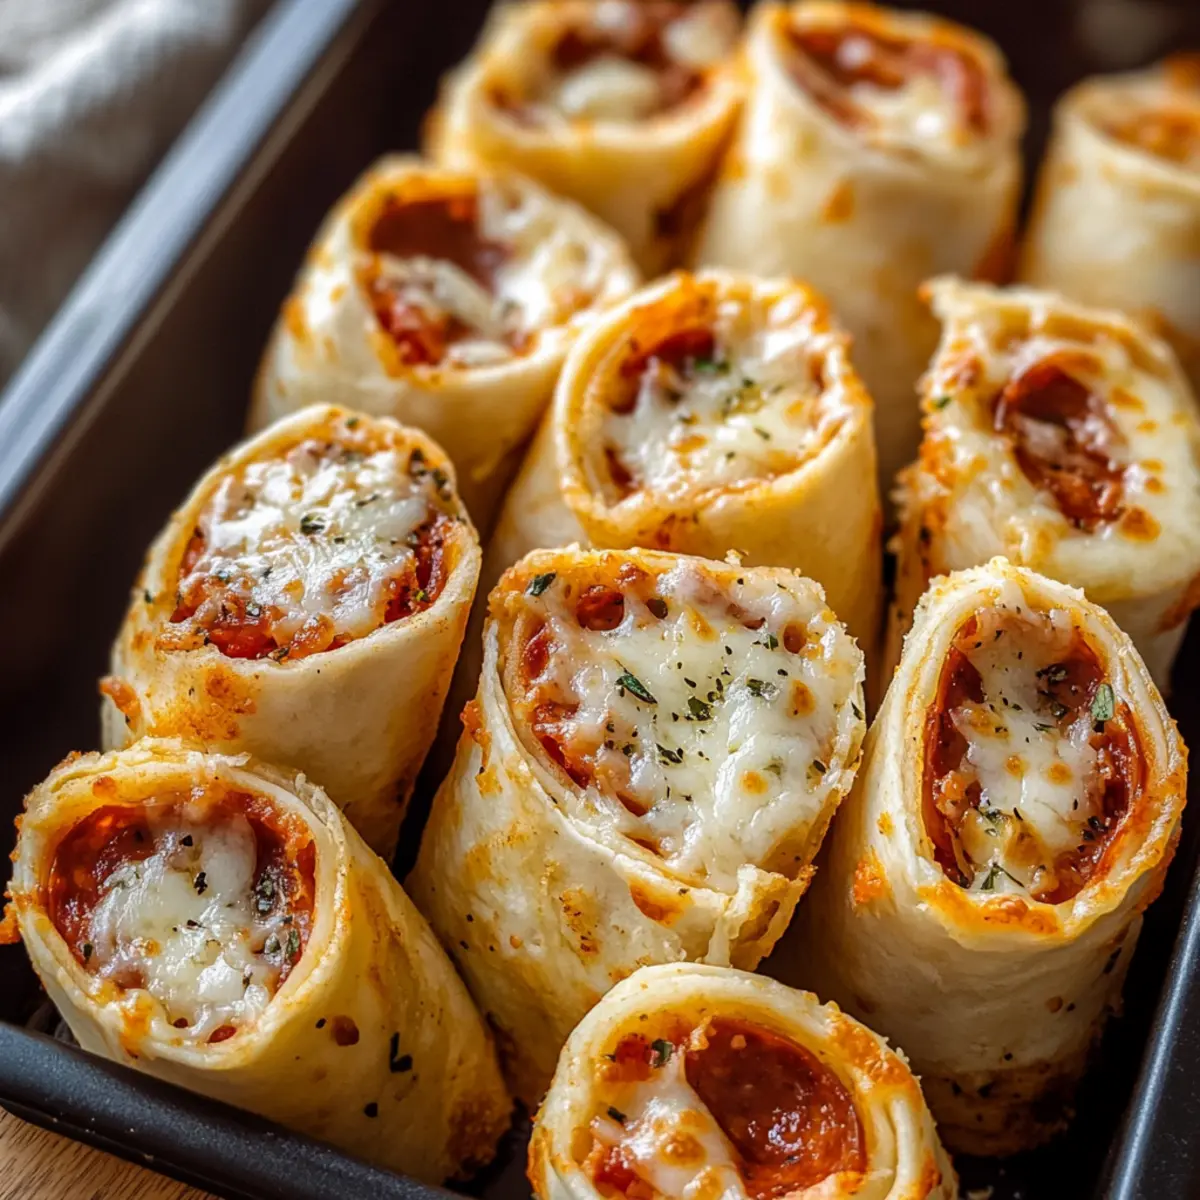
As the aroma of toasted tortillas fills the kitchen, I can’t help but smile at the simple joys of homemade snacks. Today, I’m excited to share my recipe for Cheesy Pizza Roll Ups—your new go-to for quick and easy snacks that the whole family will love! These delightful bites are not just perfect for lunch boxes or after-school munchies; they are also easily customizable, allowing you to cater to every individual taste. With a satisfyingly crispy exterior and a gooey, cheesy center, these roll-ups are sure to please both kids and adults alike. Are you ready to transform ordinary ingredients into a fun and delicious treat that’s as entertaining to make as it is to eat? Let’s dive in!
Why are these Pizza Roll Ups a hit?
Kid-Friendly: These Cheesy Pizza Roll Ups are perfect for picky eaters, making snack time enjoyable for everyone.
Quick and Easy: With just a few simple ingredients and less than 30 minutes of prep, you’ll have a tasty treat ready in no time.
Customizable: Tailor each roll-up to individual tastes—try the Vegetarian Roll Ups or add spicy jalapeños for a kick!
Perfect for Parties: These bite-sized snacks are ideal for gatherings, letting guests enjoy a portable meal without the fuss.
Deliciously Satisfying: The combination of crispy tortillas and gooey cheese makes each bite a treat that keeps you coming back for more.
Pizza Roll Ups Ingredients
• Discover the essential ingredients for making delicious Pizza Roll Ups!
For the Roll Ups
- Small Flour Tortillas (20, 5-inch) – Choose these as the base; whole wheat tortillas are a healthier choice.
- Pizza Sauce (14 oz) – Infuses the roll-ups with flavor; swap with marinara sauce for variation.
- Shredded Mozzarella Cheese (24 oz) – Delivers that gooey, cheesy goodness; cheddar or a dairy-free alternative works too!
- Pepperoni Slices (80) – The classic protein addition; omit for vegetarian roll-ups or substitute with turkey pepperoni.
For the Topping
- Cooking Oil (1 tbsp) – Helps achieve a golden crisp; olive oil is a nice alternative.
- Garlic Powder (1/2 tsp) – Elevates flavor; use fresh minced garlic for extra zest.
- Italian Seasoning (1/2 tsp) – Perfect seasoning to enhance pizza flavors; consider herbs de Provence if needed.
- Garlic Salt (1/2 tsp) – Boosts overall taste; regular salt plus garlic powder can be used instead.
With these ingredients at hand, you’ll be well on your way to creating irresistible Pizza Roll Ups that may just become a family favorite!
Step‑by‑Step Instructions for Pizza Roll Ups
Step 1: Preheat the Oven
Begin by preheating your oven to 350°F (175°C). While the oven warms up, take a moment to prepare a baking pan by lightly spraying it with cooking oil to prevent the Pizza Roll Ups from sticking. This initial step sets the stage for that crispy, golden exterior that we all love!
Step 2: Prepare the Tortillas
Lay out each small flour tortilla on a clean surface. Using a spoon, spread approximately 1 tablespoon of pizza sauce evenly across the center of each tortilla. Make sure to leave room around the edges to avoid any spills when rolling. The sauce not only adds flavor but also moisture to your delicious Pizza Roll Ups.
Step 3: Add Cheese and Pepperoni
Sprinkle about 1/4 cup of shredded mozzarella cheese onto each tortilla, ensuring an even distribution over the sauce. Next, layer 4-5 slices of pepperoni on top of the cheese. The combination of gooey cheese and savory pepperoni will result in that delightful classic pizza flavor we all enjoy in these Pizza Roll Ups.
Step 4: Roll up the Tortillas
Carefully roll each tortilla tightly, ensuring the filling stays snug inside. Place the rolled tortillas seam side down in your prepared baking pan. This helps them hold their shape during baking. Arrange them close together, but avoid crowding to allow for even cooking and crisping.
Step 5: Brush with Oil
Using a brush or a spoon, lightly coat the tops of the rolled tortillas with a bit of cooking oil. This step is vital for achieving that enticing golden-brown finish. The oil will help the Pizza Roll Ups crisp up beautifully in the oven while enhancing their overall flavor.
Step 6: Season the Roll Ups
In a small bowl, mix together garlic powder, Italian seasoning, and garlic salt. Sprinkle this flavorful blend generously over the tops of the roll-ups. This seasoning enhances the pizza taste, ensuring that each bite of your Pizza Roll Ups bursts with deliciousness, making them a family favorite.
Step 7: Bake Until Golden
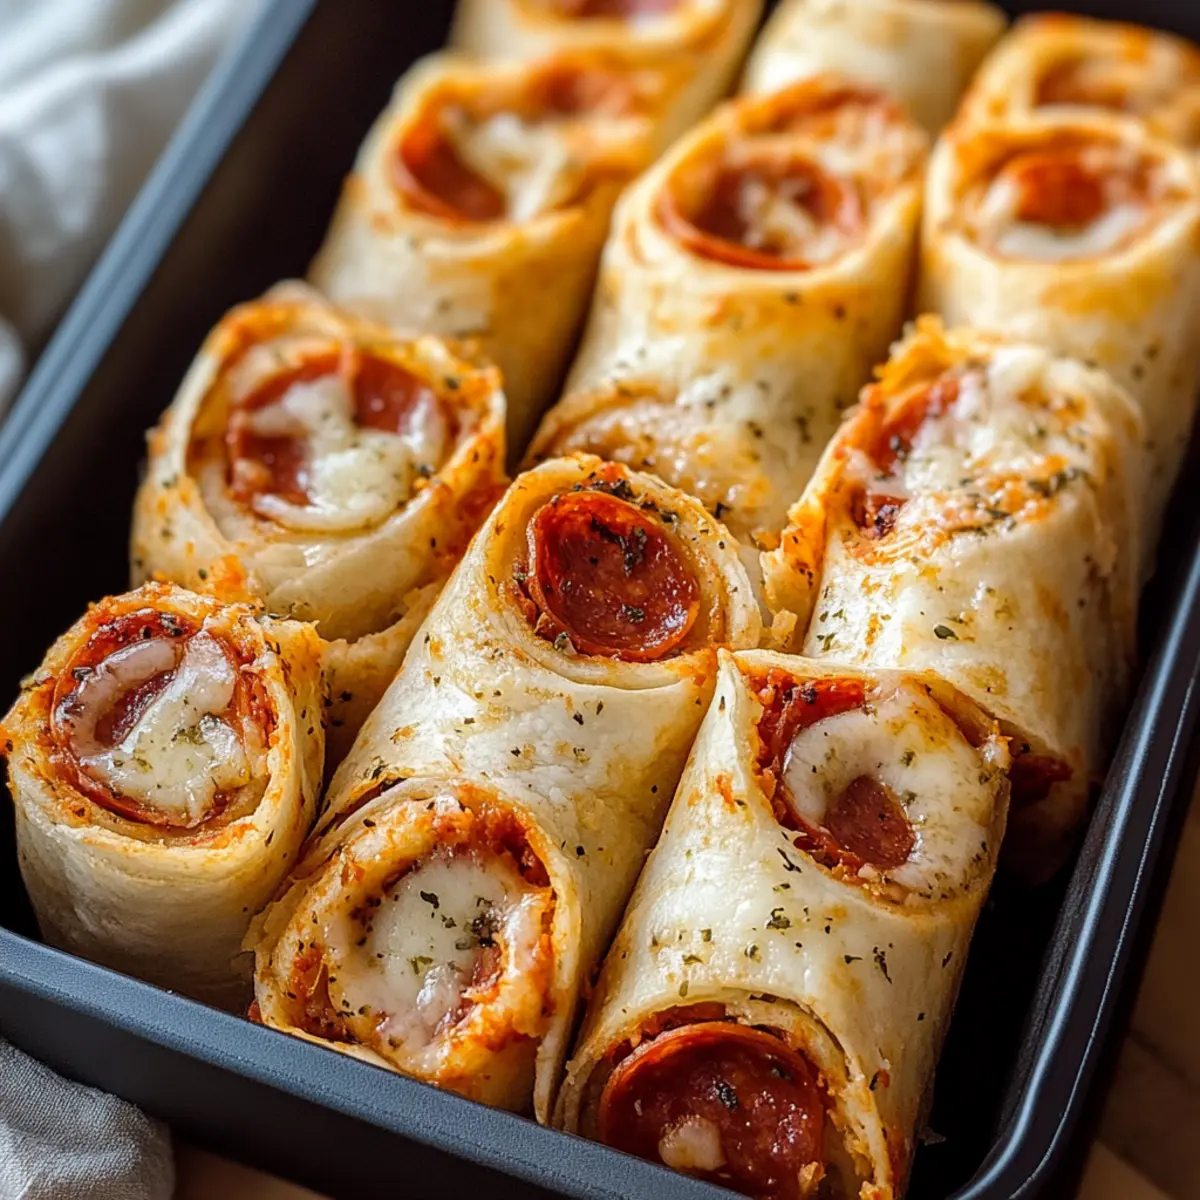
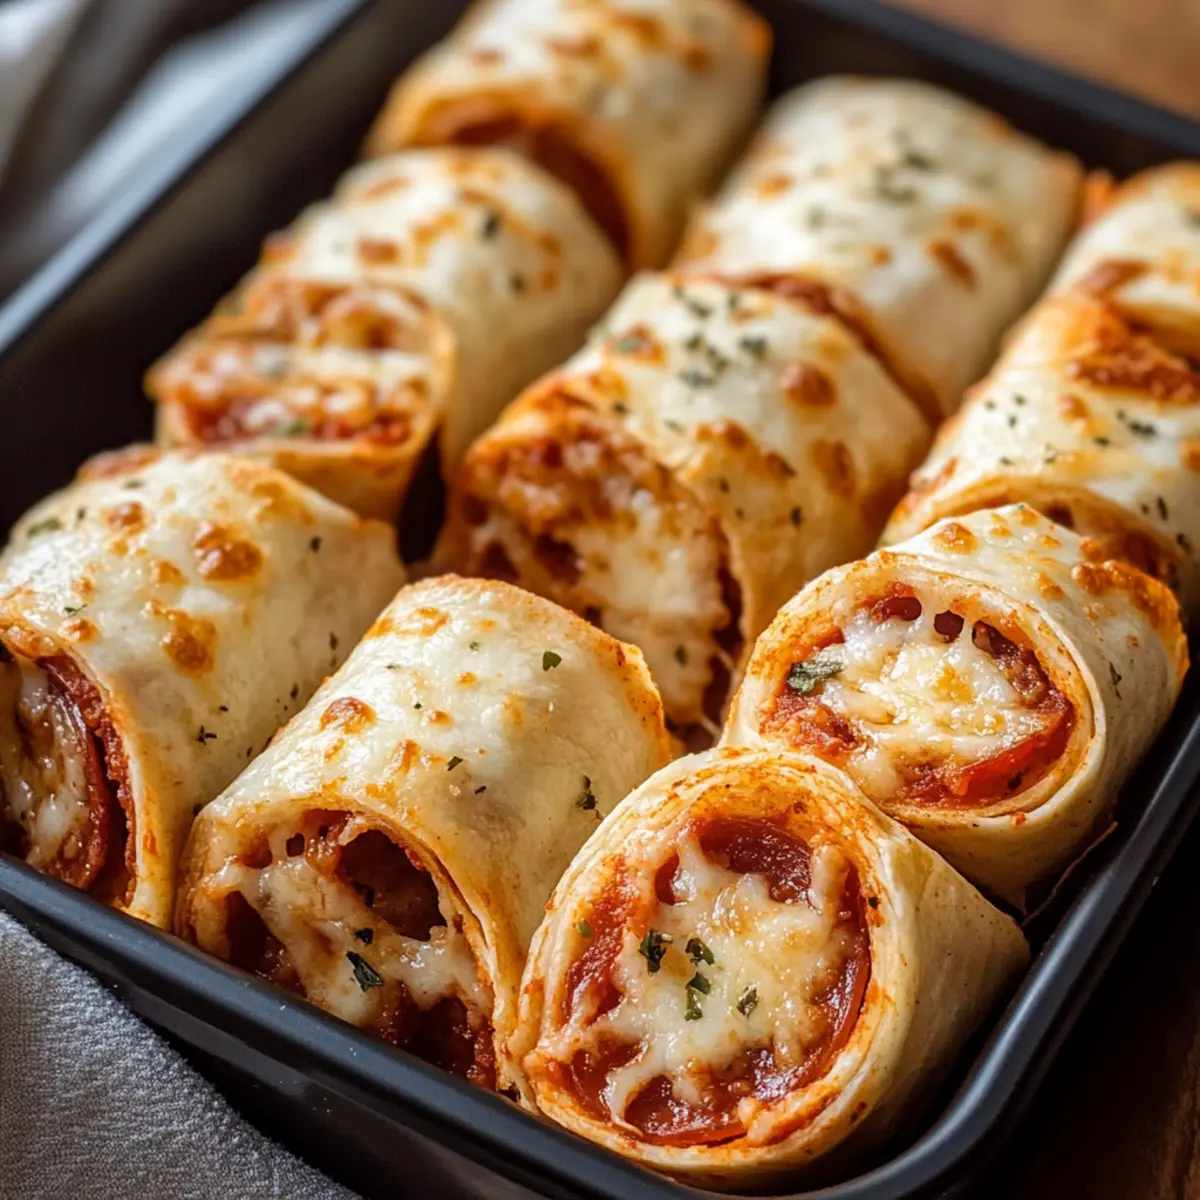
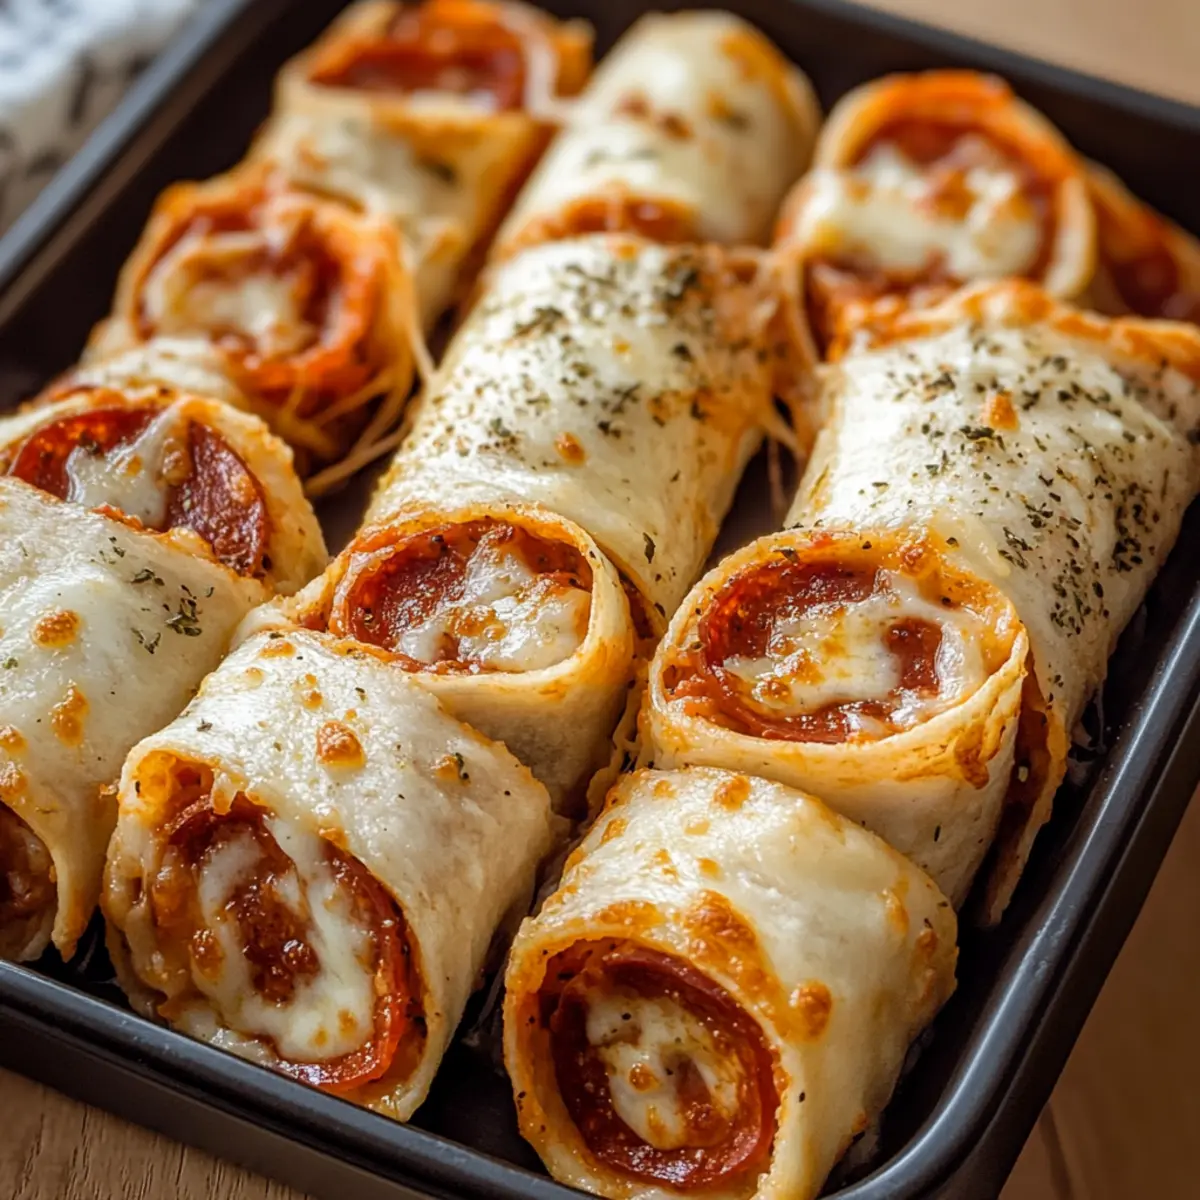
Slide the baking pan into your preheated oven and bake the Pizza Roll Ups for approximately 10 minutes. Keep an eye on them; they should be golden-brown and sizzling with melted cheese by the end of the baking time. The aroma filling your kitchen will be hard to resist!
Step 8: Serve and Enjoy
Once baked, remove the Pizza Roll Ups from the oven and let them cool for a few minutes. Slice them into bite-sized pieces if desired, and serve warm with marinara sauce, ranch dressing, or garlic butter for dipping. Your homemade Pizza Roll Ups are now ready to be enjoyed by all!
Pizza Roll Ups Variations & Substitutions
Feel free to make these Pizza Roll Ups your own by experimenting with various delicious twists and swaps!
-
Vegetarian Roll Ups: Omit pepperoni and add a colorful mix of mushrooms, bell peppers, and spinach for a tasty, fresh option.
Swapping out the meat doesn’t mean sacrificing flavor; these wholesome veggie roll-ups will delight even meat-lovers at your table! -
Chicken Pizza Roll Ups: Replace pepperoni with tender shredded chicken and a drizzle of BBQ sauce for a smoky, satisfying alternative.
This variation brings a little twist to the classic, offering a new favorite among friends and family! -
Cheesy Garlic Roll Ups: Spread garlic butter on tortillas in place of pizza sauce, then layer on the cheese for an irresistible, garlicky treat.
This indulgent option will tantalize your taste buds with a wonderful flavor boost—perfect for garlic lovers! -
Spicy Roll Ups: Spice things up by adding sliced jalapeños or spicy pepperoni, catering to those who crave a bit of heat.
Just a hint of spice can elevate the flavor profile and add an exciting kick to these delightful bites! -
Bacon Lovers Roll Ups: Introduce crispy bacon bits into the filling along with your pepperoni for an explosive flavor-packed experience.
After all, everything is better with bacon—this variation is a guaranteed crowd-pleaser! -
Whole Wheat Twist: For a healthier option, use whole wheat tortillas instead of regular ones.
Not only do they provide extra fiber, but they also make these roll-ups suitable for a more health-conscious audience. -
Cheese Deep Dive: Mix different cheeses like cheddar or pepper jack for a flavor kick; this will provide a unique twist to the classic mozzarella base.
Let your cheese-loving heart explore as you blend flavors to create the gooey goodness you crave! -
Pesto Pizza Roll Ups: Substitute pizza sauce for pesto to create an herby, aromatic flavor that takes your roll-ups to another level.
This aromatic alternative can transform your meal into an elegant dish that still delights the whole family.
Try out these variations to discover your perfect version of Pizza Roll Ups, and don’t forget to pair them with delicious dips like marinara or ranch sauce for an even more enjoyable experience!
Make Ahead Options
These Cheesy Pizza Roll Ups are perfect for meal prep, offering convenient solutions for busy weeknights! You can assemble the roll-ups (without baking) up to 24 hours in advance. Simply prepare them and cover tightly with plastic wrap before refrigerating to keep them fresh. When you’re ready to serve, preheat the oven and bake them directly from the fridge, adding an extra 2-3 minutes to your baking time for the best results. This way, you’ll enjoy that crispy texture and gooey cheese just as if you had made them fresh, all while saving precious time on hectic days.
What to Serve with Cheesy Pizza Roll Ups?
As you savor the mouth-watering flavors of these cheesy bites, consider what to pair for a truly delightful meal experience.
-
Crispy Green Salad: A fresh, tangy salad with crisp greens complements the richness of the roll-ups, providing a refreshing contrast.
-
Garlic Butter Dipping Sauce: Enhance enjoyment by serving with a warm garlic butter dip, perfect for drenching those delicious edges in flavor.
-
Classic Marinara Sauce: This traditional pairing brings a zesty note and moisture, taking your Pizza Roll Ups to the next level of deliciousness.
-
Roasted Vegetables: A medley of roasted seasonal veggies adds a hearty feel and delightful textures to your meal, balancing out the snack’s indulgence.
-
Cheesy Garlic Bread: Go all out with a side of cheesy garlic bread, echoing the flavors of the roll-ups while adding buttery warmth to the table.
-
Fruit Platter: A colorful platter of mixed fruits adds a sweet and juicy element to your meal, perfect for cleansing the palate between bites.
-
Sparkling Lemonade: To drink, a refreshing sparkling lemonade perfectly complements the savory roll-ups, adding a bright citrusy zing that excites the taste buds.
-
Chocolate Chip Cookies: For dessert, warm chocolate chip cookies provide a nostalgic sweetness, a delightful finish to a fun, family-friendly meal.
How to Store and Freeze Pizza Roll Ups
Fridge: Place leftover Pizza Roll Ups in an airtight container and store in the refrigerator for up to 3 days. Reheat in the oven to restore crispness.
Freezer: For longer storage, freeze the Pizza Roll Ups individually wrapped in plastic wrap and then in a freezer bag. They can last for up to 2 months.
Reheating: When ready to enjoy, thaw in the fridge overnight, then reheat in a preheated oven at 350°F (175°C) for about 10 minutes until heated through.
Room Temperature: It’s best to avoid leaving Pizza Roll Ups out at room temperature for more than 2 hours to ensure food safety.
Expert Tips for Pizza Roll Ups
- Roll Tightly: Ensure tortillas are tightly rolled to prevent them from unrolling in the oven, keeping all that gooey cheese inside.
- Crispier Finish: For a crunchier texture, bake the Pizza Roll Ups an extra 2-3 minutes until golden brown and crispy.
- Avoid Overfilling: Be careful not to overstuff the roll-ups; too much filling can lead to spillage and uneven cooking.
- Experiment with Sauces: Swap pizza sauce for marinara or even pesto for a different flavor profile—customization is key!
- Air Fryer Option: If you want to try a healthier method, use an air fryer for baking the Pizza Roll Ups to achieve that perfect crisp.
Pizza Roll Ups Recipe FAQs
How do I choose the right tortillas for Pizza Roll Ups?
Selecting the right tortillas is crucial for the perfect Pizza Roll Ups! I recommend using small flour tortillas (about 5 inches) as they hold the filling well and roll up nicely. For a healthier option, you can substitute them with whole wheat tortillas, which add a nutty flavor and extra fiber. Make sure they are pliable; if they’re too stiff, microwave them for a few seconds to soften before filling.
How should I store leftover Pizza Roll Ups and for how long?
To keep your leftover Pizza Roll Ups fresh, place them in an airtight container and store them in the refrigerator. They’ll stay good for up to 3 days. When you’re ready to enjoy them again, I suggest reheating them in the oven at 350°F (175°C) for about 10 minutes. This will help restore their crispiness, making them taste almost as good as the first time!
Can I freeze Pizza Roll Ups, and how do I do it properly?
Absolutely! To freeze Pizza Roll Ups, first let them cool completely. Then, wrap each roll-up individually in plastic wrap and place them in a freezer bag. Make sure to remove as much air as possible to prevent freezer burn. They will stay delicious for up to 2 months. When you’re ready to eat, simply thaw them overnight in the fridge and reheat in the oven at 350°F (175°C) for about 10 minutes.
What should I do if my Pizza Roll Ups unroll during baking?
If your Pizza Roll Ups are unrolling in the oven, don’t worry! Ensure that you’re rolling them tightly and placing them seam-side down in the baking pan. Additionally, you can secure them with toothpicks before baking or use smaller amounts of filling to prevent them from bursting open. For next time, consider adding a bit more pizza sauce to the edges to help seal the tortillas!
Are there any dietary considerations for making Pizza Roll Ups?
Yes, definitely! If you’re preparing Pizza Roll Ups for a gathering, consider dietary restrictions. For a vegetarian option, you can omit pepperoni and load them with veggies like bell peppers, mushrooms, or spinach. If dealing with allergies, always check for gluten-free tortillas and dairy-free cheese alternatives. Be mindful of ingredients like garlic, as they may not be suitable for everyone. Always be prepared to customize to fit the dietary needs of your guests!
Delicious Pizza Roll Ups: Quick & Customizable Family Snack
Ingredients
Equipment
Method
- Preheat your oven to 350°F (175°C) and prepare a baking pan by spraying it with cooking oil.
- Lay out each tortilla and spread approximately 1 tablespoon of pizza sauce evenly across each.
- Sprinkle about 1/4 cup of shredded mozzarella cheese onto each tortilla and layer 4-5 slices of pepperoni on top.
- Carefully roll each tortilla tightly and place them seam side down in the prepared baking pan.
- Lightly coat the tops of the rolled tortillas with a bit of cooking oil.
- Mix garlic powder, Italian seasoning, and garlic salt in a small bowl, then sprinkle this blend on top of the roll-ups.
- Bake the Pizza Roll Ups for approximately 10 minutes until golden-brown and sizzling with melted cheese.
- Remove from the oven and let cool for a few minutes, slice into bite-sized pieces, and serve warm.
Leave a Reply