
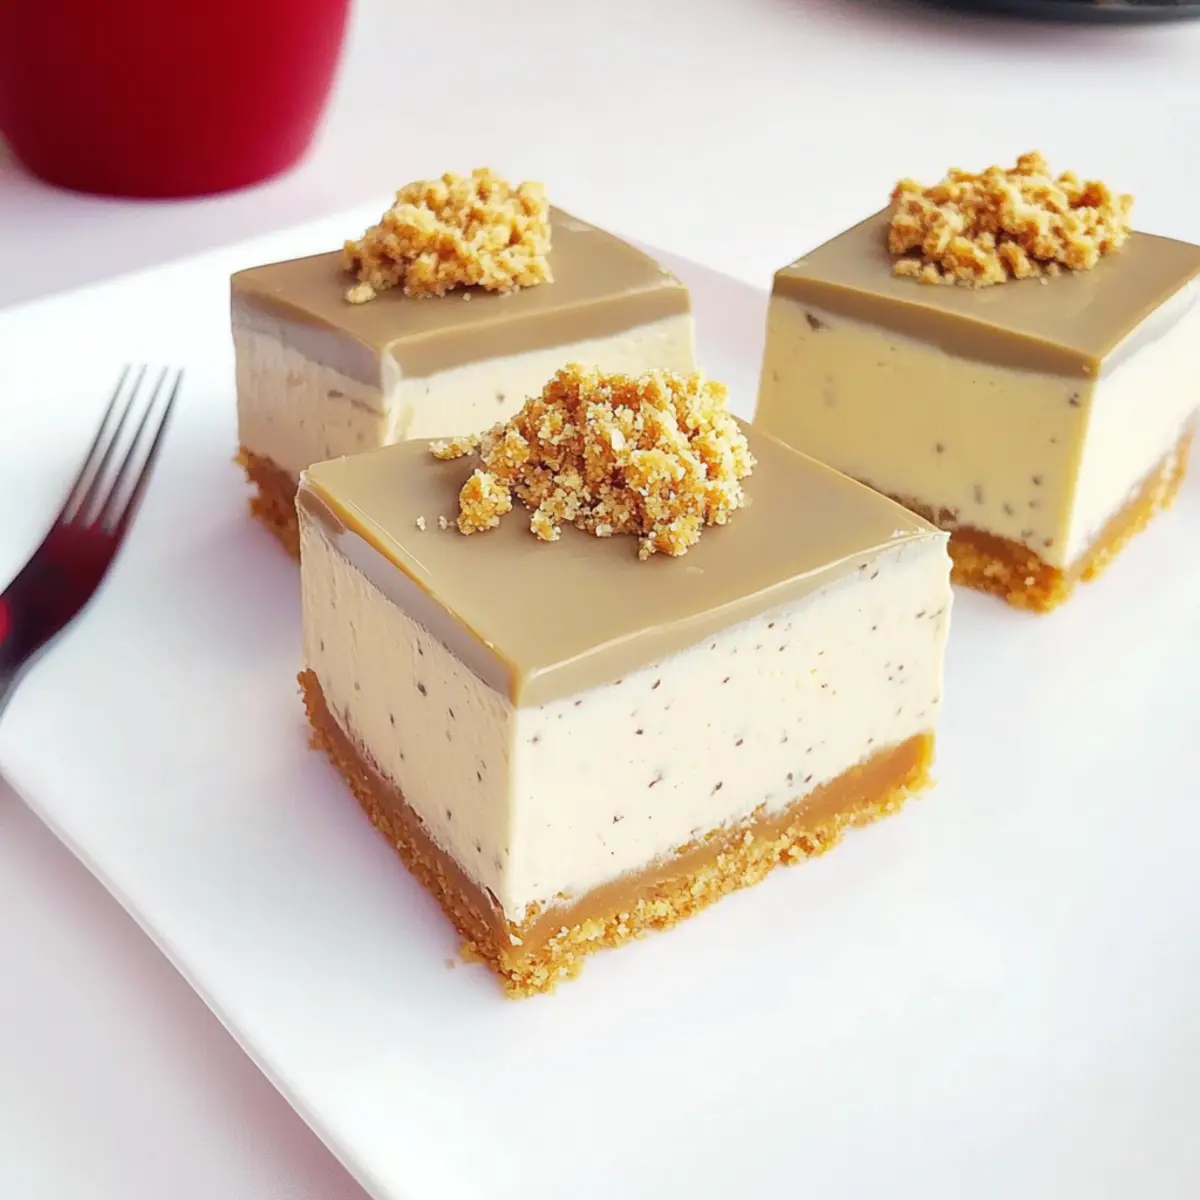
Sipping a steaming cup of Earl Grey tea transports me to cozy afternoon tea sessions, where every sip is rich with tradition. That’s the inspiration behind my No-Bake Earl Grey Mousse Cheesecake—an elegant twist on an afternoon favorite that’s as effortless to whip up as it is delightful to devour. This creamy dessert not only showcases the distinct, citrusy charm of Earl Grey tea, but it also features a buttery biscuit base that adds just the right amount of crunch. Imagine impressing guests with a dessert that requires no baking and is perfect for warm days or cozy gatherings. Plus, you can easily customize it with different teas to suit your palate! Are you ready to indulge your senses and create a stunning dessert that will leave everyone asking for seconds?

Why is This Cheesecake a Must-Try?
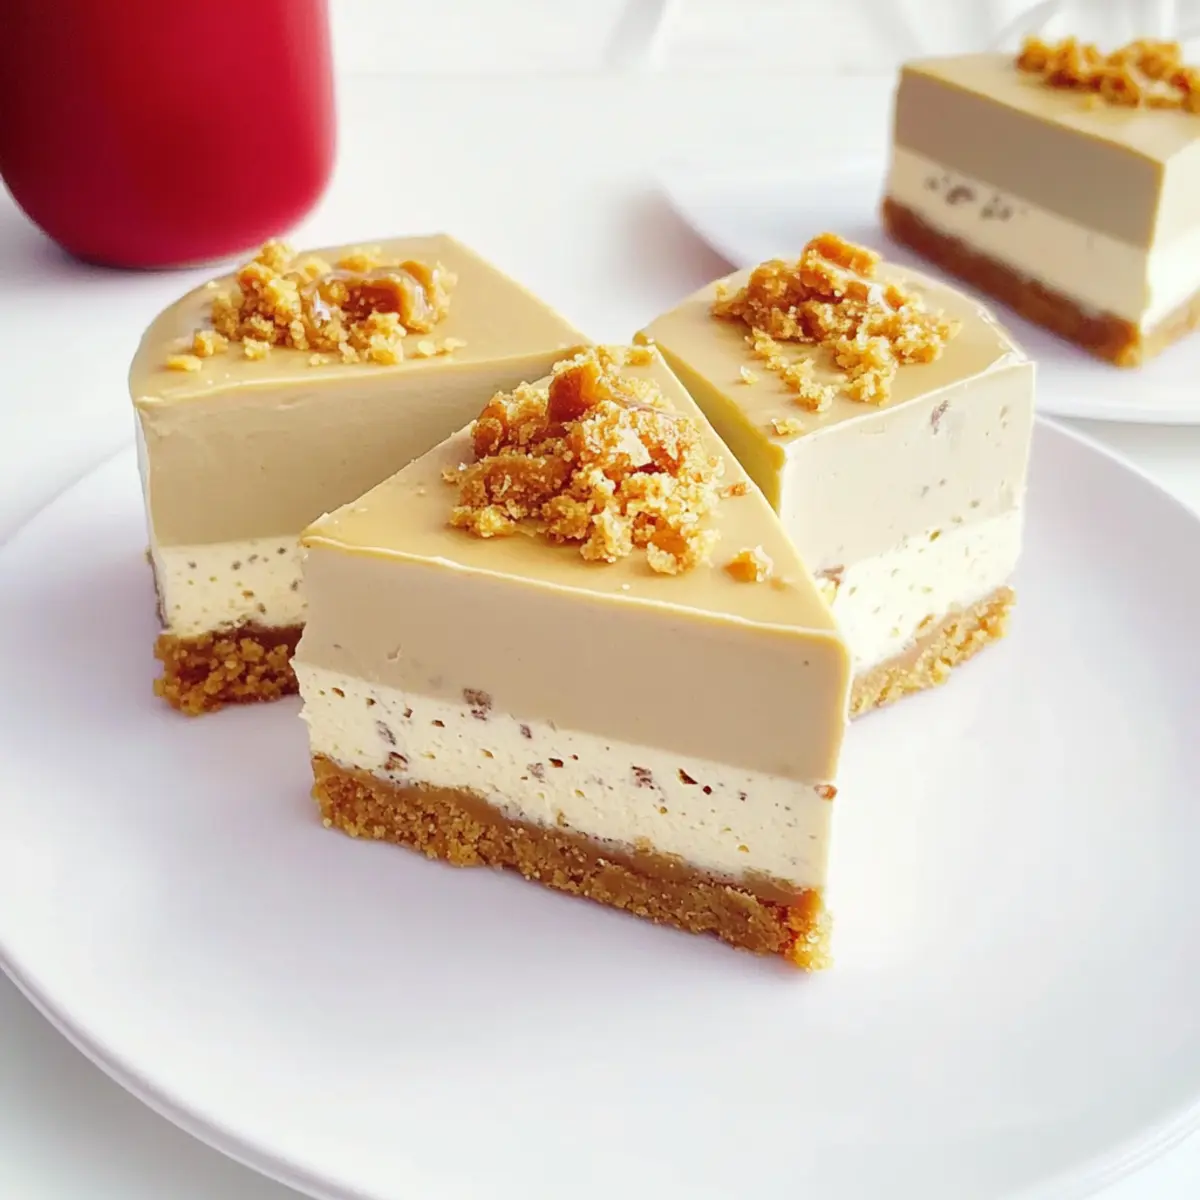
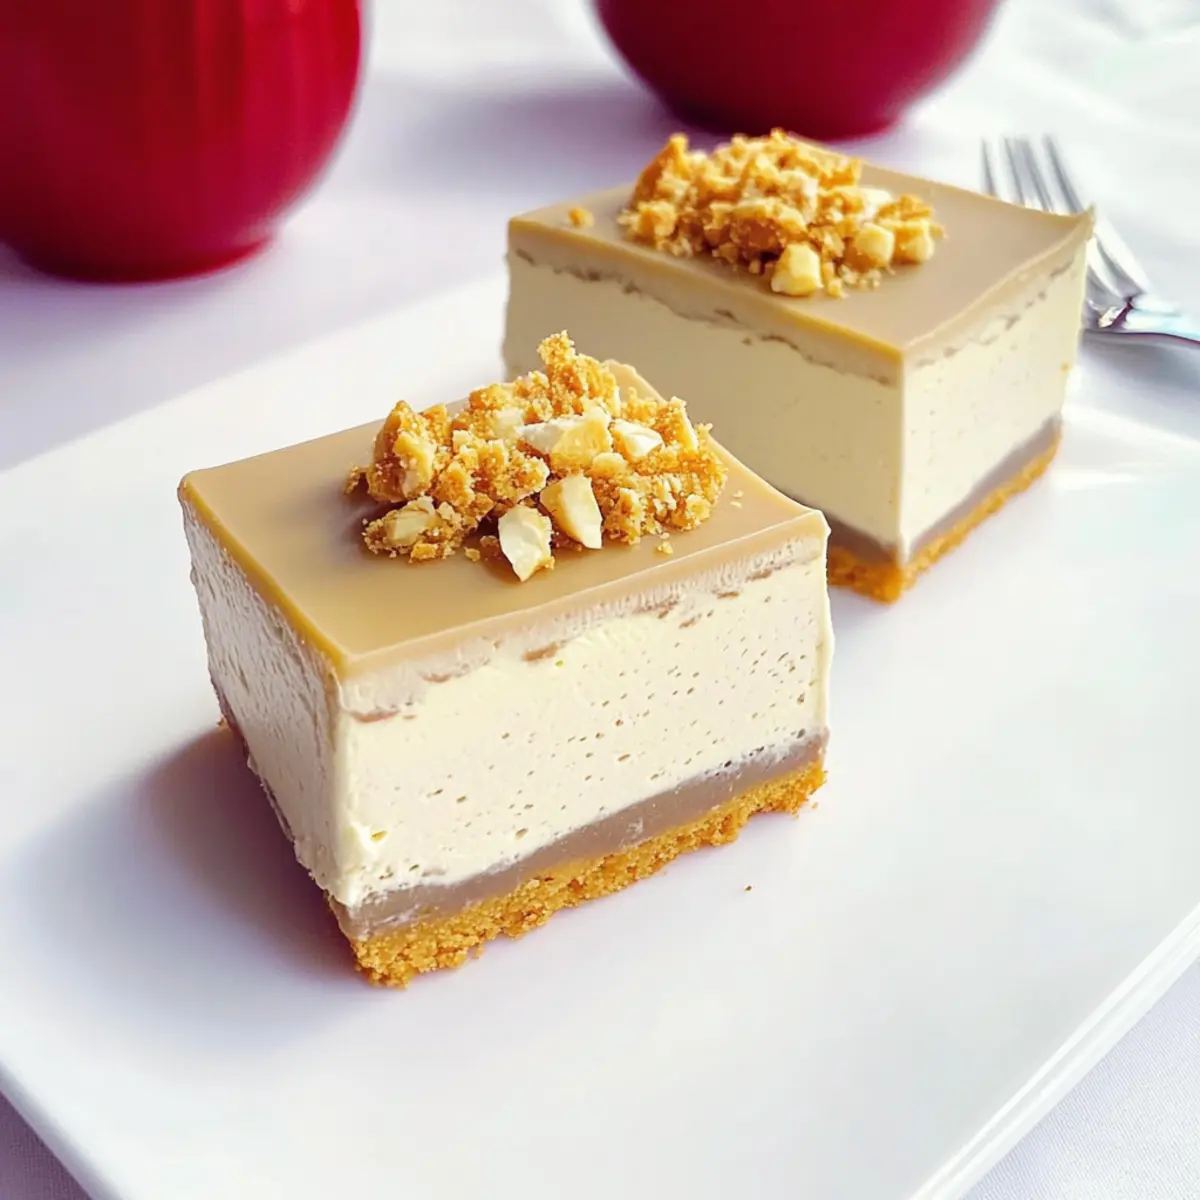
Indulgent, Creamy Texture: This no-bake cheesecake is a dream come true for texture lovers, featuring a velvety mousse layer that melts in your mouth.
Elegant Presentation: The optional mirror glaze gives it a sophisticated touch, making it a stunning centerpiece for any table.
Quick and Easy: With no baking involved, you can whip this up in no time—perfect for last-minute guests or spontaneous tea parties.
Versatility at Its Finest: Swap out the Earl Grey with matcha or even citrus zest for a delightful twist that suits every palate.
Tea Time Favorite: This dessert captures the essence of classic afternoon tea while easy enough to serve at dinner parties or casual gatherings—it’s sure to impress!
For a fruity twist, check out my Fruity Pebbles Cheesecake and for more no-bake delights, don’t miss this Orange Creamsicle Cheesecake.
No-Bake Earl Grey Mousse Cheesecake Ingredients
• Here’s everything you’ll need to create this tea-infused delight!
For the Biscuit Base
- Caramel Biscuits – These provide structure and sweetness for the base. You can substitute with digestive biscuits for a different flavor.
- Unsalted Butter – This binds the biscuit crumbs together. Be sure to use it melted for easy mixing.
For the Mousse Layer
- Cream Cheese – The star ingredient that forms the rich mousse layer. Make sure it’s softened to room temperature for smooth mixing.
- Caster Sugar – Sweetens the cream cheese and helps achieve the desired mousse texture. Use two portions: 10 g for the cheese, and 5 g for the glaze.
- Hot Milk (80 ml) – This activates the gelatin and adds moisture to the mix. Aim for about 40°C/104°F for optimal results.
- Gelatin Sheets – Essential for providing structure to the mousse. Soak 10 g in ice water for 10 minutes before using.
- Earl Grey Tea Powder – Infuses the cake with its distinctive flavor. Feel free to substitute with matcha, jasmine, or hojicha for a unique twist.
- Whipping Cream – Adds lightness and airiness to the mousse. Whip until soft peaks form for the best texture.
For Decoration
- Additional Caramel Biscuits – Use these for topping. Crush them for a delightful garnish!
For the Optional Mirror Glaze
- Hot Milk (100 ml) – Similar use as in the mousse for the glaze.
- Earl Grey Tea Bag – Enhances flavor in the glaze.
- Gelatin Sheets – Needed for setting the glaze.
Step‑by‑Step Instructions for No-Bake Earl Grey Mousse Cheesecake
Step 1: Prepare Biscuit Base
Begin by crushing the caramel biscuits into fine crumbs using a food processor or a rolling pin. In a mixing bowl, combine the biscuit crumbs with melted unsalted butter until well-coated. Press this mixture firmly into the bottom of a lined 8-inch springform pan to create a solid base. Chill in the refrigerator for about 10 minutes to set.
Step 2: Make Cheese Mousse
In a large bowl, beat the softened cream cheese with 10 g of caster sugar until smooth and creamy, ensuring there are no lumps. In a separate bowl, dissolve the soaked gelatin in 80 ml of hot milk (approximately 40°C/104°F), then mix in the Earl Grey tea powder. Gradually fold this tea mixture into the cream cheese using a spatula until fully blended.
Step 3: Incorporate Whipped Cream
In another bowl, whip the heavy cream until it achieves soft peaks—this will add lightness to the mousse. Gently fold the whipped cream into the cheese-tea mixture, being careful to maintain the airy texture. Finally, add about two tablespoons of crushed biscuit pieces for added flavor and texture, stirring just until evenly mixed.
Step 4: Assemble the Cheesecake
Pour the creamy mousse mixture over the chilled biscuit base, spreading it evenly with a spatula. Smooth the top and gently shake the pan from side to side to remove any air bubbles. Cover the pan with plastic wrap and refrigerate for a minimum of 4 hours, or until set.
Step 5: Prepare Optional Mirror Glaze
If you choose to make the mirror glaze, start by steeping an Earl Grey tea bag in 100 ml of hot milk. Dissolve 5 g of caster sugar and gelatin sheets in this liquid while stirring. Allow the glaze mixture to cool slightly before carefully pouring it over the set mousse layer, ensuring an even coating.
Step 6: Final Chill and Decorate
Return the cheesecake to the fridge for another 1 to 2 hours to allow the mirror glaze to firm up. Once set, carefully unmold the cheesecake using a hairdryer to gently warm the edges of the pan for easy release. Decorate with additional crushed caramel biscuits for a delightful touch before slicing and serving this elegant No-Bake Earl Grey Mousse Cheesecake.
What to Serve with No-Bake Earl Grey Mousse Cheesecake
Savor the bliss of accompanying flavors that complement this delicate and creamy dessert beautifully.
- Fresh Berries: The tartness of strawberries or raspberries adds a vibrant contrast to the creamy mousse, balancing each bite perfectly.
- Earl Grey Tea: Sip a warm cup of the same tea used in the cheesecake for an immersive experience that echoes the flavors of your dessert.
- Chocolate Biscotti: Crunchy and slightly bitter, these cookies provide a delightful textural contrast while enhancing the indulgent notes of the cheesecake.
- Lemon Sorbet: A refreshing and zesty treat, the bright acidity of lemon sorbet cleanses the palate and invigorates the senses.
- Whipped Cream Topping: Extra whipped cream adds a light and fluffy layer of sweetness, inviting you to indulge just a little bit more.
- Poached Pears: Silky, soft pears cooked in spiced syrup create a luscious pairing, elevating your dessert table to gourmet status.
- Pistachio Crumble: A sprinkle of crunchy, toasted pistachios brings a nutty flavor and a bit of earthy green color, enhancing the visual appeal.
- Sparkling Wine: Serve with a glass of bubbly for a celebratory touch; the effervescence complements the rich mousse beautifully.
- Honey Drizzle: A delicate drizzle of honey over each slice adds subtle floral notes and enhances the tea flavors for an elegant finish.
- Dark Chocolate Shavings: Garnishing the cheesecake with shavings adds a touch of luxury and richness to each delightful bite.
Storage Tips for No-Bake Earl Grey Mousse Cheesecake
- Fridge: Keep your No-Bake Earl Grey Mousse Cheesecake stored in an airtight container for up to 3 days. This retains its creamy texture and delightful flavor.
- Freezer: Avoid freezing the cheesecake as it may alter the smooth consistency and watery mouthfeel once defrosted.
- Serving: For the best experience, serve the cheesecake directly from the refrigerator. Allow it to warm slightly at room temperature for about 10 minutes before serving to enhance its silky texture.
Expert Tips for No-Bake Earl Grey Mousse Cheesecake
-
Soften Cream Cheese: Make sure to let the cream cheese sit at room temperature. This helps avoid lumps that can ruin your mousse’s smooth texture.
-
Gentle Folding: When combining whipped cream into the mousse mixture, fold gently to preserve lightness. Over-mixing can lead to a dense texture, which isn’t what we want in this airy dessert.
-
Dissolve Gelatin Properly: Ensure the gelatin completely dissolves in the hot milk without any lumps. This ensures a smooth consistency in your No-Bake Earl Grey Mousse Cheesecake.
-
Chill Time Matters: Don’t rush the chilling process! Allowing your cheesecake to set for the full 4+ hours is key to achieving the perfect slice.
-
Skip the Glaze (Optional): If you want to keep it simple, feel free to skip the mirror glaze. It’s beautiful but purely for presentation, allowing the mousse to shine on its own.
-
Experiment with Flavors: Remember, you can substitute the Earl Grey tea with other options like matcha or jasmine for a unique twist on your cheesecake!
Make Ahead Options
These No-Bake Earl Grey Mousse Cheesecakes are perfect for busy home cooks who want to save time without sacrificing flavor! You can prepare the biscuit base and refrigerate it up to 24 hours in advance, allowing the flavors to meld beautifully. The mousse layer can also be made up to 3 days ahead; simply cover the cheesecake with plastic wrap once it’s set to maintain its creamy texture. When you’re ready to enjoy, if you choose to add the optional mirror glaze, prepare it shortly before serving to keep it glossy and fresh. By prepping ahead, you’ll have a stunning and delicious dessert ready for any occasion!
No-Bake Earl Grey Mousse Cheesecake Variations
Feel free to get creative and tailor this delightful cheesecake to suit your taste buds!
-
Matcha Magic: Swap out Earl Grey tea for matcha powder to create a vibrant green tea flavor. This adds an earthy twist that’s both beautiful and delicious.
-
Citrus Zest Kick: Incorporate lemon or orange zest into the cheese mousse for an extra burst of refreshing flavor. A little zest can brighten the overall taste and bring a sunny vibe to your dessert.
-
Jasmine Elegance: Use jasmine tea instead of Earl Grey for a floral and fragrant profile. This delicate swap offers a refreshing alternative that beautifully complements the creamy mousse.
-
Decadent Chocolate: Add cocoa powder or melted chocolate to the mousse layer for a rich, chocolatey version. This indulgent twist may become your favorite way to enjoy cheesecake!
-
Dairy-Free Delight: Replace cream cheese with a dairy-free alternative and use coconut cream for a vegan-friendly dessert. This choice maintains the creamy texture while accommodating dietary preferences.
-
Nutty Crunch: Mix in toasted nuts, like hazelnuts or almonds, for added texture in the mousse. The nutty crunch will surprise and delight your guests!
-
Spice Things Up: Infuse your mousse with a pinch of cardamom or cinnamon for a warm, spiced flavor profile. These spices add depth and uniqueness to your cheesecake.
For a fruity alternative, check out my Crisp Mini Cheesecakes that offer a delightful blend of flavors perfect for various occasions.
No-Bake Earl Grey Mousse Cheesecake Recipe FAQs
What type of Earl Grey tea should I use?
Absolutely! You can use a high-quality Earl Grey tea powder for the best flavor. If you don’t have it, feel free to substitute with matcha for a vibrant green tea flavor or jasmine for something floral and fragrant!
How should I store leftovers?
Very good question! Store your No-Bake Earl Grey Mousse Cheesecake in an airtight container in the refrigerator for up to 3 days. This keeps it fresh and maintains that luscious, creamy texture.
Can I freeze the cheesecake?
I recommend against freezing it, as the texture may change when defrosted, becoming watery and less enjoyable. For the best experience, stick to refrigerating it.
What should I do if my mousse doesn’t set properly?
Don’t worry! If your mousse doesn’t set, it might be due to insufficient chilling time or the gelatin not properly dissolving. Make sure the gelatine is fully dissolved in hot milk before mixing it with cream cheese. If it’s still soft after 4 hours, you can try adding a little extra whipped cream to the mixture and refrigerating it again.
Is this cheesecake suitable for those with allergies?
Great question! This recipe contains cream cheese and gelatin, which may not be suitable for vegetarians. You can swap out the gelatin sheets for a vegetarian alternative, like agar-agar, but you’ll need to follow package instructions to ensure it sets properly. As always, check for any specific allergies your guests may have!
How can I customize the flavor of the mousse?
The more the merrier! You can easily customize this dessert by swapping out the Earl Grey tea with other flavors like chai, green tea, or even adding citrus zest for a refreshing twist. Just be sure to adjust the sugar to balance the flavors!
No-Bake Earl Grey Mousse Cheesecake: A Luxurious Delight
Ingredients
Equipment
Method
- Begin by crushing the caramel biscuits into fine crumbs using a food processor or a rolling pin. In a mixing bowl, combine the biscuit crumbs with melted unsalted butter until well-coated. Press this mixture firmly into the bottom of a lined 8-inch springform pan to create a solid base. Chill in the refrigerator for about 10 minutes to set.
- In a large bowl, beat the softened cream cheese with 10 g of caster sugar until smooth and creamy, ensuring there are no lumps. In a separate bowl, dissolve the soaked gelatin in 80 ml of hot milk, then mix in the Earl Grey tea powder. Gradually fold this tea mixture into the cream cheese until fully blended.
- In another bowl, whip the heavy cream until it achieves soft peaks. Gently fold the whipped cream into the cheese-tea mixture, being careful to maintain the airy texture. Finally, add about two tablespoons of crushed biscuit pieces for added flavor and texture.
- Pour the creamy mousse mixture over the chilled biscuit base, spreading it evenly with a spatula. Smooth the top and gently shake the pan from side to side to remove any air bubbles. Cover the pan with plastic wrap and refrigerate for a minimum of 4 hours, or until set.
- If you choose to make the mirror glaze, start by steeping an Earl Grey tea bag in 100 ml of hot milk. Dissolve 5 g of caster sugar and gelatin sheets in this liquid while stirring. Allow the glaze mixture to cool slightly before carefully pouring it over the set mousse layer.
- Return the cheesecake to the fridge for another 1 to 2 hours to allow the mirror glaze to firm up. Once set, carefully unmold the cheesecake using a hairdryer to gently warm the edges of the pan for easy release. Decorate with additional crushed caramel biscuits.
Leave a Reply