
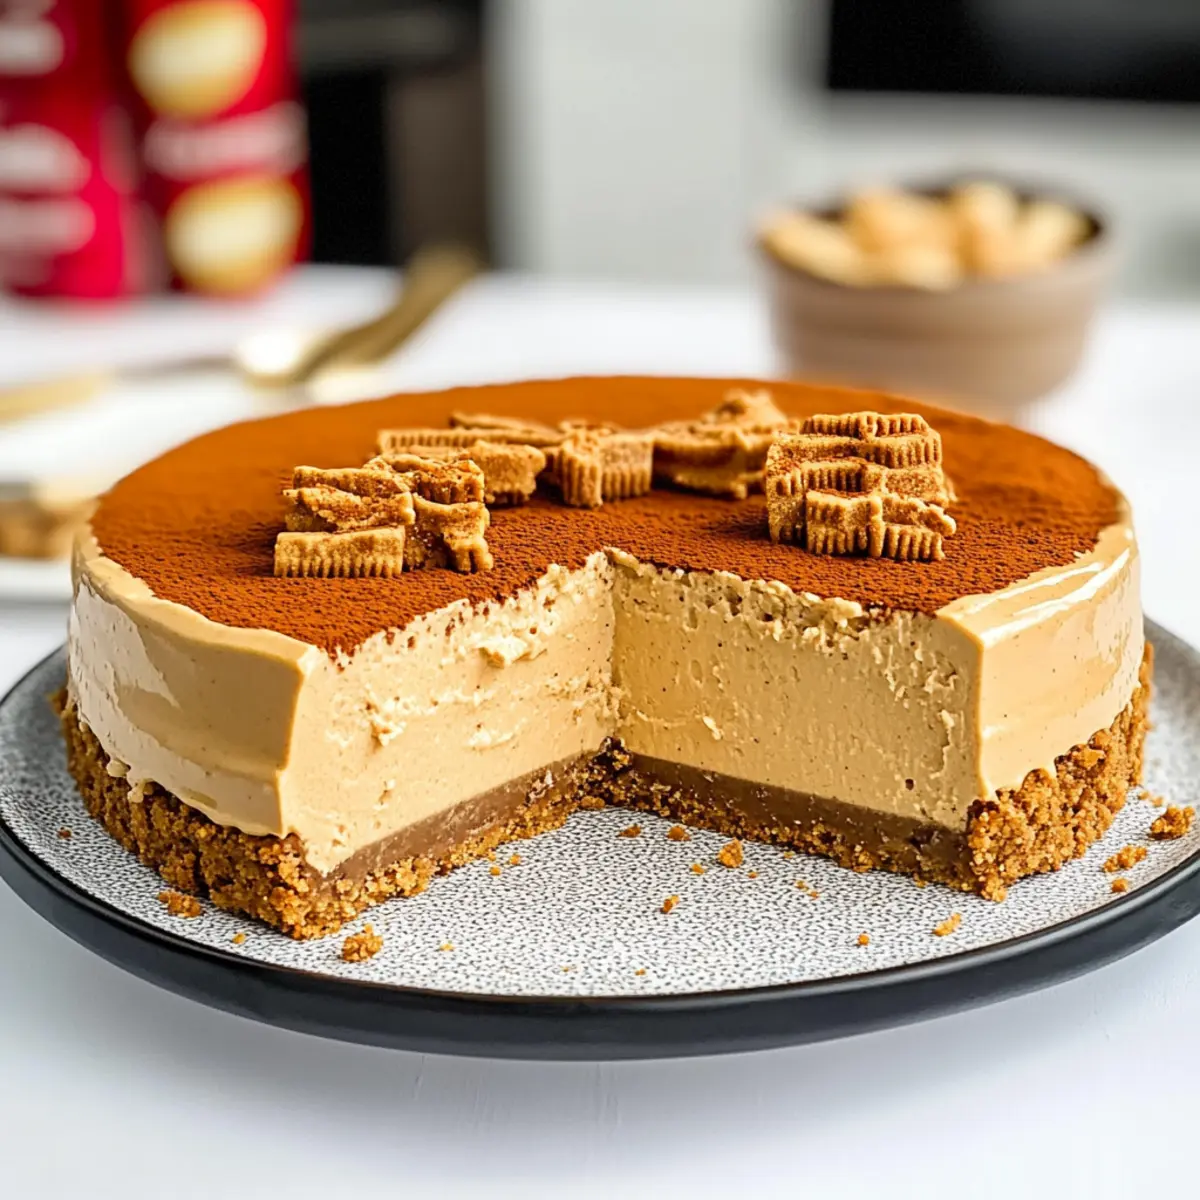
As I stood in my kitchen, I could hardly resist the tempting smell of Lotus Biscoff biscuits—a true indulgence that elevates any dessert. Today, I’m excited to share my Easy No-Bake Lotus Biscoff Cheesecake recipe, which captures that distinctive buttery flavor with a silky smooth filling and a crunchy biscuit crust. This dessert is not just simple to make with only 7 ingredients; it’s also a crowd-pleaser that’ll impress everyone from friends at dinner parties to your own sweet tooth on a cozy evening in. Whether you’re a novice in the kitchen or a seasoned home-chef, this no-bake cheesecake is a delightful way to create something unforgettable with minimal fuss. Are you ready to dive into this deliciously easy treat?
Why is This Cheesecake So Irresistible?
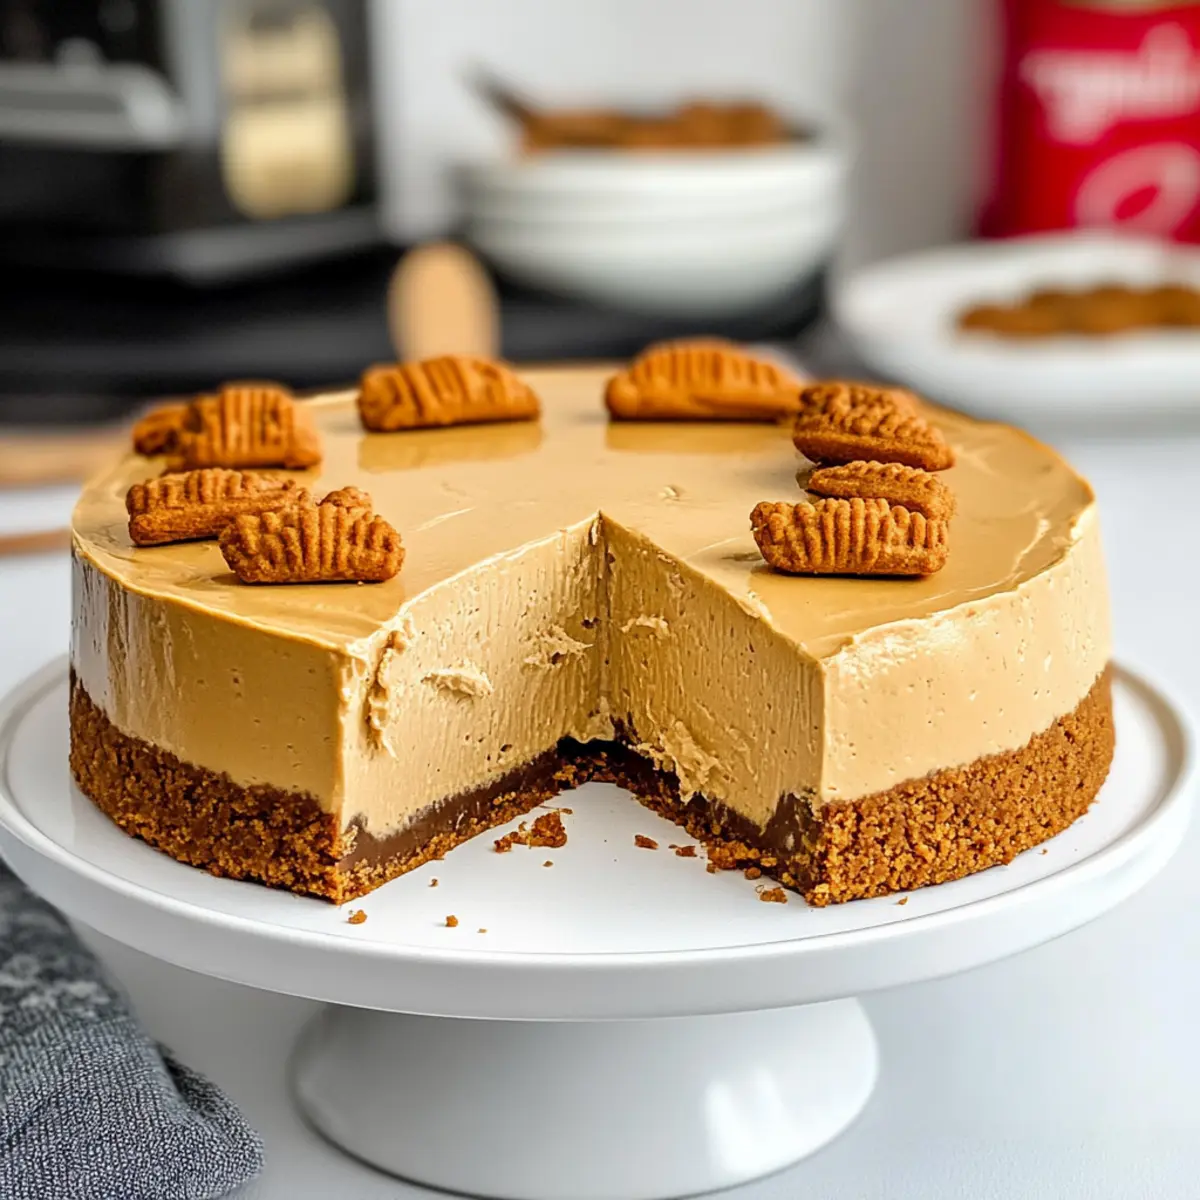
Decadent creaminess: Each slice boasts a silky filling that melts in your mouth, making it a showstopper at any gathering.
Easy preparation: With just 7 ingredients and no baking required, this recipe is perfect for both beginners and experienced chefs alike.
Flavor explosion: The rich combination of Lotus Biscoff biscuits and spread creates a unique taste that no one can resist.
Crowd-pleaser: Whether you’re hosting a party or treating yourself, this cheesecake is sure to impress everyone at the table.
Versatile options: Feel free to get creative by experimenting with other biscuits or adding chocolate swirls to elevate the dessert even further.
Make this Easy No-Bake Lotus Biscoff Cheesecake today, and you might just find it becoming a new favorite, alongside other delightful options like Crisp Mini Cheesecakes or the refreshing Orange Creamsicle Cheesecake.
Lotus Biscoff Cheesecake Ingredients
For the Crust
- Lotus Biscoff Biscuits – The foundation of the crust, offering a delightful buttery and caramel flavor; if unavailable, you can substitute with similar caramel-flavored biscuits.
- Butter – Binds the biscuit crumbs together; unsalted butter is recommended for better flavor control.
For the Filling
- Cream Cheese – The heart of the cheesecake, creating a creamy texture; opt for full-fat for the best results, as low-fat options may affect the setting.
- Icing Sugar – Sweetens the filling nicely; feel free to adjust the amount to match your taste preferences.
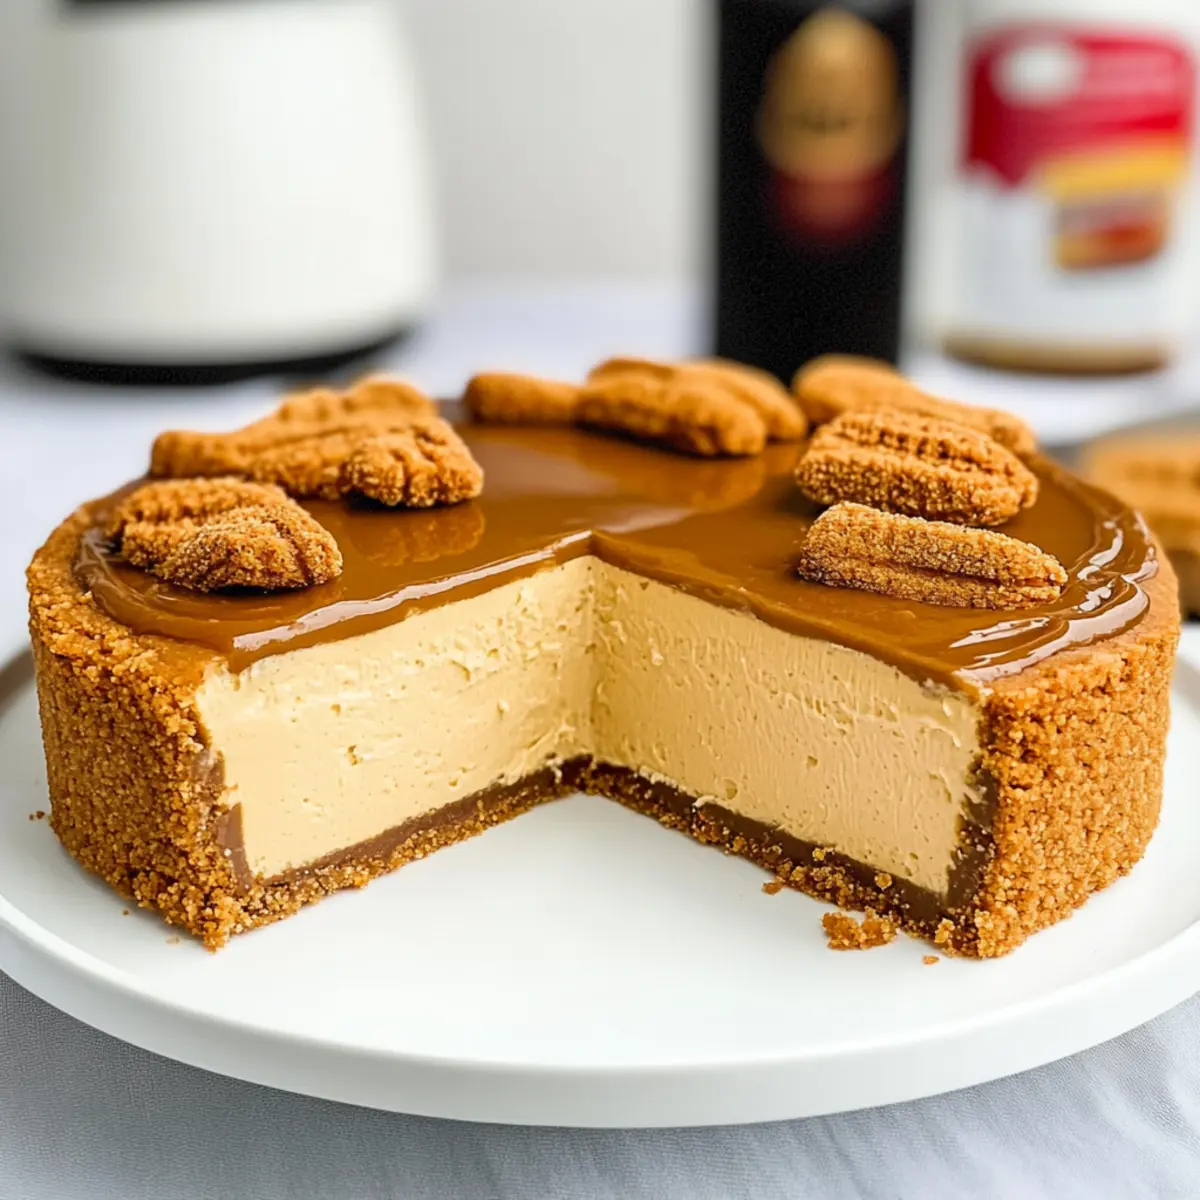
- Biscoff Spread – Elevates the flavor of the filling and serves as a delectable topping; smooth version is preferred for a beautiful finish.
- Vanilla Extract – Enhances overall flavor; can be omitted for a simpler taste if desired.
- Heavy Cream – Lightens the filling; whip until stiff peaks form to achieve the perfect cheesecake consistency.
With these carefully selected ingredients, your Lotus Biscoff Cheesecake will not only look stunning but taste absolutely divine!
Step‑by‑Step Instructions for Easy No-Bake Lotus Biscoff Cheesecake
Step 1: Prepare the Crust
Begin by blitzing 200g of Lotus Biscoff biscuits in a food processor until fine crumbs form, resembling sand. In a mixing bowl, combine the crumbs with 100g of melted unsalted butter, mixing until it clumps together. Press this mixture firmly into the base of a springform tin to create an even layer. Chill in the fridge for at least 30 minutes to set.
Step 2: Make the Filling
In a large mixing bowl, beat 400g of full-fat cream cheese with 100g of icing sugar, 200g of Biscoff spread, and 1 teaspoon of vanilla extract until the mixture is smooth and creamy. This should take around 2-3 minutes using an electric mixer on medium speed. Scrape down the sides as needed, ensuring everything is well combined for the perfect filling of your Lotus Biscoff Cheesecake.
Step 3: Whip the Cream
In a separate bowl, pour in 300ml of heavy cream and whip it using an electric mixer until stiff peaks form—about 3-5 minutes. Ensure not to overwhip, as you want the cream to remain light and airy. This whipped cream will provide the necessary lightness to your cheesecake filling, adding to its luscious texture.
Step 4: Combine the Mixtures
Carefully fold the whipped cream into the cream cheese mixture using a spatula. Start with a small amount of whipped cream to lighten the cream cheese, then gradually fold in the rest. Aim for a smooth and uniform blend, ensuring there are no air bubbles trapped. This gentle folding technique is crucial for achieving the light and fluffy consistency of your Easy No-Bake Lotus Biscoff Cheesecake.
Step 5: Assemble the Cheesecake
Once combined, pour the creamy filling over your prepared biscuit crust, spreading it evenly with a spatula. Smooth out the top for a beautiful finish. Cover the cheesecake with plastic wrap or a lid and refrigerate it for at least 4-6 hours, or preferably overnight, to allow it to set completely and develop its flavors.
Step 6: Serve the Cheesecake
When ready to serve, carefully remove the cheesecake from the springform tin. Drizzle melted Biscoff spread over the top and garnish with additional crushed Lotus Biscoff biscuits or whole ones for a decorative touch. Slice with a hot knife for clean cuts, and relish the crowd-pleasing delight that is your Easy No-Bake Lotus Biscoff Cheesecake!

Make Ahead Options
These Easy No-Bake Lotus Biscoff Cheesecake preparations are perfect for busy home cooks looking to save time during the week! You can prepare the crust and filling up to 24 hours in advance. Start by making the crust, pressing it into the springform tin, and chilling it. Then, whip the cream, mix it into the cream cheese filling, and assemble the cheesecake, ensuring it is tightly covered in the fridge to prevent any moisture loss. When you’re ready to serve, just drizzle the melted Biscoff spread on top and add your decorative biscuits for that finishing touch. This way, you’ll have an indulgent dessert ready with minimal effort!
Lotus Biscoff Cheesecake Variations
Feel free to make this delightful cheesecake uniquely yours by exploring these fun and tasty variations!
- Gluten-Free: Use gluten-free caramel-flavored biscuits to create a delicious crust that everyone can enjoy without worry.
- Chocolate Lovers: Mix in chocolate shavings or drizzle chocolate ganache over the top for an indulgent twist that complements the Biscoff flavors beautifully.
- Fruit-Infused: Fold in some mashed ripe bananas or pureed strawberries for a fruity twist that brightens up each bite.
- Nutty Crunch: Add crushed nuts, like pecans or walnuts, into the crust for an unexpected crunchy texture that will tantalize your taste buds.
- Low-Sugar: Substitute sugar with your favorite natural sweetener to cut down on sweetness while still enjoying that creamy filling.
- Spiced Variation: Add a pinch of cinnamon or nutmeg to the filling for a warm aromatic kick, elevating your cheesecake experience.
- Layered Cheesecake: Create a layered dessert by alternating cheesecake filling with layers of whipped cream and crushed Biscoff biscuits for added texture and flavor.
- Biscoff Swirl: Before refrigerating, swirl extra Biscoff spread into the filling for a marbled effect that looks as good as it tastes.
Explore these variations to keep your dessert game exciting! Once you’ve mastered the Lotus Biscoff Cheesecake, why not try other scrumptious desserts like the refreshing Orange Creamsicle Cheesecake or the fun Crisp Mini Cheesecakes for even more delicious inspiration?
What to Serve with Easy No-Bake Lotus Biscoff Cheesecake
Imagine the delightful crunch of a biscuit crust complemented by smooth and creamy flavors—such indulgence deserves a thoughtful pairing!
-
Fresh Berries: The tartness of strawberries or raspberries cuts through the sweetness, providing a refreshing contrast.
-
Chocolate Sauce: Drizzling warm chocolate sauce over each slice adds a luscious richness that elevates the cheesecake’s decadent flavors.
-
Whipped Cream: A dollop of freshly whipped cream adds a light, airy texture, creating a delightful balance against the creamy cheesecake.
-
Coffee or Espresso: Sipping a cup of rich coffee enhances the buttery notes of the Biscoff, offering a perfect end to your meal.
-
Coconut Macaroons: These chewy treats mirror the sweetness of the cheesecake while introducing a hint of tropical flair.
-
Nutty Biscotti: The crunch of biscotti paired with creamy cheesecake creates a satisfying texture combination, perfect for dipping.
-
Mint Tea: A warm cup of mint tea refreshes the palate and offers a fragrant counterpoint to the rich dessert.
Enjoy these delightful pairings as you savor each luscious bite of your Easy No-Bake Lotus Biscoff Cheesecake!
Expert Tips for Lotus Biscoff Cheesecake
- Chill Smart: Refrigerate the cheesecake for at least 4-6 hours, preferably overnight, to achieve the perfect firmness and flavor blend.
- Whip Wisely: Ensure the heavy cream is whipped to stiff peaks; over-whipping can lead to a grainy texture in your filling.
- Knife Technique: Use a hot knife for slicing clean pieces. Submerge the knife in hot water, dry it, and then cut through your creamy Lotus Biscoff Cheesecake.
- Ingredient Quality: Opt for full-fat cream cheese for a rich texture. Low-fat alternatives can compromise the lusciousness of your cheesecake.
- Flavor Variations: Feel free to add chocolate shavings or use other cookies to create exciting taste combinations with your Lotus Biscoff Cheesecake.
How to Store and Freeze Lotus Biscoff Cheesecake
Fridge: Store the cheesecake in an airtight container in the refrigerator for up to 3 days. This helps maintain its creamy texture and prevents it from drying out.
Freezer: If you want to keep the cheesecake longer, you can freeze it for up to 2 months. Wrap it tightly in plastic wrap, then in aluminum foil, to prevent freezer burn.
Reheating: To enjoy it again, simply transfer from the freezer to the fridge and allow it to thaw overnight for optimal texture and flavor.
Serving Tip: For added freshness, consider topping the cheesecake with a drizzle of melted Biscoff spread right before serving.
Easy No-Bake Lotus Biscoff Cheesecake Recipe FAQs
How do I select the best Lotus Biscoff biscuits for the crust?
Absolutely! Look for Lotus Biscoff biscuits that are fresh and free from any dark spots or breakage. The best ones have a nice crunch and a rich caramel flavor perfect for that delightful crust.
What is the best way to store leftover Lotus Biscoff cheesecake?
Very! Store any leftovers in an airtight container in your refrigerator. It will stay fresh for up to 3 days. This way, it maintains its creamy texture while preventing it from drying out.
Can I freeze Lotus Biscoff cheesecake? If so, how?
Definitely! To freeze your cheesecake, first wrap it tightly in plastic wrap, ensuring there’s minimal air exposure, then wrap it again in aluminum foil. This prevents freezer burn. You can freeze it for up to 2 months. When you’re ready to enjoy it again, thaw the cheesecake overnight in the fridge for the best texture and flavor.
What should I do if my cheesecake is too soft after refrigerating?
If your cheesecake is softer than expected, it’s probably because the heavy cream wasn’t whipped enough to stiff peaks. To troubleshoot, gently whip another small amount of cream and fold it into the cheesecake mixture. Make sure to fold carefully to avoid deflating the mixture. If it’s still too soft, serving it in a cup as a deconstructed cheesecake can also be a fun alternative!
Are there any allergy considerations I should know about?
Absolutely! This Lotus Biscoff cheesecake contains dairy and gluten, so it’s not suitable for those with lactose intolerance or gluten sensitivity. For a gluten-free option, you can use gluten-free biscuit alternatives. Always double-check labels for any potential allergens if you’re serving it to guests.
How long will it take for the cheesecake to set perfectly in the fridge?
The cheesecake needs to set for a minimum of 4-6 hours in the fridge, but for the best results, refrigerate it overnight. This gives the flavors a chance to meld beautifully and ensures it has a firm, sliceable texture. Enjoy this delightful treat with patience; the wait will be well worth it!
Decadent Lotus Biscoff Cheesecake: Easy No-Bake Delight
Ingredients
Equipment
Method
- Blitz the Lotus Biscoff biscuits in a food processor until fine crumbs form. In a mixing bowl, combine the crumbs with melted butter and mix until clumped together. Press into a springform tin and chill for at least 30 minutes.
- In a large bowl, beat the cream cheese, icing sugar, Biscoff spread, and vanilla extract until smooth, about 2-3 minutes.
- Whip the heavy cream until stiff peaks form, about 3-5 minutes. Be careful not to overwhip.
- Fold the whipped cream into the cream cheese mixture gently.
- Pour the filling over the chilled crust, smooth the top, cover with plastic wrap, and refrigerate for at least 4-6 hours or overnight.
- Remove from the springform tin, drizzle melted Biscoff spread over the top, and garnish with crushed biscuits before slicing.
Leave a Reply