
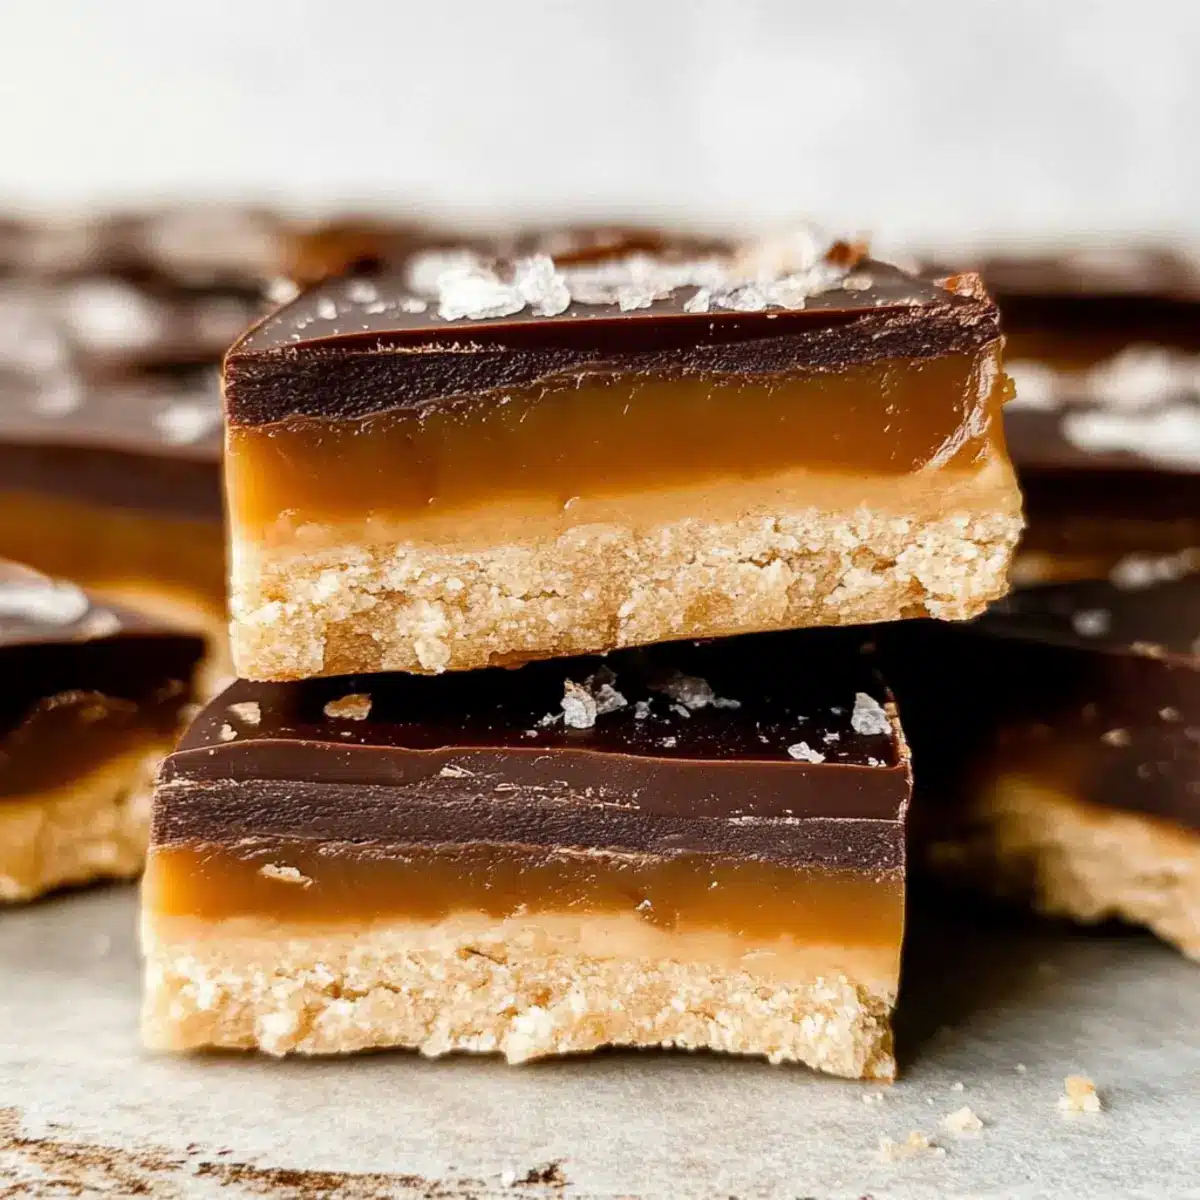
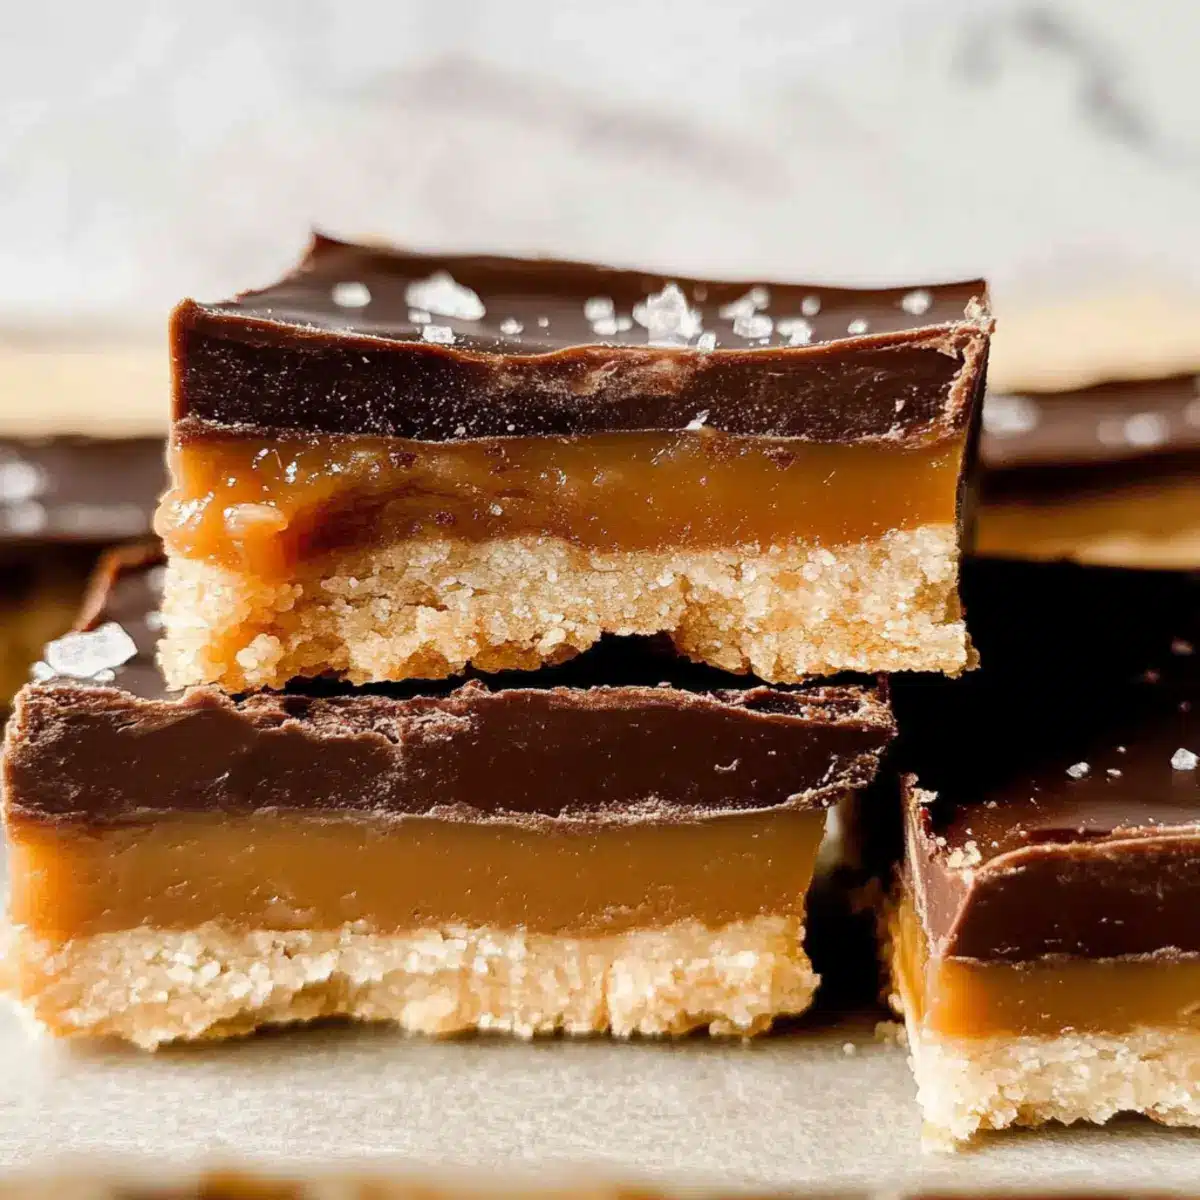
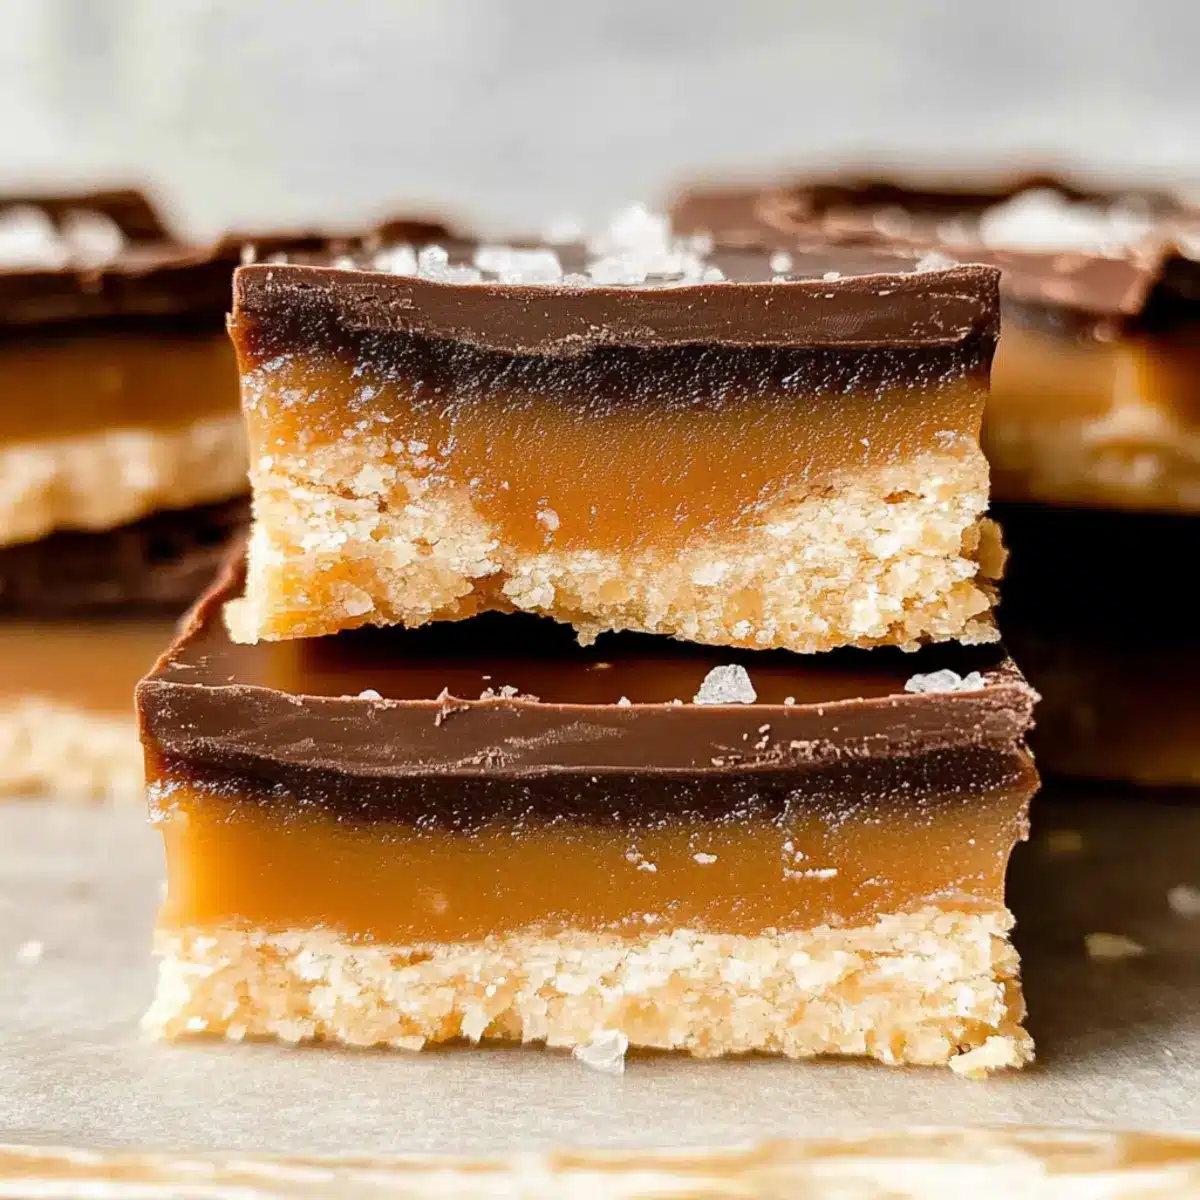
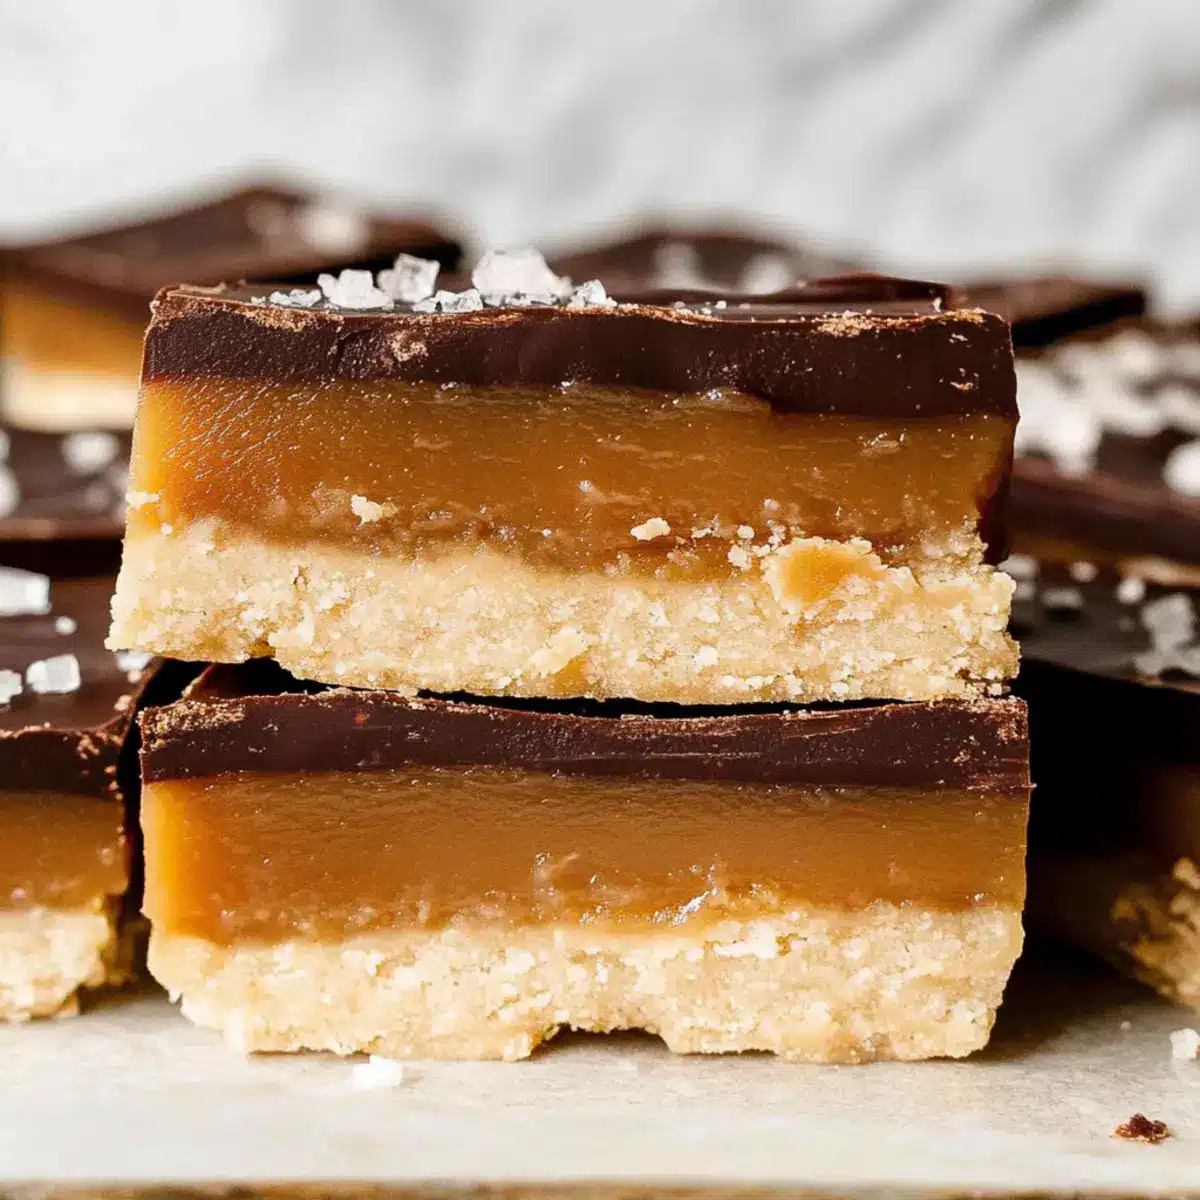
As I stood in my kitchen, the scent of melted chocolate and rich nut butter wafted through the air, transporting me back to warm childhood memories of candy bars. But this time, I was whipping up Healthy Twix Bars—my guilt-free version of the beloved classic that ensures you can indulge without the remorse. Made with wholesome, gluten-free ingredients and sweetened naturally, these bars are a fantastic treat for anyone craving a sweet escape. Not only do they satisfy your sweet tooth in a healthier way, but they also cater to dietary needs with their gluten-free and dairy-free characteristics. Whether you’re planning a gathering or just need a little pick-me-up, these Healthy Twix Bars deliver pure bliss. Curious about how to create your own batch? Let’s dive into the recipe!
Why are These Healthy Twix Bars Irresistible?
Decadent, yet Healthy: These bars perfectly capture the classic candy bar taste while remaining gluten-free, dairy-free, and refined sugar-free. Versatile Ingredients: The recipe allows for easy substitutions, whether you prefer almond or oat flour. Quick Prep Time: You can whip these up in under an hour, making them ideal for busy days. Crowd-Pleasing Treat: These bars are perfect for sharing at gatherings or satisfying your own cravings. Guilt-Free Indulgence: With wholesome ingredients, you can relish in sweet satisfaction without the regret. Treat yourself today, and if you enjoy these, be sure to try my Healthy Broccoli Pasta for an equally satisfying meal!
Healthy Twix Bars Ingredients
For the Shortbread Layer
- Coconut Flour – Provides gluten-free structure; substitute with almond flour for a denser texture.
- Almond Flour – Offers a nutty flavor; oat flour is a good alternative if nut allergies are a concern.
- Coconut Oil (melted) – Adds moisture and richness; vegetable oil can be used, but flavors will differ.
- Honey (warmed) – Natural sweetener for the shortbread base; maple syrup is a suitable vegan alternative.
For the Caramel Layer
- Almond Butter (creamy or crunchy) – Gives the caramel its creamy texture; replace with peanut butter for a different flavor.
- Vanilla Extract – Enhances the overall flavor; no direct substitutes are recommended.
- Maple Syrup – Sweetens the caramel layer; honey works if you prefer a thicker consistency.
- Sea Salt – Balances the sweetness and enhances flavors; use kosher salt if flaky sea salt isn’t on hand.
For the Chocolate Coating
- Dark Chocolate Bar or Chocolate Chips – Provides a rich chocolate coating; ensure it’s dairy-free for dietary compliance.
- Coconut Oil (for chocolate) – Aids in smooth melting; it’s best not to substitute for ideal texture.
For Garnishing
- Flaky Sea Salt – A final touch to elevate flavor and presentation, making these Healthy Twix Bars irresistibly delicious.
Step‑by‑Step Instructions for Healthy Twix Bars
Step 1: Prepare Shortbread Layer
Preheat your oven to 350°F (175°C). In a mixing bowl, combine coconut flour and almond flour with melted coconut oil and warmed honey, stirring until the mixture is smooth and uniform. Line a 6×6-inch baking dish with parchment paper for easy removal, and pack the shortbread mixture firmly into the bottom. Bake for 10-12 minutes or until the edges turn golden brown, then allow it to cool completely.
Step 2: Make Caramel Layer
In a saucepan over low heat, combine almond butter, coconut oil, vanilla extract, maple syrup, and sea salt. Whisk the mixture continuously for 2-3 minutes until it transforms into a smooth, liquefied caramel. Remove from heat and let it cool completely; this step is crucial for achieving the perfect texture for your Healthy Twix Bars.
Step 3: Melt Chocolate
Take a medium mixing bowl and add chopped dark chocolate and coconut oil. Microwave the bowl in 30-second intervals, stirring between each interval, until the chocolate is fully melted and glossy—this should take about 1-2 minutes in total. Be attentive to avoid burning the chocolate, as it’s the final touch for your indulgent Healthy Twix Bars.
Step 4: Assemble Bars
Once your shortbread layer is cool, pour the caramel mixture over it, spreading it evenly with a spatula. Place the dish in the freezer for about 1-2 hours, or until the caramel layer is firm and set. This will help the layers adhere together perfectly when you add the chocolate topping.
Step 5: Add Chocolate Coating
After the caramel is hardened, pour the melted chocolate over the top of the bars, ensuring it covers the entire surface evenly. Sprinkle a delicate layer of flaky sea salt over the chocolate to bring out all the flavors beautifully. Chill the assembled Healthy Twix Bars in the fridge for an additional 5-10 minutes to set the chocolate.
Step 6: Slice and Serve
Once everything is set, gently lift the bars from the baking dish using the parchment paper for easier handling. With a sharp knife, slice them into your desired sizes, revealing the delicious layers of shortbread, caramel, and chocolate. Enjoy your Healthy Twix Bars as a delightful and guilt-free treat!
Make Ahead Options
These Healthy Twix Bars are perfect for meal prep enthusiasts seeking a delicious, guilt-free treat for busy weeknights! You can prepare the shortbread layer up to 24 hours in advance; simply bake it and let it cool completely before storing it in the refrigerator. The caramel layer can also be made ahead; refrigerate it for up to 3 days in an airtight container to maintain its creamy texture. When you’re ready to finish your Healthy Twix Bars, just pour the cooled caramel over the shortbread, freeze until hardened, then add the melted chocolate and sprinkle with sea salt. This simple prep will save you time while ensuring you still enjoy homemade indulgence!
Expert Tips for Healthy Twix Bars
-
Measure Accurately: Ensure proper measuring of flours and sweeteners to avoid an overly dense or sweet bar. The balance is key in these Healthy Twix Bars.
-
Cooling Time Matters: Allow each layer to cool completely before adding the next. This prevents mixing and helps maintain distinct layers in your Healthy Twix Bars.
-
Chocolate Dipping Technique: For a smoother finish, ensure the coconut oil is fully blended with the chocolate and that it stays warm while pouring over the bars.
-
Consistent Sizes: Use a sharp knife to slice the bars into even pieces for uniformity. This also enhances their presentation!
-
Store Wisely: Keep your Healthy Twix Bars in an airtight container in the fridge to maintain freshness and prevent them from becoming chewy.
What to Serve with Healthy Twix Bars
Indulging in Healthy Twix Bars is a heavenly experience, and pairing them with the right accompaniments can elevate your treat to new heights.
-
Fresh Berries: Juicy strawberries or raspberries offer a refreshing tartness that beautifully contrasts the sweetness of the bars. Their natural acidity brightens each bite.
-
Coconut Milk Ice Cream: This luscious and dairy-free dessert brings a creamy texture that pairs wonderfully with the crunchy layers of the bars. It’s a delightful way to chill out!
-
Nutty Granola: A sprinkle of homemade or store-bought granola adds a satisfying crunch and earthiness to the dessert. It’s perfect for a wholesome snack or breakfast addition.
-
Herbal Tea: A fragrant cup of chamomile or peppermint tea can provide a calming balance to the indulgent sweetness of the bars. The warm aromas enhance the overall experience.
-
Almond Milk Latte: This creamy drink echoes the nutty flavors of the almond butter, creating a delicious pairing. Plus, it elevates any coffee break into a luxurious delight!
-
Dark Chocolate Dipped Fruit: Keep the chocolate theme alive by serving additional fruits dipped in dark chocolate. It’s a perfect way to combine flavors and textures, ensuring every forkful is exciting.
-
Dairy-Free Whipped Cream: For those looking to add a touch of sweet creaminess, a dollop of dairy-free whipped cream topped with a sprinkle of cinnamon pairs beautifully with these bars. Ideal for gatherings!
-
Caffeine-Free Cold Brew: A chilled glass of cold brew coffee can be a refreshing companion to the rich flavors of Healthy Twix Bars, stimulating those indulgent senses as you savor each bite.
-
Chia Seed Pudding: Creamy, nutty, and slightly sweet, chia pudding can serve as a lovely contrasting texture, completing a guilt-free indulgent meal that feels luxurious.
How to Store and Freeze Healthy Twix Bars
Fridge: Keep your Healthy Twix Bars in an airtight container in the fridge for up to 1 week to maintain their freshness and texture.
Freezer: For longer storage, freeze the bars for up to 3 months. Place them in a single layer separated by parchment paper to prevent sticking.
Thawing: When ready to enjoy, simply move the bars from the freezer to the fridge for a few hours or leave them at room temperature for about 15 minutes to soften slightly.
Reheating: If the chocolate coating hardens too much, gently warm the bars in the microwave for about 5 seconds to achieve a softer bite without melting the layers.
Healthy Twix Bars Variations & Substitutions
Embrace your creativity in the kitchen and transform these Healthy Twix Bars to suit your tastes and dietary needs!
- Nut-Free: Replace almond flour with oat flour for a delicious nut-free treat. This keeps the texture intact without sacrificing flavor.
- Vegan Delight: Use maple syrup instead of honey and opt for a plant-based chocolate to make these bars completely vegan-friendly.
- Nut Butter Swap: Experiment with different nut butters, such as cashew or hazelnut, to create unique flavor combos that excite your taste buds.
- Add Cocoa Powder: For a richer chocolate taste in the shortbread, mix in 1-2 tablespoons of unsweetened cocoa powder to the dry ingredients. This adds depth without the guilt!
- Spicy Twist: Want to elevate the excitement? Add a pinch of cayenne or chili powder to the caramel for a delightful kick of heat.
- Crunchy Toppings: Top with chopped nuts or seeds like pumpkin or sunflower for added crunch and nutrition. Pairing flavors enhances both taste and texture.
- Sweetener Variations: Switch honey for agave syrup or brown rice syrup for a different sweetness profile. You can adjust the amount based on how your family prefers!
- Baking Option: For a baked version, spread the shortbread in an 8×8-inch pan and bake at 350°F for a slightly different texture, similar to a granola bar.
Feel free to get inspired with these ideas! And if you’re looking for more delicious sweet treats, don’t miss out on my Healthy Peanut Butter and Banana Oatmeal Bars recipes!
Healthy Twix Bars Recipe FAQs
What type of coconut flour should I use for Healthy Twix Bars?
Absolutely! Look for finely ground coconut flour for the best texture. It absorbs moisture differently than other flours, so be sure to measure it accurately according to the recipe to avoid fluffy or dense bars.
How long can I store Healthy Twix Bars in the fridge?
Very! You can keep your Healthy Twix Bars in an airtight container in the fridge for up to 1 week. Just ensure they’re tightly sealed to maintain their delicious texture and flavor.
Can I freeze Healthy Twix Bars, and how do I do it?
Yes, indeed! For longer storage, freeze your Healthy Twix Bars for up to 3 months. Layer them between sheets of parchment paper in an airtight container to prevent sticking. When you’re ready to eat, simply move them from the freezer to the fridge for a few hours to thaw.
What should I do if my chocolate layer cracks when slicing?
Keep in mind, if you freeze your bars for too long, the chocolate coating may crack during slicing. To prevent this, aim for about 30 minutes in the freezer after adding the chocolate. If it does crack, don’t worry! Just let it soften for a moment before slicing to ensure cleaner edges.
Are these Healthy Twix Bars suitable for people with nut allergies?
Great question! If you’re catering to nut allergies, you can substitute the almond butter with sunflower seed butter or a nut-free spread. If you choose to replace the almond flour as well, oat flour works well for a nut-free version too!
Can my pet eat Healthy Twix Bars?
Absolutely not! While the ingredients in Healthy Twix Bars are wholesome for humans, some, like chocolate and certain sweeteners, can be harmful to pets. Always keep any treats made for human consumption out of reach of your furry friends.
Irresistibly Healthy Twix Bars You'll Love Guilt-Free Indulgence
Ingredients
Equipment
Method
- Preheat your oven to 350°F (175°C). In a mixing bowl, combine coconut flour and almond flour with melted coconut oil and warmed honey, stirring until the mixture is smooth and uniform. Line a 6x6-inch baking dish with parchment paper for easy removal, and pack the shortbread mixture firmly into the bottom. Bake for 10-12 minutes or until the edges turn golden brown, then allow it to cool completely.
- In a saucepan over low heat, combine almond butter, coconut oil, vanilla extract, maple syrup, and sea salt. Whisk the mixture continuously for 2-3 minutes until it transforms into a smooth, liquefied caramel. Remove from heat and let it cool completely.
- Take a medium mixing bowl and add chopped dark chocolate and coconut oil. Microwave the bowl in 30-second intervals, stirring between each interval, until the chocolate is fully melted and glossy—this should take about 1-2 minutes in total.
- Once your shortbread layer is cool, pour the caramel mixture over it, spreading it evenly with a spatula. Place the dish in the freezer for about 1-2 hours, or until the caramel layer is firm and set.
- After the caramel is hardened, pour the melted chocolate over the top of the bars, ensuring it covers the entire surface evenly. Sprinkle a delicate layer of flaky sea salt over the chocolate to bring out all the flavors beautifully. Chill the assembled Healthy Twix Bars in the fridge for an additional 5-10 minutes to set the chocolate.
- Once everything is set, gently lift the bars from the baking dish using the parchment paper for easier handling. With a sharp knife, slice them into your desired sizes, revealing the delicious layers of shortbread, caramel, and chocolate. Enjoy your Healthy Twix Bars as a delightful treat!
Leave a Reply