
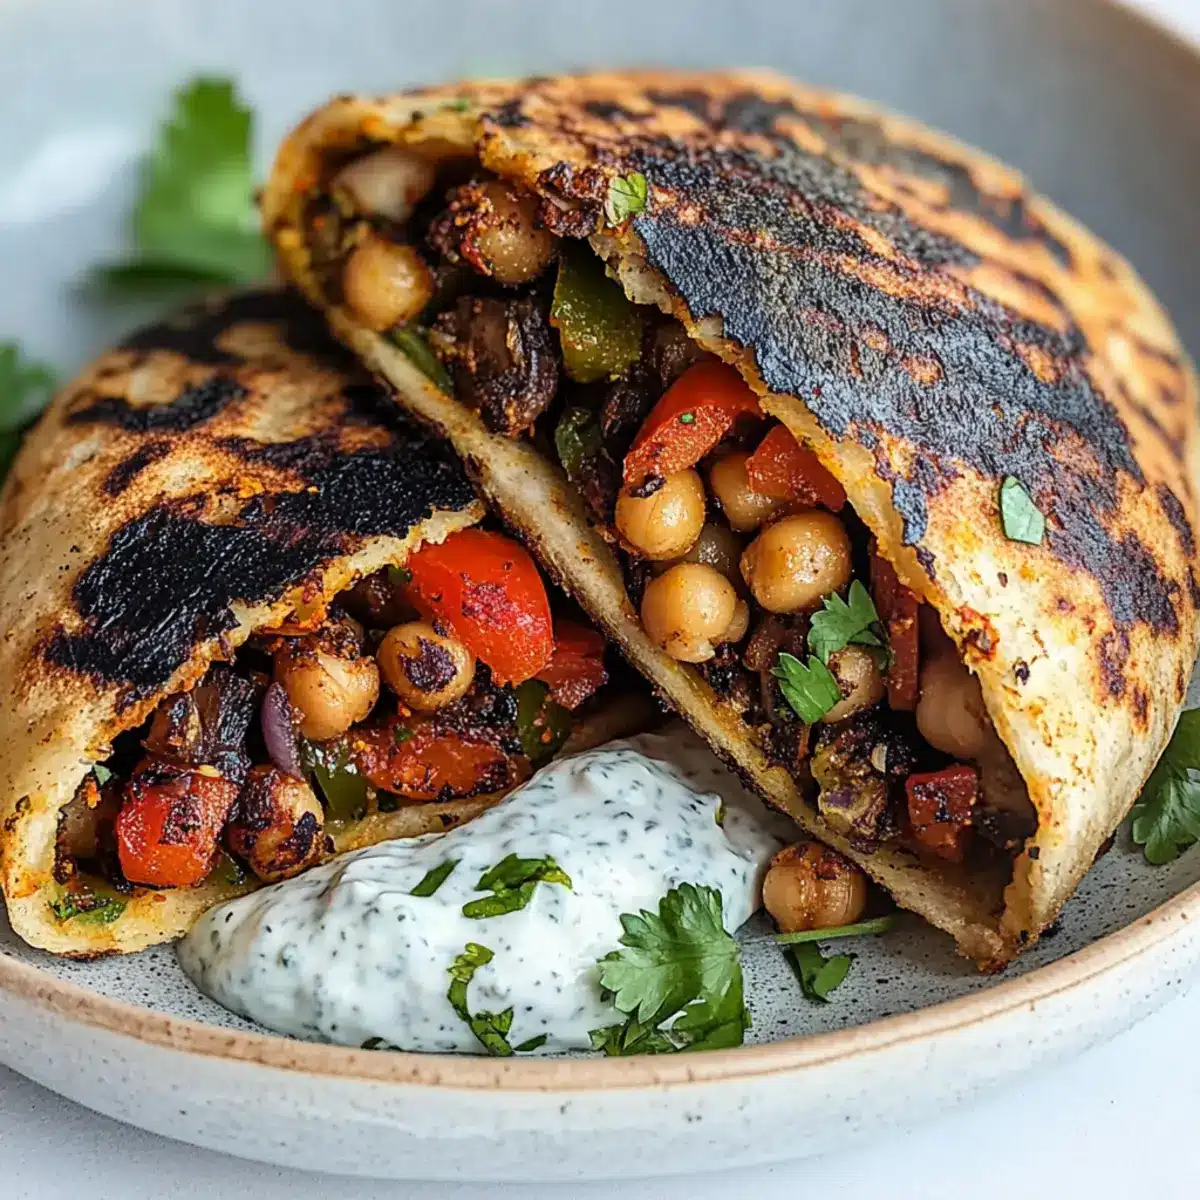
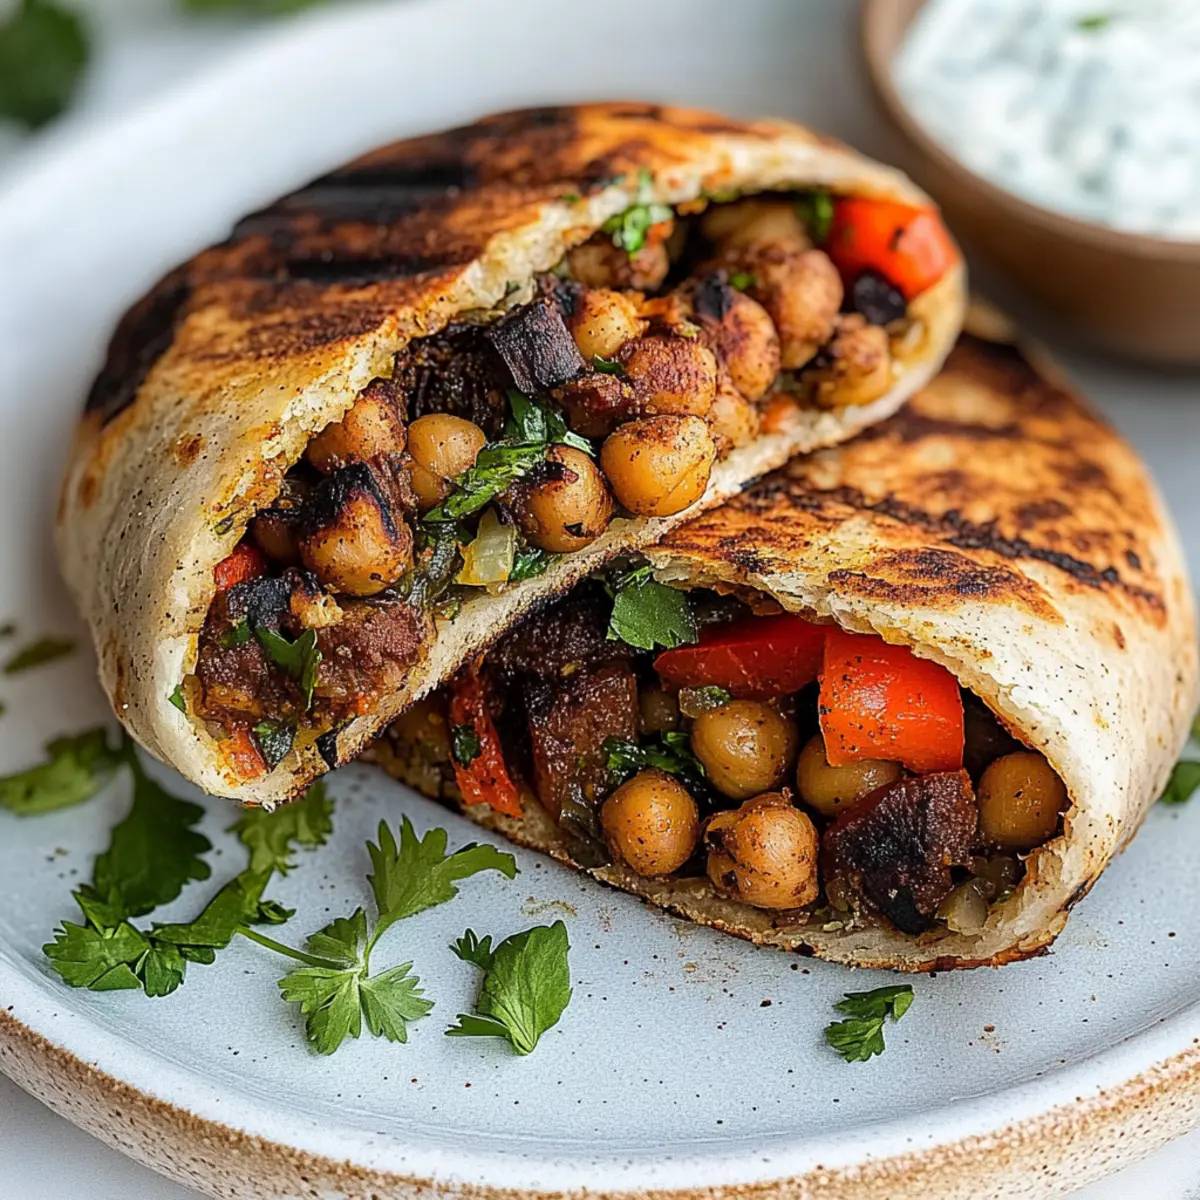
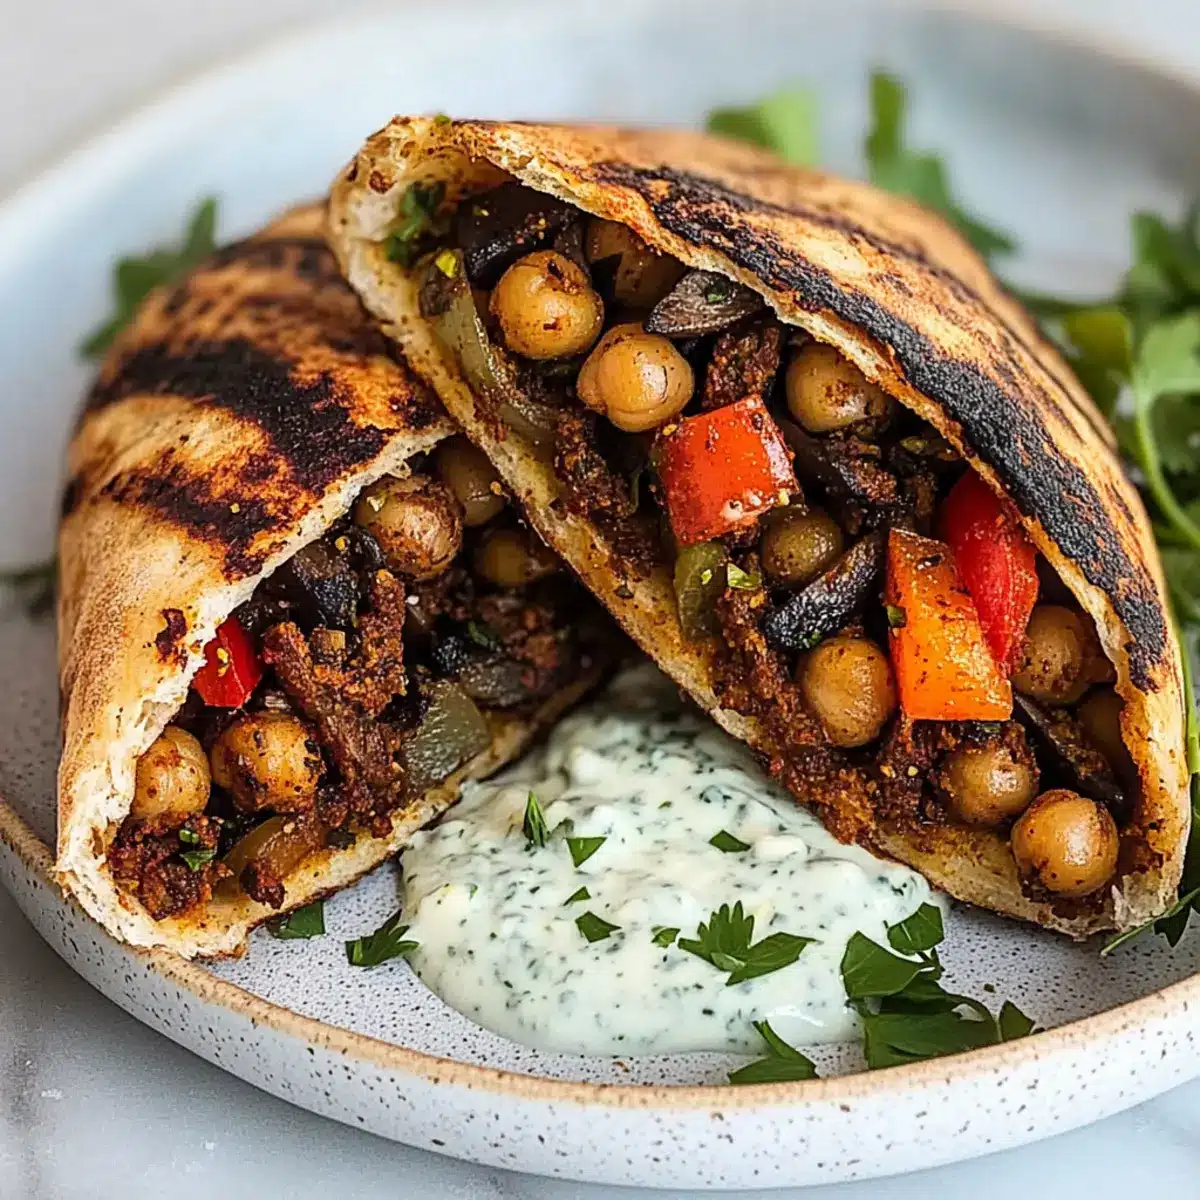
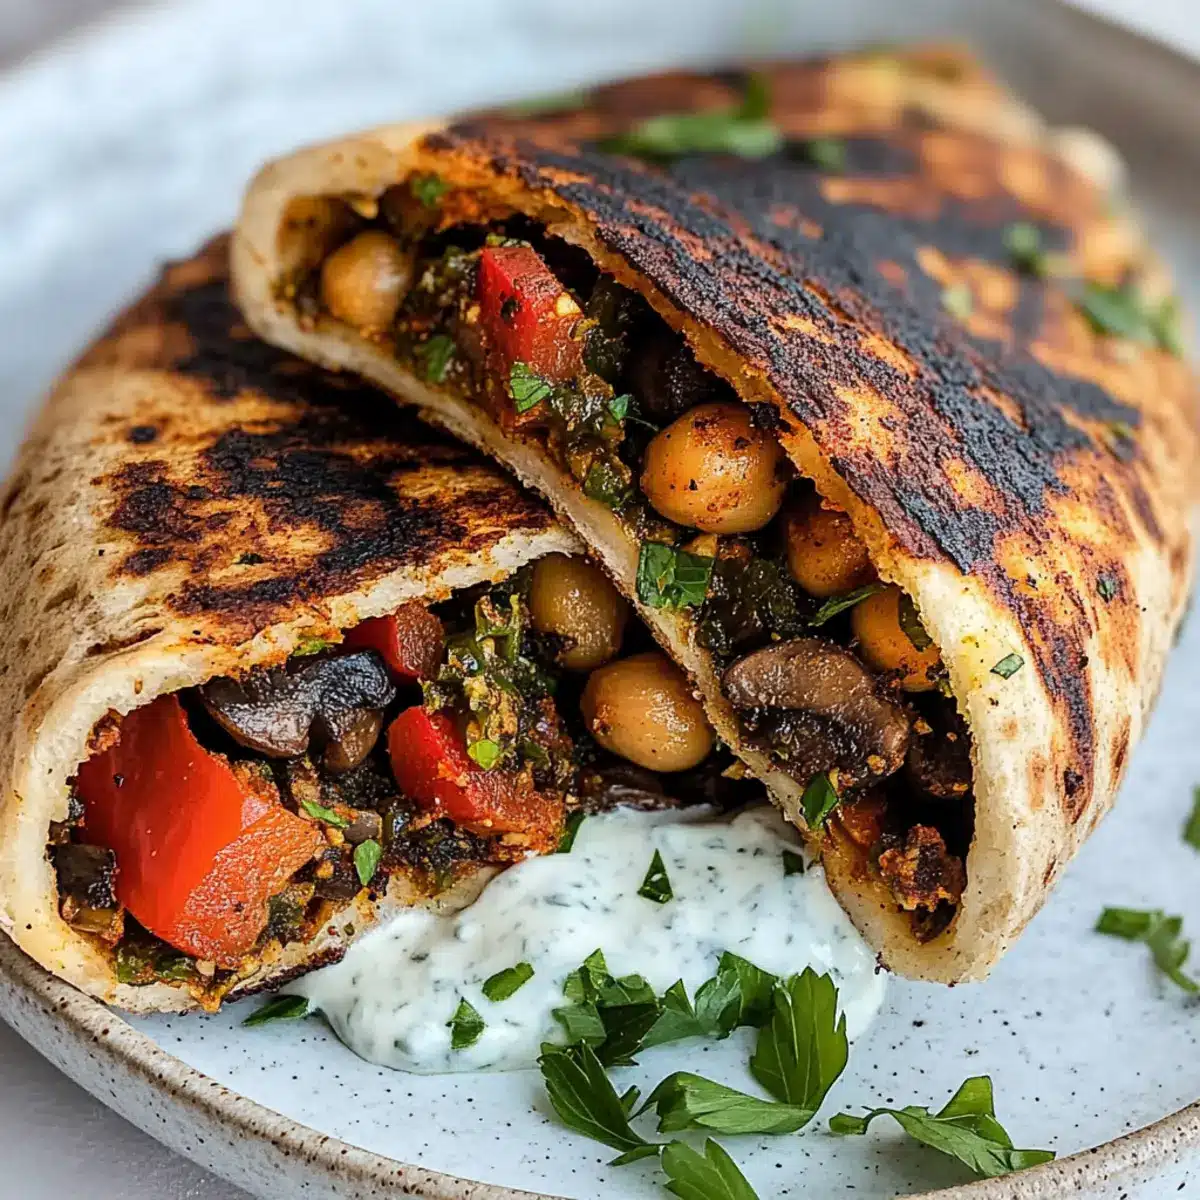
As I stood in the kitchen, the intoxicating aroma of za’atar wafting through the air, I couldn’t help but feel a wave of excitement for today’s meal—my High-Protein Grilled Chickpea Veggie Pita. Combining hearty chickpeas with vibrant, fresh veggies, this recipe is not just a dish; it’s an experience. Perfect for anyone seeking a quick and budget-friendly vegan lunch or dinner, it offers a delightful balance of crispiness on the outside and flavorful satisfaction within. Packed with protein and fiber, this pita stands out not just for its nutritional benefits but also for the versatility it provides—feel free to swap in your favorite veggies or even explore different sauces! Are you ready to take your taste buds on this flavorful journey?
Why is this recipe a must-try?
Vibrant flavors: The✨ blend of za’atar, herbs, and spices creates an invigorating taste that transports you straight to the Mediterranean.
High protein: With a whopping 22 grams of protein per serving, this dish is perfect for those seeking plant-based nutrition.
Budget-friendly: Using affordable ingredients, you can whip up a satisfying meal without breaking the bank—ideal for home cooks looking to save!
Versatile fillings: Feel free to substitute vegetables based on what’s in season or what you have on hand; options are endless!
Quick and easy prep: In just 30 minutes, you can enjoy a hearty meal—great for busy weeknights when time is of the essence.
Pair it with a refreshing salad or a side of Vegan Garlic Chickpea soup for an even more delightful experience!
Grilled Chickpea Veggie Pita Ingredients
For the Filling
- Chickpeas – The primary protein source; substitute with canned lentils for a twist.
- Yellow Onion – Adds depth of flavor; use shallots for a sweeter touch.
- Bell Pepper – Brings crunch and color; feel free to swap with zucchini or a different pepper variety.
- Mushrooms – Offer umami and a satisfying texture; any kind will do!
- Tomato Paste – Acts as a binder, adding richness; omit if you’re sensitive to tomatoes, adjusting seasonings as needed.
- Za’atar – Infuses the dish with Middle Eastern flair; adjust according to taste preferences.
- Cumin – Adds warmth and earthiness; a little goes a long way!
- Coriander – Complements the flavors beautifully; try smoked paprika for a different twist.
- Fennel Seeds – Enhance the aromatic profile; use crushed seeds for more flavor.
- Parsley & Cilantro – Bring freshness to the filling and yogurt sauce.
For the Pitas
- Whole Grain Pita Bread – Offers fiber and heartiness; gluten-free wraps are a great alternative.
For the Yogurt Sauce
- Greek Style Yogurt – Provides creaminess and extra protein; swap for plant-based yogurt or tahini for a vegan option.
- Garlic – Adds zesty flavor; roast it for a milder taste.
- Lemon Juice – Brightens the sauce, balancing the creaminess; fresh lemons are the best choice!
- Salt & Pepper – Essential for seasoning; adjust to your personal taste.
These Grilled Chickpea Veggie Pitas promise a delightful mix of flavors and textures that are sure to please everyone at the table!
Step‑by‑Step Instructions for Grilled Chickpea Veggie Pita
Step 1: Prepare Chickpeas
Begin by draining and rinsing one can of chickpeas. In a large mixing bowl, use a fork to roughly mash the chickpeas until they’re slightly broken down but still chunky, about 1-2 minutes. This will help the chickpeas blend well with the other ingredients, adding heartiness to the filling for your Grilled Chickpea Veggie Pita.
Step 2: Sauté Vegetables
In a medium skillet, heat 2 tablespoons of olive oil over medium heat. Once hot, add one diced yellow onion, one chopped bell pepper, and a cup of sliced mushrooms to the pan. Sauté the mixture for 5-7 minutes or until the vegetables are tender and the moisture has evaporated. Stir occasionally and sprinkle with a pinch of salt to enhance flavor.
Step 3: Flavor the Filling
Once the vegetables have softened, introduce 2 minced garlic cloves to the skillet, cooking for an additional minute, until fragrant. Stir in 2 tablespoons of tomato paste, the mashed chickpeas, 2 tablespoons of soy sauce, and the za’atar spice mix. Cook this mixture for about 3 minutes, allowing the flavors to meld. Finally, mix in a handful of chopped parsley, setting the filling aside.
Step 4: Stuff and Grill Pitas
Preheat a griddle or grill pan over medium-high heat for a few minutes until it’s hot. Meanwhile, carefully cut 4 whole grain pitas in half, creating pockets. Stuff each pocket with the chickpea veggie filling, being cautious not to overstuff. Brush the outside of each pita lightly with olive oil, then place them on the grill and cook for 3-4 minutes per side, until golden brown and crispy.
Step 5: Prepare Yogurt Sauce
In a small bowl, whisk together 1 cup of Greek yogurt, the juice of half a lemon, 1 minced garlic clove, and a pinch of salt and pepper to create a creamy sauce. Adjust seasoning as desired, and feel free to add more lemon juice for brightness. This yogurt sauce will elevate the flavors of your Grilled Chickpea Veggie Pita.
Step 6: Serve
Remove the grilled pitas from the heat and let them cool slightly before serving. Drizzle the yogurt sauce generously inside each pita, or serve it on the side for dipping. These Grilled Chickpea Veggie Pitas are best enjoyed warm, featuring a delightful mix of crispy exterior and flavorful, hearty filling.
Grilled Chickpea Veggie Pita Variations
Feel free to mix things up with these delightful twists on your Grilled Chickpea Veggie Pita, ensuring every bite offers something new and exciting!
-
Dairy-Free: Swap Greek yogurt for plant-based yogurt or a creamy tahini sauce to keep it vegan-friendly.
-
Hearty Twist: Use ground tempeh instead of chickpeas for a unique protein source that brings a wonderful texture.
-
Zesty Kick: Spice things up by adding jalapeños or red pepper flakes to the filling for a touch of heat.
-
Seasonal Veggies: Incorporate whatever is fresh, like spinach or roasted eggplant, to make every season feel special and vibrant.
-
Flavor Boost: Add a tablespoon of lemon zest to the filling for a zingy brightness that elevates the overall flavor.
-
Crunch Factor: Include grated carrots or chopped cucumber for a refreshing crunch that perfectly contrasts the warm filling.
-
Smoky Flavor: Experiment with smoked paprika or chipotle seasoning in place of the cumin for a delicious smokiness that warms the soul.
-
Freezing Fun: Make a batch of filling and freeze it. This way, you can have a quick, nutritious meal ready any day of the week!
For an alternative take on chickpeas, check out my Vegan Garlic Chickpea soup or consider a flavorful Tuscan Chickpea Soup as a wonderful accompaniment to your pitas!
What to Serve with High-Protein Grilled Chickpea Veggie Pita
Elevate your meal with these scrumptious pairings that enhance the vibrant flavors of your pitas!
-
Crispy Roasted Potatoes: These perfectly seasoned potatoes add a crunchy texture and earthy flavor, beautifully balancing the soft pitas.
-
Mediterranean Chickpea Salad: A refreshing mix of cucumbers, tomatoes, and olives, this salad brings zest and complements the za’atar spices in the filling.
-
Garlic Tahini Sauce: Rich and creamy, this sauce adds another layer of flavor for dipping, enhancing your taste experience with its nutty notes.
-
Grilled Asparagus: Tender and smoky, chopped asparagus provides a delightful crunch that pairs effortlessly with the heartiness of the pitas.
-
Saffron Rice: Fluffy and aromatic, saffron rice brings a slight sweetness that contrasts wonderfully with the savory filling of the pita.
-
Minted Yogurt Drink: A cool and refreshing beverage, this drink not only hydrates but also enhances the meal’s Middle Eastern flair.
-
Hummus and Pita Chips: A classic pairing, hummus adds smooth creaminess while pita chips introduce a satisfying crunch, perfect for snacking!
-
Lentil Soup: Offer a warm bowl of lentil soup as a side, bringing hearty protein and a comforting warmth to your meal.
-
Baklava Bites: End your meal on a sweet note with baklava! Its honeyed layers offer a delightful contrast to the savory flavors of the pitas.
Expert Tips for Grilled Chickpea Veggie Pita
-
Don’t Overstuff: Avoid the temptation to pack too much filling inside each pita, as this can cause tearing and make grilling difficult.
-
Prep Ahead: Store the chickpea filling and pitas separately if preparing in advance. This keeps the pitas crispy and the filling fresh!
-
Ingredient Swaps: Feel free to mix and match your veggies. Seasonal produce can enhance flavors—just keep the grilled chickpea veggie pita’s essence.
-
Grill Smart: Preheat your grill to ensure the pitas achieve that perfect crispiness. This step is key for a delicious texture!
-
Flavor Balance: Adjust the seasoning of your yogurt sauce according to your taste. More lemon juice can brighten it up, while extra garlic adds a nice kick.
Make Ahead Options
These Grilled Chickpea Veggie Pitas are fantastic for meal prep! You can prepare the chickpea filling up to 3 days in advance and store it in an airtight container in the refrigerator to maintain freshness. Before serving, simply stuff the filling into the pita pockets and grill them for about 3-4 minutes per side until crispy. To keep the pitas from getting soggy, assemble them just before grilling. The yogurt sauce can also be made ahead of time and stored for up to 24 hours; just give it a quick stir before serving. With these make-ahead options, you can enjoy a nutritious, satisfying meal without compromising on flavor or quality!
How to Store and Freeze Grilled Chickpea Veggie Pita
Fridge: Store any leftover stuffed pitas in an airtight container in the fridge for up to 3 days. Keep the filling and pitas separate to maintain their textures.
Freezer: You can freeze the chickpea filling in a freezer-safe container for up to 2 months. Thaw in the fridge before reheating and stuffing into fresh pitas.
Reheating: Reheat pitas in a skillet on medium heat for 3-4 minutes per side or until warmed through and crispy. For filling, simply heat in a pan on low until hot.
Airtight Storage: Ensure that all components are tightly sealed when storing to prevent moisture and maintain freshness in your Grilled Chickpea Veggie Pita.
Grilled Chickpea Veggie Pita Recipe FAQs
What type of chickpeas should I use?
Absolutely! You can use canned chickpeas for convenience, which just need rinsing and draining. If you prefer, cooking dried chickpeas from scratch works wonderfully too—just soak them overnight and boil until tender for about 1-2 hours.
How should I store leftover grilled chickpea veggie pitas?
The best way to store any leftover stuffed pitas is in an airtight container in the fridge for up to 3 days. To maintain their texture, it’s wise to keep the filling and pitas separate—just assemble them when you’re ready to enjoy!
Can I freeze the chickpea filling?
Very much! You can freeze the chickpea filling in a freezer-safe container for up to 2 months. To do so, allow it to cool completely before transferring it to the container. When ready to use, simply thaw it in the fridge overnight and reheat on the stovetop!
My pitas are tearing when I stuff them. What can I do?
Don’t worry; this happens sometimes! To prevent tearing, be gentle when cutting your pitas and avoid overstuffing them. Just fill them with a modest amount of filling, allowing some space for them to seal—this way, they’ll grill nicely without splitting.
Are there any dietary considerations for this recipe?
Absolutely! This recipe is naturally vegan and gluten-free if you choose the right pita or wrap. Just be cautious with soy sauce, as regular soy sauce contains gluten—opt for a gluten-free version if that’s a concern. Adjust ingredients to suit your dietary needs, like swapping Greek yogurt for plant-based yogurt for a dairy-free option.
How can I enhance the flavors of the yogurt sauce?
Great question! To elevate the yogurt sauce, consider adding herbs like dill or mint for fresh notes. For a zesty kick, finely grate lemon or add a dash of hot sauce. Always taste and adjust the seasoning, especially salt and pepper, to your liking!
Grilled Chickpea Veggie Pita: A Flavorful Vegan Delight
Ingredients
Equipment
Method
- Drain and rinse the chickpeas. In a large bowl, roughly mash them with a fork for 1-2 minutes.
- In a skillet, heat olive oil over medium heat. Sauté yellow onion, bell pepper, and mushrooms for 5-7 minutes.
- Add minced garlic, cook for 1 minute, then stir in tomato paste, chickpeas, soy sauce, and za’atar. Cook for an additional 3 minutes.
- Preheat griddle over medium-high heat. Cut pitas in half and stuff with the veggie filling. Brush with olive oil.
- Grill the stuffed pitas for 3-4 minutes per side until golden brown.
- Whisk together Greek yogurt, lemon juice, minced garlic, salt, and pepper for the sauce.
- Serve grilled pitas with yogurt sauce inside or on the side.
Leave a Reply