
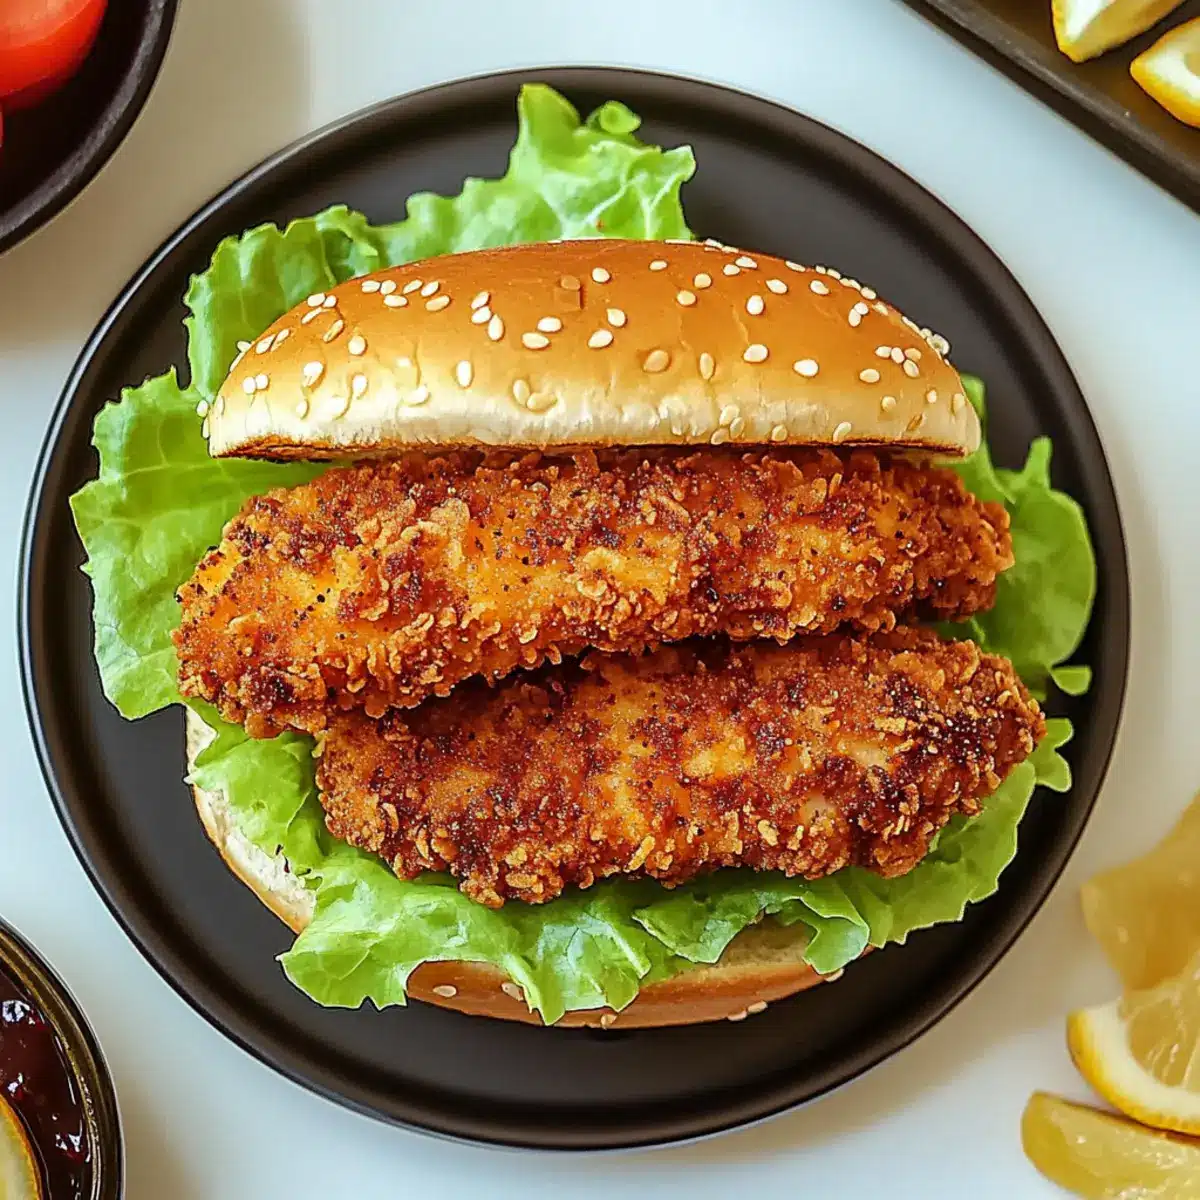
The sizzling sound of chicken frying brings me back to sunlit afternoons spent crafting the perfect sandwich in my kitchen. This Crispy Lemon Pepper Chicken Sandwich is a tribute to those moments, featuring golden, crunchy chicken that bursts with flavorful zest, all snugly tucked inside a soft, toasted bun. One of the best parts? This dish is not only a family-friendly favorite but also allows for endless customization to suit your taste buds—think rich mayo, tangy mustard, or even a bold aioli for a fun twist! Whether you whip it up on a busy weeknight or serve it at your next gathering, this sandwich is sure to impress. Ready to elevate your mealtime routine with a delicious creation? Let’s dive in!
Why is this sandwich a must-try?
Irresistible crunch: The crispy coating on the chicken creates a satisfying bite that will keep you coming back for more.
Zesty flavor explosion: Infused with lemon pepper, each mouthful bursts with vibrant flavor, making it an exciting alternative to typical fast food.
Endless customization options: Swap out the mayo for spicy aioli or add your favorite toppings—this sandwich adapts to your preferences!
Healthier alternatives available: Enjoy a guilt-free version by baking the chicken or using whole wheat buns without losing the taste.
Family-friendly favorite: This dish is perfect for both adults and kids, promising a delightful meal everyone will love!
Crispy Lemon Pepper Chicken Sandwich Ingredients
• Get ready to whip up a flavorful feast!
For the Chicken
- Boneless, skinless chicken breasts – Primary protein providing juiciness; substitute with chicken thighs for a richer flavor.
- All-purpose flour – Adds structure to the breading; gluten-free flour can be used as a substitute.
- Salt, black pepper, garlic powder, onion powder, paprika, cayenne pepper – Seasoning mix enhancing the flavor profile; adjust spices to your preference for a personalized kick.
- Large egg and water – Binds flour and breadcrumbs to chicken for a crispy coating.
- Breadcrumbs – Creates the crunchy crust; opt for panko for extra crunch or gluten-free breadcrumbs as a substitute.
- Buttermilk – Keeps chicken moist; substitute with milk and lemon juice for a similar effect.
- Vegetable oil – Essential for frying the chicken, achieving that perfect crispy texture.
For the Sandwich
- Hamburger buns – Holds the sandwich together, providing a soft bite; whole wheat buns can be a healthier alternative.
- Mayonnaise, Dijon mustard, lemon juice, lemon zest – Flavorful sauce enhancing richness; customize by replacing ingredients for different dips.
- Chopped fresh parsley – Garnish to add freshness and color.
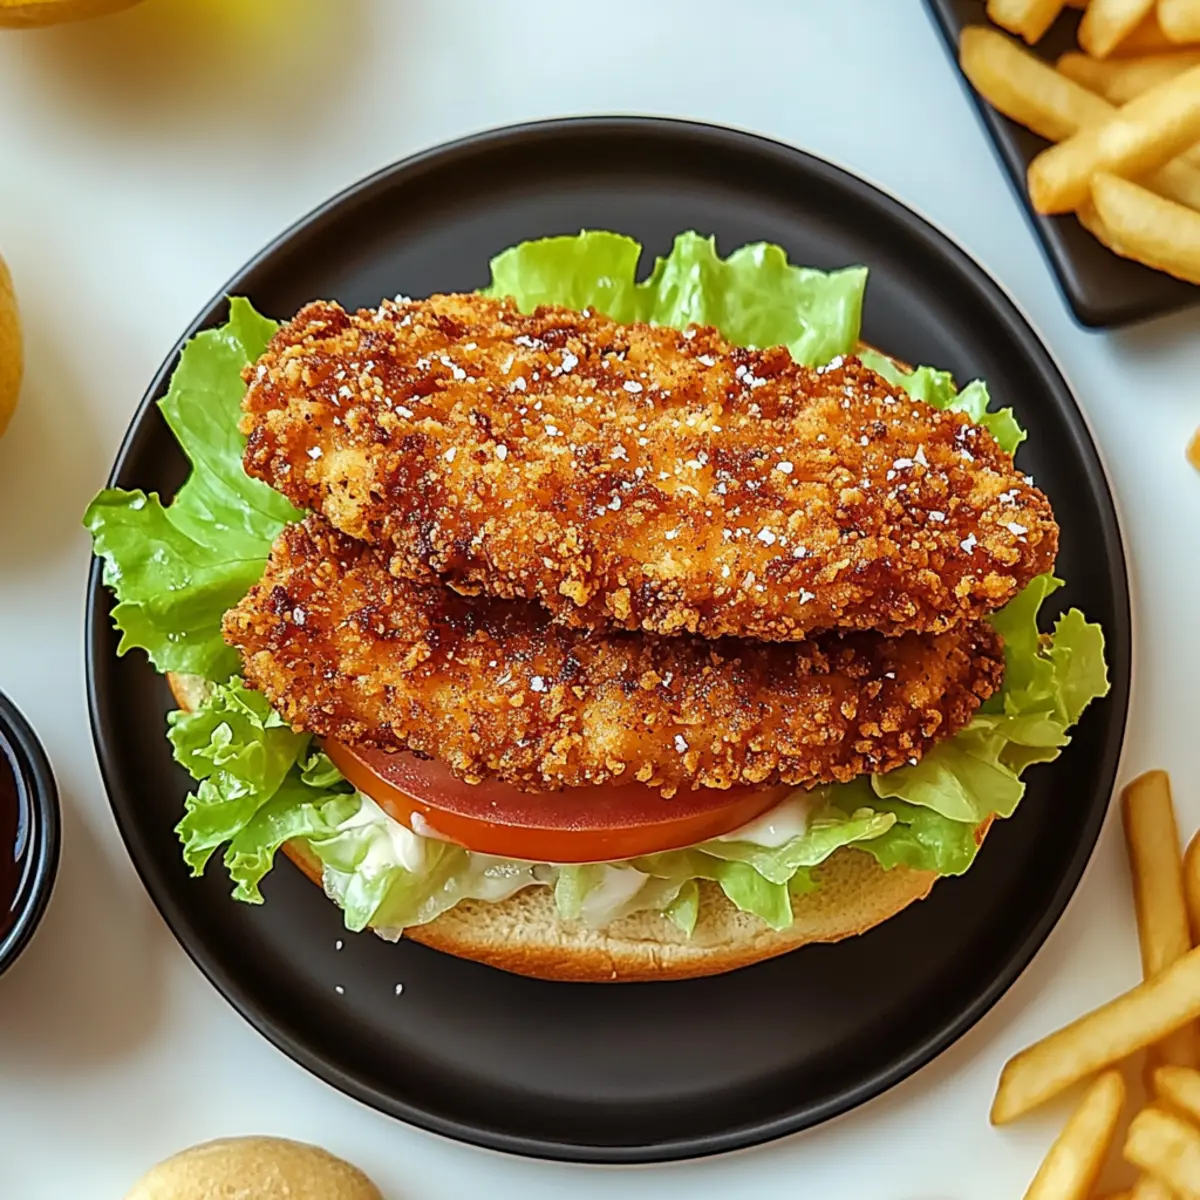
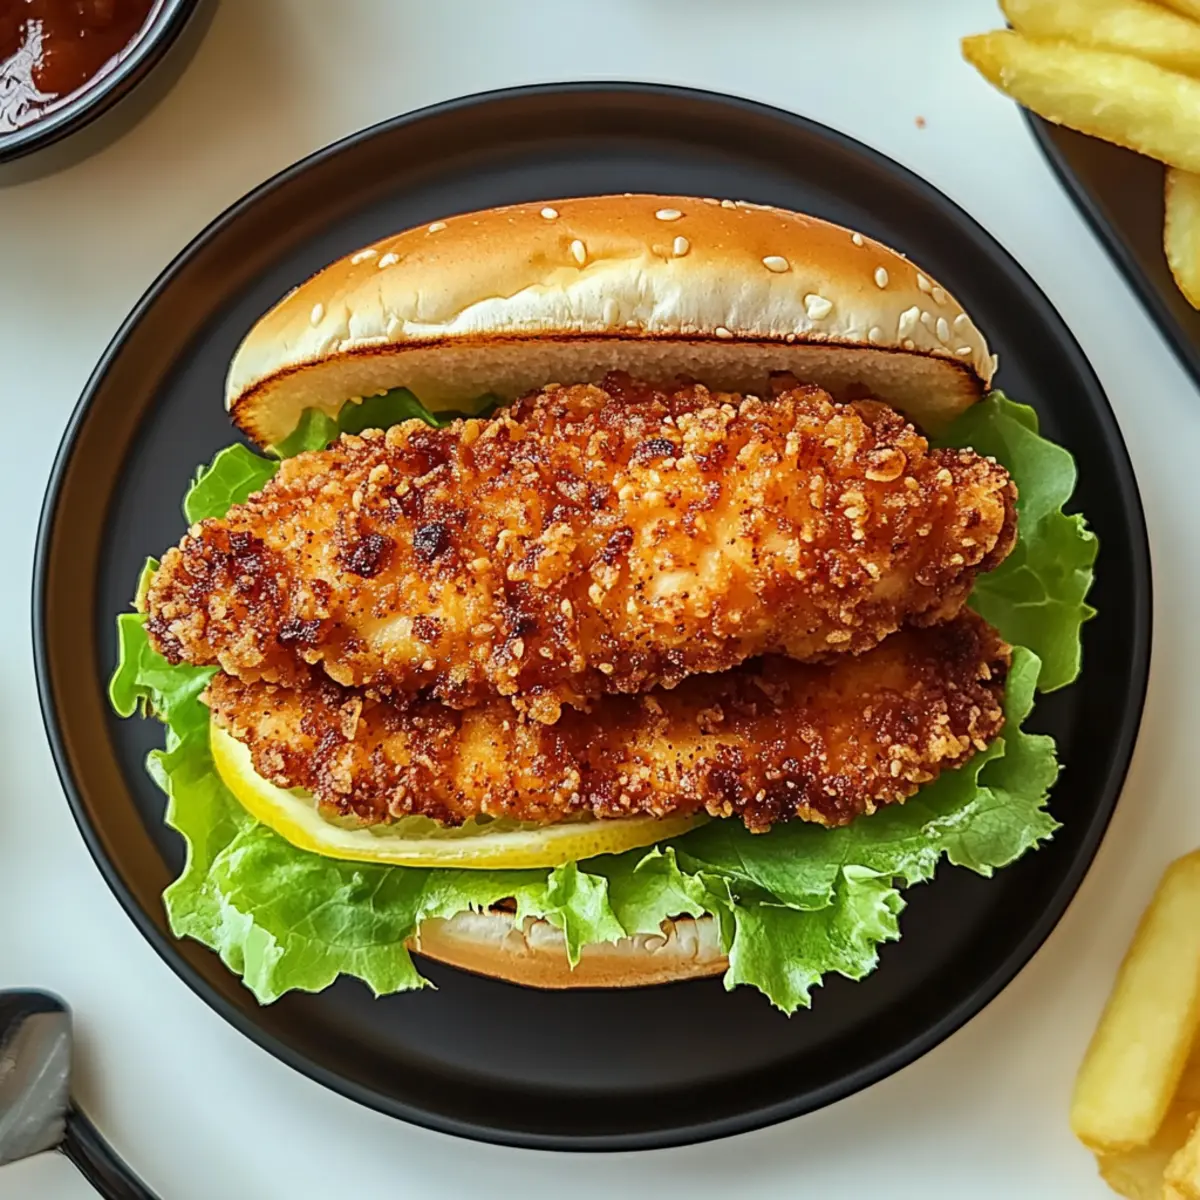
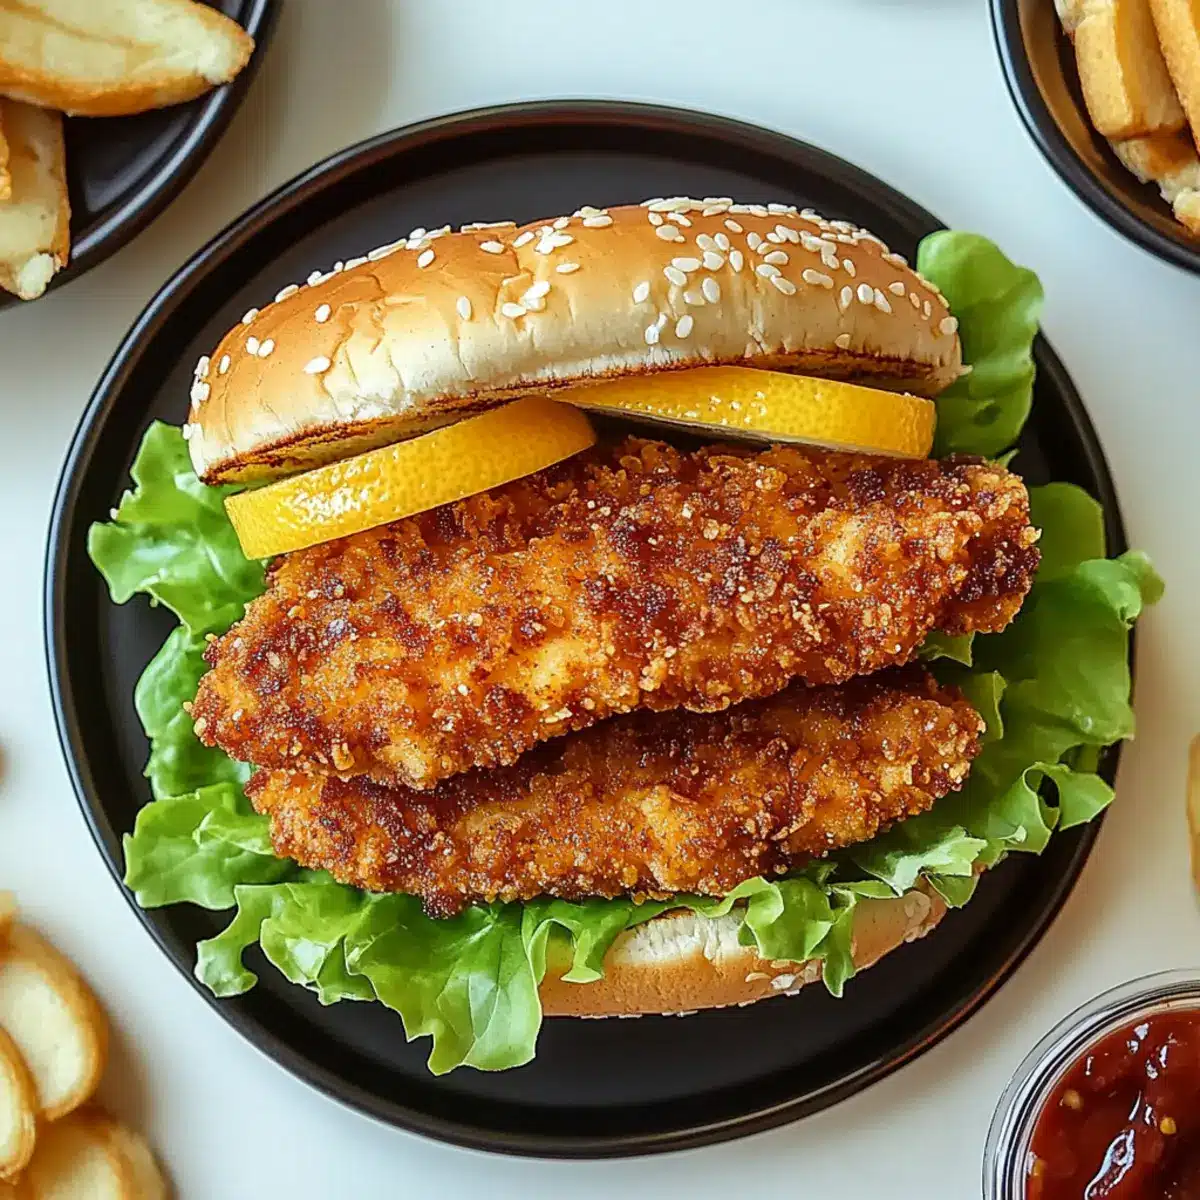
- Shredded lettuce and sliced tomato – Provide delightful crunch and freshness to the sandwich.
Let’s get cooking and enjoy every delicious bite of this Crispy Lemon Pepper Chicken Sandwich!
Step‑by‑Step Instructions for Crispy Lemon Pepper Chicken Sandwich
Step 1: Prepare the Chicken
To start, slice the boneless, skinless chicken breasts horizontally to create thinner pieces that will cook evenly. Aim for about ½ inch thickness for an optimal crispy texture. This step ensures every bite of your Crispy Lemon Pepper Chicken Sandwich is juicy and tender, making it perfect for frying.
Step 2: Mix the Dry Ingredients
In a large mixing bowl, combine all-purpose flour, salt, black pepper, garlic powder, onion powder, paprika, and cayenne pepper. Whisk them together until evenly blended, creating a flavorful coating for the chicken. This mixture will build a deliciously crunchy exterior that complements the tender chicken perfectly, enhancing the sandwich’s overall experience.
Step 3: Prepare the Wet Ingredients
In a separate bowl, whisk together a large egg and a splash of water until smooth. This egg mixture will act as the binding agent, ensuring the flour and breadcrumb coating sticks well to the chicken. Having this ready provides a seamless transition to breading your chicken, making your cooking process efficient.
Step 4: Arrange the Breadcrumbs
In a third bowl, pour in your breadcrumbs, preferably panko for an extra crispy bite. This layer will give your chicken the delightful crunch it deserves. Having the breading station set up will streamline the process and keep things organized as you coat each piece of chicken.
Step 5: Bread the Chicken
Now, take each chicken piece, first dredging it in the seasoned flour until fully coated, then dip it in the egg mixture. Finally, press it into the breadcrumbs, ensuring a generous coat on all sides. This triple-dipping technique is crucial for achieving that unforgettable crunch when frying your Crispy Lemon Pepper Chicken Sandwich.
Step 6: Fry the Chicken
Heat vegetable oil in a skillet over medium heat until hot, about 350°F (175°C). Carefully place the breaded chicken pieces in the oil, avoiding overcrowding the pan. Fry for 4-5 minutes on each side until they reach a beautiful golden brown color. Proper frying will lock in moisture while creating that coveted crunch.
Step 7: Drain and Toast Buns
Once the chicken is golden and cooked through, transfer the pieces to a plate lined with paper towels to drain excess oil. Meanwhile, toast the hamburger buns in a separate pan or toaster until golden. The warm, toasted buns provide a soft contrast to the crispy chicken, setting the stage for your sandwich assembly.
Step 8: Make the Sauce
In a small bowl, combine mayonnaise, Dijon mustard, lemon juice, and lemon zest for a zesty sauce. Mix thoroughly until well-blended. This creamy condiment will add richness and enhance the flavor profile of your Crispy Lemon Pepper Chicken Sandwich, balancing the zesty lemon notes beautifully.
Step 9: Assemble the Sandwich
To assemble, spread a generous layer of the sauce on the bottom half of the toasted bun. Layer on the crispy chicken, followed by shredded lettuce and sliced tomato for added crunch and freshness. Finally, sprinkle with chopped parsley for a colorful touch that brings your sandwich to life.
Step 10: Serve and Enjoy
Cap off your creation with the top half of the bun and slice in half if desired. Your Crispy Lemon Pepper Chicken Sandwich is ready to be savored! Serve immediately to enjoy the delicious warm crunch and zesty flavors, ensuring every bite is a delightful experience.
What to Serve with Crispy Lemon Pepper Chicken Sandwich
Elevate your mealtime experience with delicious sides that perfectly complement this zesty delight!
-
Crispy French Fries:
The golden, crunchy texture of fries pairs beautifully with the crispy sandwich, making it a classic combination. -
Fresh Garden Salad:
A light, refreshing salad adds a crisp, nutritious element, balancing the richness of the sandwich with vibrant flavors. -
Coleslaw:
Creamy and crunchy, this tangy side enhances the zesty notes of the chicken, making every bite more exciting. -
Sweet Potato Wedges:
Oven-baked and slightly sweet, these wedges provide a delightful contrast to the savory, zesty sandwich. -
Pickles:
Their acidity cuts through the richness, providing a sharp contrast that elevates the overall flavor experience. -
Lemonade:
A refreshing glass of lemonade matches the lemon pepper theme, bringing a burst of sweetness and zest to each sip.
These pairing suggestions will not only enhance your meal but also create a mouthwatering, memorable dining experience!
How to Store and Freeze Crispy Lemon Pepper Chicken Sandwich
Fridge: Store any leftover chicken in an airtight container for up to 3 days to maintain freshness. Ensure it cools completely before sealing to prevent moisture buildup.
Freezer: For longer storage, freeze the cooked chicken in a single layer on a baking sheet until solid, then transfer to a freezer bag for up to 2 months. Reheat the chicken directly from the freezer when you’re ready to enjoy your Crispy Lemon Pepper Chicken Sandwich again.
Reheating: For the best texture, reheat the chicken in a skillet over medium heat to restore its crispy exterior. Avoid microwaving, as it can make the coating soggy.
Assembly Tip: It’s best to store the sandwich components separately to keep the buns and toppings fresh, allowing for delicious, customizable meals whenever you crave them.
Crispy Lemon Pepper Chicken Sandwich Variations
Feel free to switch things up and make this dish suit your taste buds like a pro!
-
Spicy Twist: Swap out the mayo for spicy aioli to kick up the heat and flavor profile. A little zing can transform your sandwich into an unforgettable experience!
-
Baked Option: For a healthier take, consider baking the chicken instead of frying. Coat the chicken with the same seasonings and breadcrumbs, then bake it in a preheated oven at 400°F (200°C) for about 20 minutes.
-
Add Crunch: Replace shredded lettuce with crispy coleslaw for extra texture and a tangy flavor that perfectly complements the chicken.
-
Stuffed Delight: Try stuffing the sandwich with fresh avocado slices for a creamy and satisfying addition that brings a rich flavor to each bite.
-
Zesty Variation: Mix lemon zest directly into the breadcrumbs prior to coating the chicken for an extra burst of citrus flavor, giving each bite some zestiness!
-
Whole Wheat Love: Choose whole wheat buns for a heartier and healthier option that adds a nutty flavor to your sandwich.
-
Herb Infusion: Add chopped fresh herbs like basil or cilantro to the mayo or aioli for a delightful burst of freshness that enhances the overall flavor.
-
Layered Goodness: Consider adding sautéed onions or roasted red peppers to your sandwich to provide additional layers of flavor and texture. The sweetness from the peppers balances beautifully with the lemon pepper chicken.
As you experiment with these variations, don’t hesitate to get inspired by other delightful recipes like Honey Lime Chicken or Cheesy Buffalo Chicken Burritos. Enjoy your creative culinary journey!
Make Ahead Options
These Crispy Lemon Pepper Chicken Sandwiches are perfect for meal prep enthusiasts looking to save time during busy weeknights! You can bread the chicken and refrigerate it up to 24 hours in advance; just be sure to cover it tightly to maintain its crispiness. Additionally, you can prepare the sauce and store it in the fridge for up to 3 days. When you’re ready to enjoy your sandwich, simply fry the breaded chicken until golden and crispy, toast your buns, and assemble with the sauce, lettuce, and tomato. This way, you’ll have a deliciously fresh meal that feels just as special, without the last-minute rush!
Expert Tips for Crispy Lemon Pepper Chicken Sandwich
- Hot Oil Magic: Ensure the oil is heated to about 350°F (175°C) before frying for maximum crispiness and to avoid greasy chicken.
- No Overcrowding: Fry chicken pieces in batches to prevent overcrowding, which can lower the oil temperature and lead to soggy coating.
- Breading Precision: Make sure each chicken piece is fully coated with flour, egg, and breadcrumbs for an even crispy exterior on your sandwich.
- Storage Secrets: Keep leftover chicken and toppings separate to maintain crispiness; reheat chicken in a skillet instead of the microwave.
- Creative Variations: Feel free to play around with the sauce by swapping ingredients or adding spices to make your Crispy Lemon Pepper Chicken Sandwich uniquely yours!
Crispy Lemon Pepper Chicken Sandwich Recipe FAQs
How do I select the best chicken for the sandwich?
Absolutely! Opt for boneless, skinless chicken breasts for a lean and juicy bite. If you prefer a richer flavor, feel free to substitute them with chicken thighs. Ensure the chicken is fresh, with no visible dark spots, and try for pieces that are uniform in size for even cooking.
What is the best way to store leftovers?
Very! To keep your leftover chicken crispy, store it in an airtight container in the refrigerator for up to 3 days. It’s best to let it cool completely before sealing to avoid moisture buildup. Keep the buns and toppings separate to maintain their freshness and crunch.
Can I freeze the cooked chicken?
Absolutely! After cooking, allow the chicken to cool completely. Then, place it in a single layer on a baking sheet to freeze until solid, which should take about 1-2 hours. Once frozen, transfer the chicken to a freezer bag and store it for up to 2 months. Reheat directly from the freezer by placing it in a skillet over medium heat for that perfect crispy texture.
What should I do if my breading is soggy after frying?
No worries! If you find that your breading is soggy, it could be due to frying in oil that wasn’t hot enough or overcrowding the pan. Make sure the oil reaches about 350°F (175°C) before frying, and fry the chicken in batches to allow proper cooking. If the chicken still ends up soggy, try reheating it in a skillet to restore some crunch.
Are there any dietary considerations for this sandwich?
Yes! If you’re cooking for someone with gluten sensitivities, simply substitute all-purpose flour and breadcrumbs with gluten-free alternatives. Additionally, if there are concerns about dietary allergies, make sure to check the mayonnaise and mustard for common allergens like eggs or soy, or consider making your own aioli.
Crispy Lemon Pepper Chicken Sandwich for Flavor Lovers
Ingredients
Equipment
Method
- Slice the boneless, skinless chicken breasts horizontally to create thinner pieces that will cook evenly.
- In a large mixing bowl, combine all-purpose flour, salt, black pepper, garlic powder, onion powder, paprika, and cayenne pepper. Whisk until evenly blended.
- In a separate bowl, whisk together a large egg and a splash of water until smooth.
- In a third bowl, pour in your breadcrumbs, preferably panko.
- Dredge each chicken piece in the seasoned flour, dip in the egg mixture, then press into the breadcrumbs.
- Heat vegetable oil in a skillet over medium heat until hot. Fry the breaded chicken pieces for 4-5 minutes on each side.
- Once the chicken is golden and cooked through, transfer to a plate lined with paper towels to drain excess oil.
- Toast the hamburger buns in a separate pan or toaster until golden.
- In a small bowl, combine mayonnaise, Dijon mustard, lemon juice, and lemon zest for the sauce.
- Spread a generous layer of the sauce on the bottom half of the toasted bun, layer on the crispy chicken, followed by lettuce and tomato.
- Cap off with the top half of the bun and slice in half if desired.
Leave a Reply