
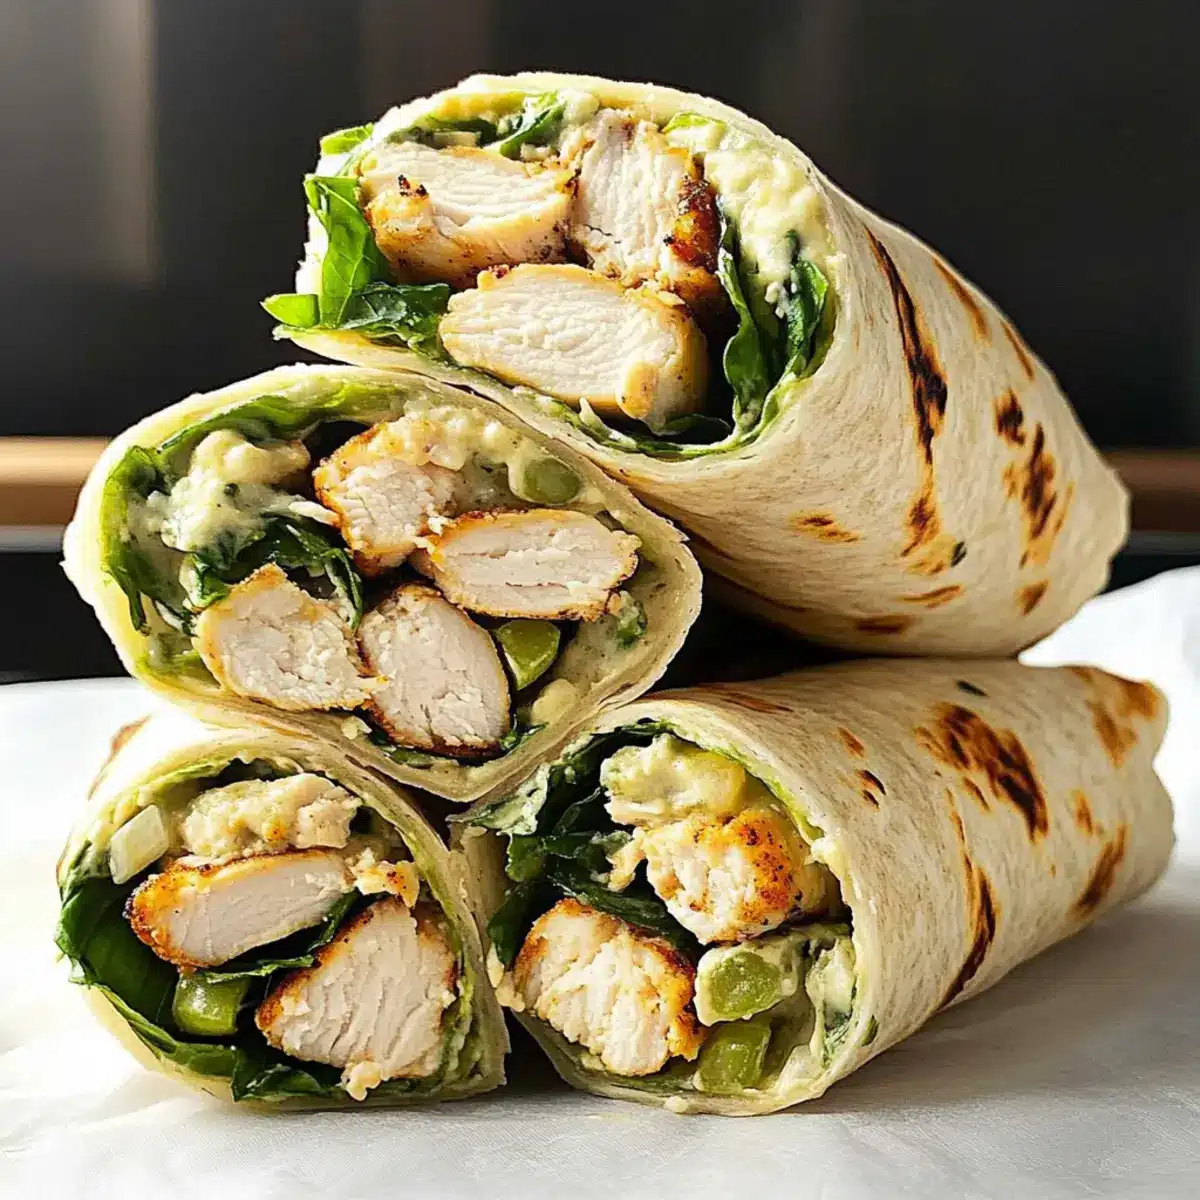
As I savored the crispness of the romaine and the savory notes of the Caesar dressing mingling with tender chicken, a lightbulb moment struck—it was time to marry my favorite salad with the convenience of a wrap. Enter the Chicken Caesar Wrap: a delightful handheld meal that captures the essence of a classic Caesar salad in every bite. With quick prep and endless customization options, this wrap is not only a crowd-pleaser but also a perfect solution for busy weekdays or picnic outings. Whether you opt for rotisserie chicken or get creative with fresh veggies, you’ll find this recipe to be a staple in your kitchen. Ready to whip up a satisfying meal that’s as quick as it is delicious? Let’s dive into the easy steps!
Why is the Chicken Caesar Wrap a Must-Try?
Versatile and Customizable: The Chicken Caesar Wrap adapts to your tastes—swap out ingredients like traditional croutons for crispy chickpeas or use gluten-free tortillas with ease.
Quick Preparation: In just a few minutes, you can have a delicious meal—perfect for busy weeknights or impromptu picnics.
Crowd-Pleasing Flavor: With its blend of creamy dressing, savory chicken, and crunchy romaine, it’s a dish that appeals to both kids and adults alike.
Healthy Choice: Approximately 337 calories per wrap, bursting with protein and flavor—it’s a nourishing option that doesn’t compromise on taste.
Great for Meal Prep: Assemble without dressing for easy meal-prepping, and simply add sauce when ready to enjoy—perfect for your meal planning!
Try pairing it with sides like Parmesan potato wedges for a satisfying feast!
Chicken Caesar Wrap Ingredients
For the Dressing
• Reduced-Fat Creamy Caesar Salad Dressing – Provides the quintessential flavor base for the wrap. Substitution/Prep Note: Any creamy dressing can be used for a different flavor profile.
• Grated Parmesan Cheese – Adds a savory, nutty flavor that enhances the dressing. Substitution: Can replace with nutritional yeast for a dairy-free option.
• Garlic Powder – Imparts depth and aroma to the dressing. Note: Fresh garlic can also be used if preferred.
• Pepper – Adds a mild heat and enhances overall flavor. Freshly cracked black pepper can provide a stronger flavor.
For the Wrap
• Cubed Cooked Chicken Breast – The main protein source that makes the wrap satisfying. Substitution: Rotisserie chicken can make preparation quicker.
• Torn Romaine Lettuce – Offers a crisp texture and fresh taste. Substitution: Shredded iceberg lettuce can be used for a milder flavor.
• Caesar Salad Croutons – Adds crunch and additional flavor. Can be omitted or swapped for crispy chickpeas for a gluten-free option.
• Whole Wheat Tortillas – The wrap vehicle that holds all ingredients together. Substitution: Spinach or gluten-free tortillas can be used.
Step‑by‑Step Instructions for Chicken Caesar Wrap
Step 1: Prepare the Dressing
In a large bowl, combine reduced-fat creamy Caesar salad dressing, grated Parmesan cheese, garlic powder, and freshly cracked pepper. Whisk these ingredients together until you achieve a smooth, cohesive mixture. This creamy base will be the flavorful heart of your Chicken Caesar Wrap, ensuring every bite is packed with taste.
Step 2: Mix the Filling
Add cubed cooked chicken breast, torn romaine lettuce, and Caesar salad croutons to the dressing mixture. Gently fold the ingredients together, ensuring each piece of chicken and lettuce is coated with the dressing. This step creates a delicious filling that mirrors the classic Caesar salad, bringing crunch and savoriness to your wraps.
Step 3: Lay Out the Tortilla
Take a whole wheat tortilla and lay it flat on a clean workspace or plate. Spoon approximately 2/3 cup of the prepared chicken Caesar filling down the center of the tortilla, making sure to leave some space at both ends. This positioning will help you achieve the perfect wrap without spilling any delicious ingredients.
Step 4: Roll the Wrap
Fold the sides of the tortilla over the filling, tucking one side in as you begin to roll it tightly. Continue rolling toward the center until the wrap is completely enclosed. Ensure that it’s snug, so the tasty Chicken Caesar Wrap holds its shape perfectly and is easy to handle when it comes time to eat.
Step 5: Optional Heating for Flexibility
If your tortillas feel a bit stiff, consider heating them briefly in a microwave for about 10-15 seconds. This step will make them more pliable, allowing for easier rolling and enhanced enjoyment of your Chicken Caesar Wrap. The warmth will also add a nice touch to your finished wrap.
Step 6: Store Leftovers Properly
Any leftover Chicken Caesar Wraps can be stored in the refrigerator. Wrap them tightly in foil or storage wrap to keep them fresh. They will maintain their quality for up to two days, making them a fantastic option for meal prep or quick snacks on busy days.
Tips for the Best Chicken Caesar Wrap
-
Fresh Ingredients: Use crisp, fresh romaine lettuce for a satisfying crunch that elevates your Chicken Caesar Wrap. Wilted lettuce can affect overall texture.
-
Avoid Sogginess: To keep your wrap from getting soggy, wait to add the dressing until just before serving. This ensures a delightful consistency.
-
Prep Ahead: Consider preparing ingredients in advance—like chopping lettuce or cubing chicken. This makes assembly during busy weeknights a breeze.
-
Customizable Croutons: Experiment with alternatives to traditional croutons, such as baked pita chips or crispy chickpeas. This adds a unique twist while keeping your wrap gluten-free!
-
Warm Tortillas: If you find your tortillas are stiff, a quick 10-15 second zap in the microwave will make them more pliable, ensuring a perfectly rolled Chicken Caesar Wrap.
How to Store and Freeze Chicken Caesar Wrap
Fridge: Store any leftover Chicken Caesar Wraps tightly wrapped in foil or storage wrap in the refrigerator for up to 2 days to maintain freshness and flavor.
Prep Ahead: Assemble the wraps without dressing if you’re planning to store them; keep ingredients separated to avoid sogginess until you’re ready to enjoy.
Freezer: If you want to store for longer, wrap the Chicken Caesar Wraps individually in plastic wrap and place them in a freezer-safe bag; they can last up to 2 months.
Reheating: To enjoy frozen wraps, thaw in the fridge overnight and gently reheat in the microwave or skillet until warmed through—about 1-2 minutes.
Chicken Caesar Wrap Variations
Feel free to explore these delightful variations to make the Chicken Caesar Wrap your own, each adding its unique spin!
-
Gluten-Free: Use gluten-free tortillas for a tasty alternative without sacrificing flavor or texture. This way, everyone can enjoy a handheld meal.
-
Dairy-Free: Swap grated Parmesan with nutritional yeast for that nutty flavor without the dairy. It’ll still deliver a delicious, savory kick!
-
Extra Crunch: Add thinly sliced cucumbers or shredded carrots for refreshing crunch alongside the classic romaine. These additions brighten up each bite.
-
Flavor Boost: Mix in a teaspoon of pesto into the dressing for an herby twist. The deep, rich flavors will surely elevate your wrap to the next level!
-
Spicy Kick: Include sliced jalapeños or a dash of hot sauce for heat. The added warmth complements the creaminess of the dressing beautifully.
-
Protein Swap: Experiment by using grilled shrimp or sliced turkey breast instead of chicken. Each option promises a delicious transformation to your wraps.
-
Vegetarian Style: Replace chicken with chickpeas or marinated tofu for a hearty vegetarian option. This swap keeps your wrap filling while catering to plant-based eaters.
-
Savory Addition: Toss in roasted red peppers or sun-dried tomatoes for a burst of flavor and a touch of sweetness. They’ll add complexity and make your wrap even more delightful!
Enjoy these versatile options, and feel free to pair your Chicken Caesar Wraps with sides like Parmesan potato wedges for a satisfying meal!
What to Serve with Quick and Easy Chicken Caesar Wraps
Add delightful sides and drinks to create a wholesome meal experience that perfectly complements your Chicken Caesar Wraps!
-
Parmesan Potato Wedges: Crispy, cheesy potatoes provide a satisfying crunch that pairs wonderfully with the creamy wrap.
-
Zucchini Fries: Baked or fried, these crispy vegetable fries offer a light and refreshing contrast to the savory wrap.
-
Caesar Salad: Maintain the Caesar theme with a side salad, featuring the same tangy dressing for a cohesive meal.
-
Fresh Fruit Salad: A mix of juicy berries and tangy citrus adds a bright, refreshing balance to the hearty wrap.
-
Light Vegetable Soup: A warm bowl of soup enhances the meal’s comfort factor, providing a cozy complement to the Chicken Caesar Wraps.
-
Sparkling Water with Lemon: Keep it light with a bubbly, citrus-infused drink that cleanses the palate between bites.
Whether you’re enjoying a family dinner or packing for a picnic, these sides will elevate your dining experience while embracing the heartiness of each delicious wrap!
Make Ahead Options
These Chicken Caesar Wraps are a fantastic choice for meal prep enthusiasts! You can prepare the filling (without dressing) up to 24 hours in advance by combining the cubed chicken, torn romaine, Parmesan cheese, and croutons in an airtight container. To keep the lettuce crisp and prevent sogginess, refrigerate the filling and add the creamy Caesar dressing just before assembling. When you’re ready to enjoy, simply spoon the mixture onto a tortilla, roll it up, and you’ll have a fresh, satisfying meal in minutes. By prepping ahead, you’ll save valuable time on busy weeknights while still enjoying the delightful flavors of these Chicken Caesar Wraps!
Chicken Caesar Wrap Recipe FAQs
What type of chicken is best for the Chicken Caesar Wrap?
Absolutely! You can use either cubed cooked chicken breast for a homemade touch or opt for rotisserie chicken for a quicker preparation. Both options provide that savory protein that makes the wrap so satisfying, so choose what fits your schedule best.
How should I store leftover Chicken Caesar Wrap?
To keep your Chicken Caesar Wrap fresh, wrap any leftovers tightly in foil or storage wrap and store them in the refrigerator for up to 2 days. This will help maintain their flavor and texture, ensuring they’re still delightful when you’re ready for your next bite!
Can I freeze Chicken Caesar Wraps?
Very! If you’d like to extend the life of your Chicken Caesar Wraps, you can freeze them. Wrap each one individually in plastic wrap, and then place them in a freezer-safe bag. They’ll stay fresh for up to 2 months. When you’re ready to enjoy, simply thaw them in the refrigerator overnight and reheat in the microwave or on a skillet for about 1-2 minutes until warmed through.
What can I do if my wraps become soggy?
If your Chicken Caesar Wraps end up soggy, consider two things. First, always add the dressing just before serving to prevent moisture from making the tortilla limp. Second, storing the components separately until you’re ready to serve will keep everything fresher. If you’re prepping for later, keep the dressing in a small container to mix in before assembly.
Are there any dietary alternatives for the Chicken Caesar Wrap?
Absolutely! There are plenty of substitutions to accommodate dietary needs. If you’re looking for a gluten-free option, you can easily use gluten-free tortillas. For a dairy-free version, swap grated Parmesan cheese with nutritional yeast and use your favorite dairy-free dressing. You can tailor this wrap to suit various taste preferences while ensuring everyone enjoys it!
Delicious Chicken Caesar Wraps for Quick Weekday Meals
Ingredients
Equipment
Method
- In a large bowl, combine reduced-fat creamy Caesar salad dressing, grated Parmesan cheese, garlic powder, and freshly cracked pepper. Whisk these ingredients together until you achieve a smooth, cohesive mixture.
- Add cubed cooked chicken breast, torn romaine lettuce, and Caesar salad croutons to the dressing mixture. Gently fold the ingredients together, ensuring each piece of chicken and lettuce is coated with the dressing.
- Take a whole wheat tortilla and lay it flat on a clean workspace or plate. Spoon approximately 2/3 cup of the prepared chicken Caesar filling down the center of the tortilla.
- Fold the sides of the tortilla over the filling, tucking one side in as you begin to roll it tightly. Continue rolling toward the center until the wrap is completely enclosed.
- If your tortillas feel a bit stiff, consider heating them briefly in a microwave for about 10-15 seconds to make them more pliable.
- Any leftover Chicken Caesar Wraps can be stored in the refrigerator, wrapped tightly in foil or storage wrap.
Leave a Reply