
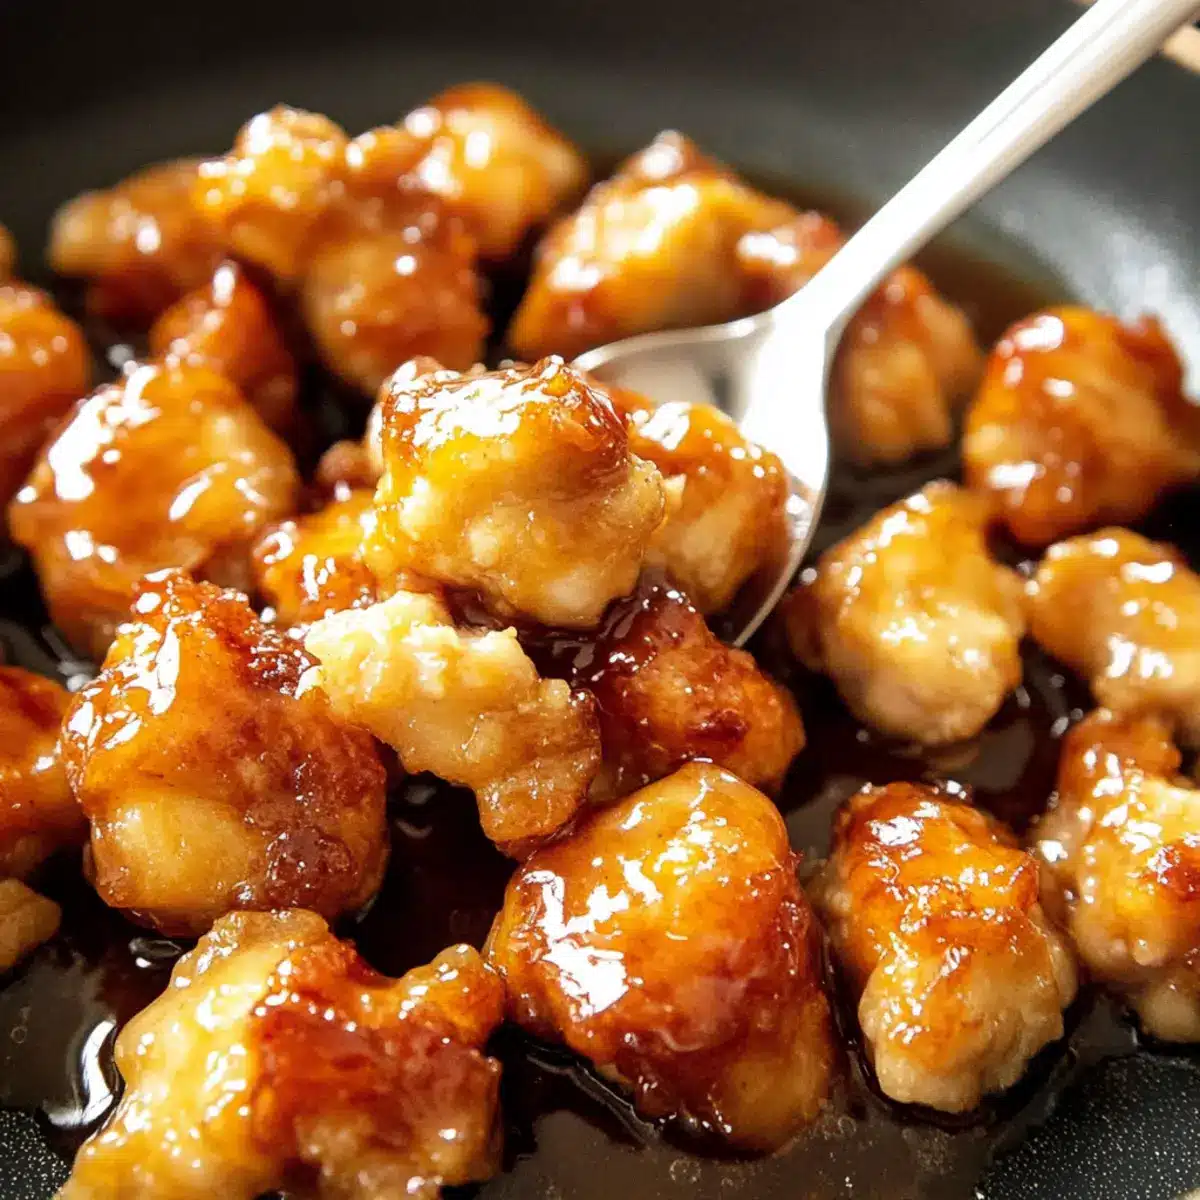
As I rummaged through my pantry, I stumbled upon a bottle of golden honey and a stick of creamy butter, and the spark of inspiration hit me like a lightning bolt. That’s how my Easy Honey Butter Chicken was born—a quick, mouthwatering dinner that transforms simple ingredients into something utterly irresistible. This dish isn’t just about pleasing your taste buds; its sticky, savory-sweet glaze elevates chicken thighs to sheer perfection, making it an effortless crowd-pleaser. Whether it’s a hectic weeknight or a cozy weekend gathering, this recipe promises both convenience and a truly comforting meal. Plus, it leaves room for fun variations like spicy Cajun Honey Butter Pork or the tantalizing Hot Honey Butter Salmon! Ready to dive into a world of flavor that’s bound to impress your loved ones? Let’s get cooking!
Why is Honey Butter Chicken a Must-Try?
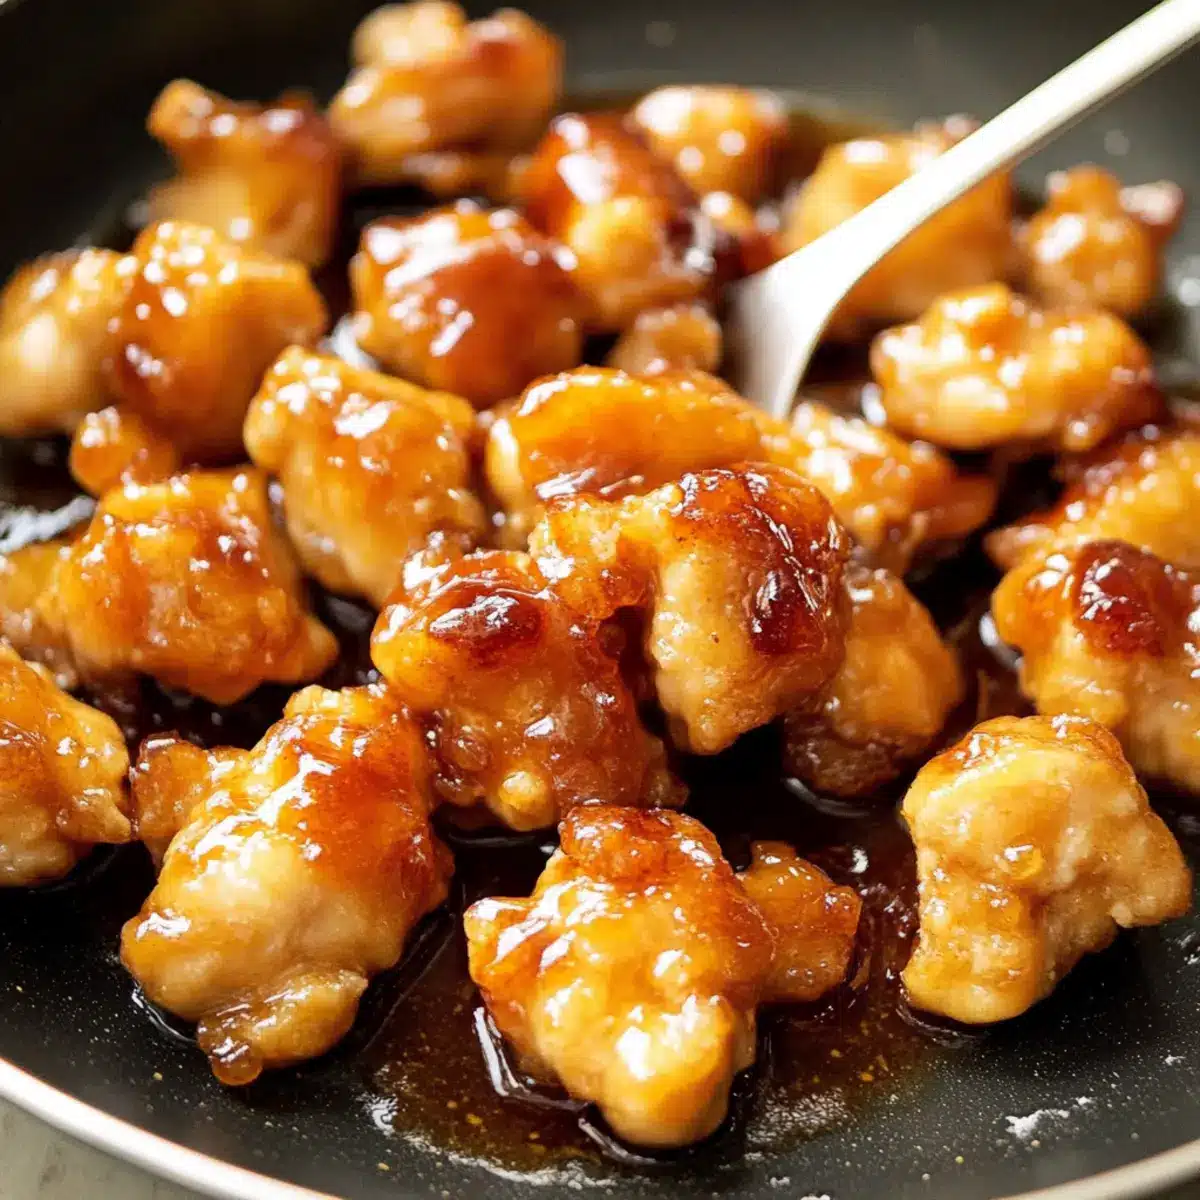
Mouthwatering Sweetness: The combination of honey and butter creates an irresistible glaze that embodies rich flavors and a sticky texture.
Quick and Easy: Perfect for busy weeknights, this recipe comes together in no time, allowing you to serve a homemade meal without the hassle.
Versatile Variations: Love experimenting? This recipe pairs beautifully with Cajun Honey Butter Pork Tenderloin or Hot Honey Butter Salmon for delightful spins on tradition.
Crowd-Pleasing Delight: Whether you’re cooking for family or friends, this dish promises to be a hit with everyone, making it the perfect choice for gatherings.
With its unique flavor profile and ease of preparation, Honey Butter Chicken is sure to become a regular in your meal rotation!
Honey Butter Chicken Ingredients
For the Chicken
• Chicken Thigh – Rich and juicy, making it a perfect base for this Honey Butter Chicken recipe.
• Flour – Coats the chicken for a crispy crust; feel free to swap in gluten-free flour if needed.
• Salt – Enhances the overall flavor; adjust according to your taste.
For the Spice Mix
• Onion Powder – Adds depth and savory notes that complement the sweetness.
• Garlic Powder – Brings a warm, aromatic flavor to the dish.
• Black Pepper – Infuses a hint of spice without overpowering.
For Frying
• Unsalted Butter – Delivers richness and allows for better salt control; you can also use salted butter but adjust the salt accordingly.
• Olive Oil – Helps prevent butter from burning while frying; any light cooking oil will work too.
For the Sticky Sauce
• Honey – The star of the show, imparts sweetness that’s essential for a successful glaze; raw honey can elevate the flavor further.
• Apple Cider Vinegar – Adds a tang to balance the sweetness; white vinegar or lemon juice can be substituted.
• Soy Sauce – Infuses umami notes into the sauce; tamari is a great gluten-free alternative.
Step‑by‑Step Instructions for Honey Butter Chicken
Step 1: Prepare Chicken
In a large bowl, combine flour, salt, onion powder, garlic powder, and black pepper. Mix well, then add the chicken thighs, ensuring each piece is thoroughly coated in the seasoned flour mixture. This step is crucial for achieving that crispy exterior when you cook your Honey Butter Chicken. Set aside for about 10 minutes to allow the coating to adhere.
Step 2: Fry Chicken
Heat a large skillet over medium-high heat and add 1 tablespoon of butter along with a splash of olive oil. Once the butter has melted and begun to sizzle, carefully add the coated chicken pieces to the pan. Fry for about 5-7 minutes per side, or until the chicken turns golden brown and reaches an internal temperature of 165°F. Remove the chicken and set aside on a plate.
Step 3: Make Sauce
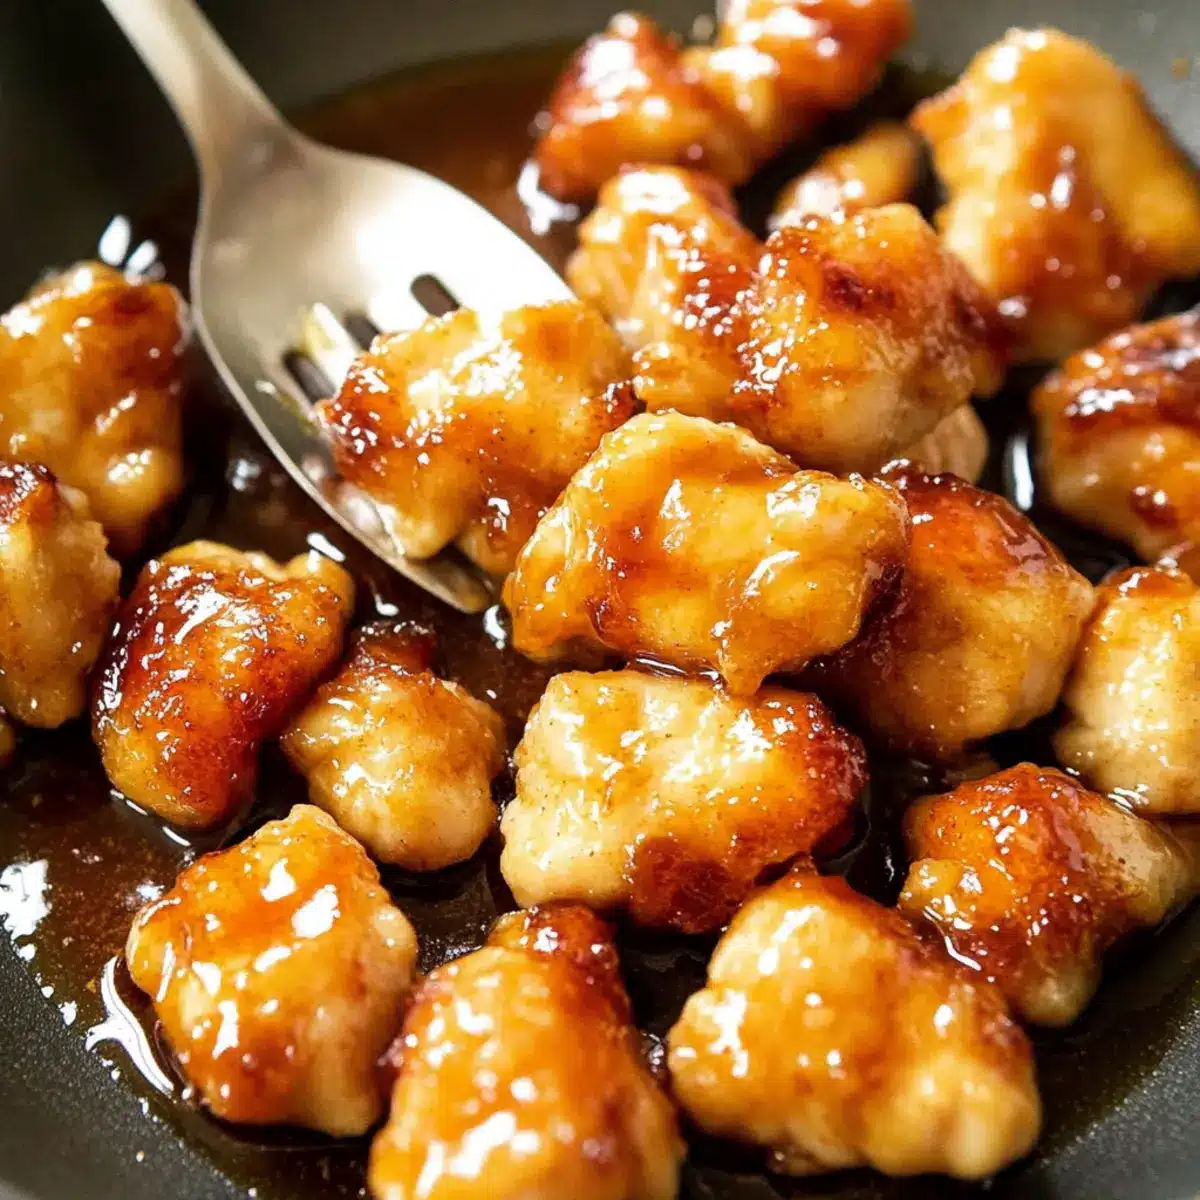
In the same skillet, reduce the heat to medium and add the remaining 3 tablespoons of unsalted butter. Allow it to melt before stirring in honey, apple cider vinegar, and soy sauce. Mix well and bring the mixture to a gentle simmer. Cook for about 3-4 minutes or until it thickens to a sticky, caramel-like consistency, stirring frequently to prevent burning.
Step 4: Combine
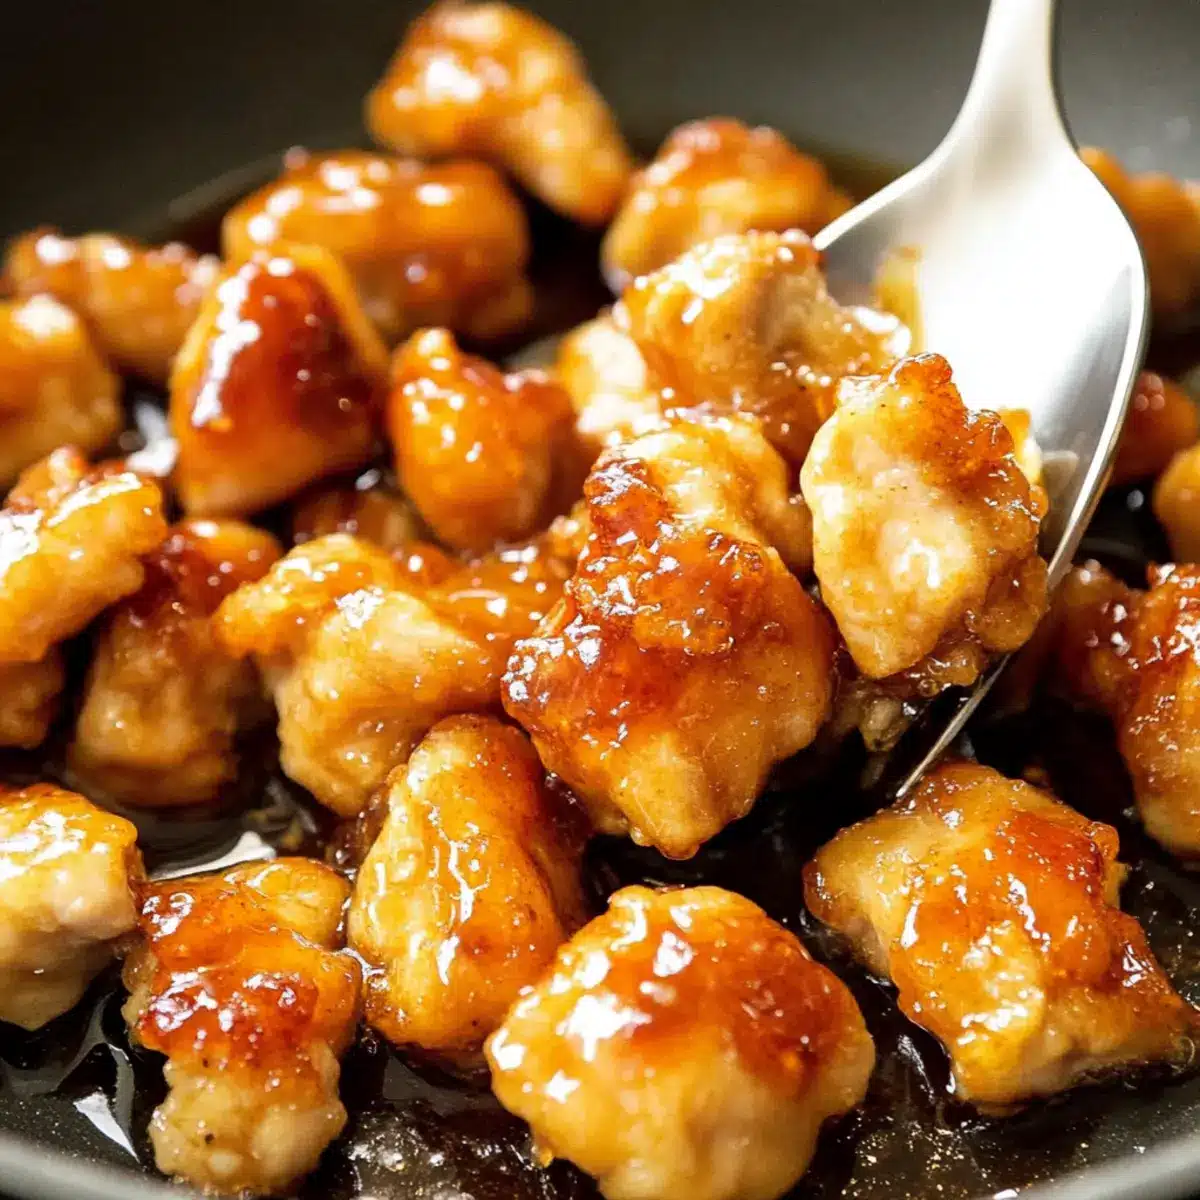
Once your sauce has thickened, return the golden brown chicken to the pan. Gently stir until each piece is well-coated with the sticky glaze. Allow everything to cook together for another 2-3 minutes to let the flavors meld. As you do this, the Honey Butter Chicken will absorb the sauce, enhancing its sweet and savory flavor.
Step 5: Serve Promptly
Remove the skillet from heat and prepare to serve your Honey Butter Chicken immediately. Consider garnishing with chopped green onions or sesame seeds for added freshness and texture. This dish is perfect on its own or served with rice or garlic green beans, making for a delightful meal everyone will love.
Expert Tips for Honey Butter Chicken
• **Crispy Coating: ** For the best texture, let the coated chicken sit for 10 minutes before frying. This ensures a crispier finish for your Honey Butter Chicken.
• **Monitor Cooking Temp: ** Keep your heat at medium-high when frying. If it’s too low, the chicken will absorb oil instead of crisping up, resulting in a less appealing texture.
• **Sauce Consistency: ** Watch the sauce closely while simmering to avoid burning. Stir frequently until it reaches that sticky, caramel-like consistency that complements the chicken beautifully.
• **Serve Immediately: ** For the most enjoyable experience, serve your Honey Butter Chicken right away. Reheating may alter the delightful texture of the glaze you worked hard to achieve!
• **Flavor Variations: ** Want to experiment? Feel free to add a pinch of chili flakes to the sauce for a spicy kick that balances the sweetness perfectly.
Honey Butter Chicken Variations
Feel free to unleash your culinary creativity with these delightful twists on the classic Honey Butter Chicken recipe. Each variation is an invitation to explore new flavors and textures!
-
Dairy-Free: Substitute unsalted butter with coconut oil for a creamy, dairy-free version that still offers richness. Enjoy the tropical notes!
-
Spicy Kick: Add red pepper flakes or sriracha to the sauce during the simmering process for a warm, spicy touch that your taste buds will adore. This little twist transforms it into a fiery delight!
-
Maple Syrup Swap: Replace honey with maple syrup for a unique sweetness profile that complements the savory chicken beautifully. It adds a lovely depth!
-
Crispy Texture: For an extra crunch, try panko breadcrumbs instead of regular flour when coating the chicken. This gives a delightful crunch that’s hard to resist.
-
Zesty Addition: Stir in some zest of lemon or lime into the sauce to add a fresh zing that brightens up the dish and balances the sweetness perfectly. It enhances the overall flavor!
-
Alternative Protein: For a twist, use chicken breasts, pork tenderloin, or even shrimp as the protein base. Each option brings its own flavor profile and cooking time to consider.
-
Honey Mustard Fusion: Mix honey with Dijon mustard before adding it to the sauce for a savory-sweet tang that pairs beautifully with the chicken. This creates an exciting flavor dimension!
-
Vegetarian Delight: For a vegetarian version, substitute chicken with cauliflower florets or large portobello mushrooms, maintaining the savory-sweet profile while keeping it plant-based.
Feel inspired to mix and match these variations? If you’re looking for more savory recipes that shine with sticky sweetness, try pairing your Honey Butter Chicken with Garlic Butter Beef or Miso Butter Roasted dishes for a feast to remember! Enjoy this flavorful journey!
What to Serve with Easy Honey Butter Chicken
There’s nothing quite like the warmth of a home-cooked meal, and pairing your Honey Butter Chicken can make it even more delightful.
-
Creamy Mashed Potatoes: Their velvety texture balances the sticky glaze perfectly, adding comfort to every bite. Slathered in gravy, they make for a soul-soothing side dish that everyone loves.
-
Garlic Green Beans: Fresh, crisp green beans sautéed in garlic add a burst of color and a crunchy contrast to the tender chicken. With their bright flavor, they help cut through the richness of the dish.
-
Steamed Broccoli: Slightly tender yet crisp, broccoli offers a nutritious counterpart while bringing a subtle embrace of earthiness. Drizzling a bit of lemon over the top brightens the flavors beautifully.
-
Rice Pilaf: Fluffy rice infused with aromatic spices captures the delicious sauce, soaking up every last drop. It serves as a perfect, neutral base, letting the Honey Butter Chicken shine.
-
Mustard Mash: The tangy undertones of mustard provide a delightful kick, creating a lovely balance against the sweet and savory notes of the chicken. The creamy consistency feels indulgent!
-
Crispy Roasted Potatoes: Crisp on the outside and fluffy inside, these garlic-roasted bites offer a wholesome crunch that complements the tender chicken so well.
-
Chilled Cucumber Salad: A refreshing salad with a tangy dressing is an excellent palate cleanser, adding a refreshing crunch that beautifully contrasts the dish’s warm, sticky sweetness.
-
Iced Tea or Lemonade: A refreshing drink like iced tea or zesty lemonade is perfect to wash it all down, offering a cool, revitalizing sip in every serving.
These sides will surely elevate your dining experience, making your Honey Butter Chicken meal not just tasty but a truly festive affair!
Make Ahead Options
These Honey Butter Chicken delights are ideal for meal prep, saving you precious time on hectic weeknights! You can coat the chicken with the seasoned flour mixture and refrigerate it for up to 24 hours to ensure the flavors meld beautifully. Additionally, the sticky sauce can be prepared in advance and stored in an airtight container in the fridge for up to 3 days. When it’s time to serve, simply fry the chicken until golden, reheat the sauce gently on the stove, and toss the chicken in the warm glaze. Allowing the chicken to soak in the sauce for a couple of minutes ensures a flavorful finish, making your Honey Butter Chicken just as delicious as if you made it fresh!
Storage Tips for Honey Butter Chicken
Fridge: Store the Honey Butter Chicken in an airtight container for up to 3 days. Make sure to let it cool down before sealing to maintain freshness.
Freezer: For longer storage, freeze the chicken in an airtight container for up to 3 months. To prevent freezer burn, wrap it tightly.
Reheating: Gently reheat on the stove over medium-low heat or in the microwave until warmed through. Avoid overheating to keep the chicken tender and the glaze from becoming overly sticky.
Serve Fresh: For the best taste and texture, serve immediately after cooking. However, proper storage ensures that your Honey Butter Chicken remains a delightful dish even on the following days!
Honey Butter Chicken Recipe FAQs
How do I select the best chicken thighs for this recipe?
Absolutely! When choosing chicken thighs, look for ones that are plump and have a nice sheen to the skin. Avoid any that have dark spots or an off odor. Fresh chicken should be bright pink with minimal visible fat and no signs of freezer burn if pre-packaged. If you can, opt for organic or free-range chicken thighs for the best flavor and tenderness!
What’s the best way to store leftover Honey Butter Chicken?
Very! To keep your Honey Butter Chicken fresh, store it in an airtight container in the refrigerator for up to 3 days. Let the chicken cool to room temperature before sealing to prevent moisture buildup, which can lead to sogginess. If you wish, label the container with the date to keep track of freshness.
Can I freeze Honey Butter Chicken for later use?
Yes, you can! For freezing, allow the Honey Butter Chicken to cool completely. Then transfer it to an airtight container or freezer-safe bag, pressing out excess air to prevent freezer burn. It can be frozen for up to 3 months. When you’re ready to enjoy, thaw it overnight in the refrigerator before reheating.
What do I do if my sauce isn’t thickening?
If your sauce isn’t thickening as expected, don’t worry! Continue to simmer the sauce over medium heat while stirring frequently, which will help it reach that perfect sticky, caramel-like consistency. If it’s still too thin after 5-7 minutes, you can mix a teaspoon of cornstarch with a tablespoon of water to create a slurry. Gradually stir this into the sauce while it simmers, and watch it thicken beautifully!
Are there any dietary considerations I should be aware of with this recipe?
Absolutely! If you have dietary restrictions, be mindful of your ingredient choices. For those with gluten sensitivities, use gluten-free flour and tamari in place of soy sauce. As for allergies, ensure you use a honey substitute if there’s a concern over honey or consider using maple syrup. Always double-check labels for potential allergens, especially with prepackaged ingredients.
How can I keep the coating on the chicken crispy when reheating?
Great question! To maintain the crispy coating when reheating, avoid microwaving, as this can make the chicken soggy. Instead, reheat the chicken in a skillet over medium-low heat with a small drizzle of olive oil for about 5-7 minutes, flipping occasionally until warmed through. This method helps revive that delicious crunch while ensuring the chicken stays juicy!
Sweet and Sticky Honey Butter Chicken for a Cozy Dinner
Ingredients
Equipment
Method
- In a large bowl, combine flour, salt, onion powder, garlic powder, and black pepper. Mix well, then add the chicken thighs, ensuring each piece is thoroughly coated. Set aside for about 10 minutes.
- Heat a skillet over medium-high heat and add 1 tablespoon of butter and a splash of olive oil. Once melted, carefully add the coated chicken pieces. Fry for about 5-7 minutes per side until golden brown and cooked through.
- In the same skillet, reduce heat to medium and add 3 tablespoons of unsalted butter. Once melted, stir in honey, apple cider vinegar, and soy sauce. Simmer for 3-4 minutes until thickened.
- Return the fried chicken to the pan and gently stir until each piece is well-coated in the glaze. Cook together for another 2-3 minutes.
- Remove from heat and serve immediately, garnished with green onions or sesame seeds if desired.
Leave a Reply