
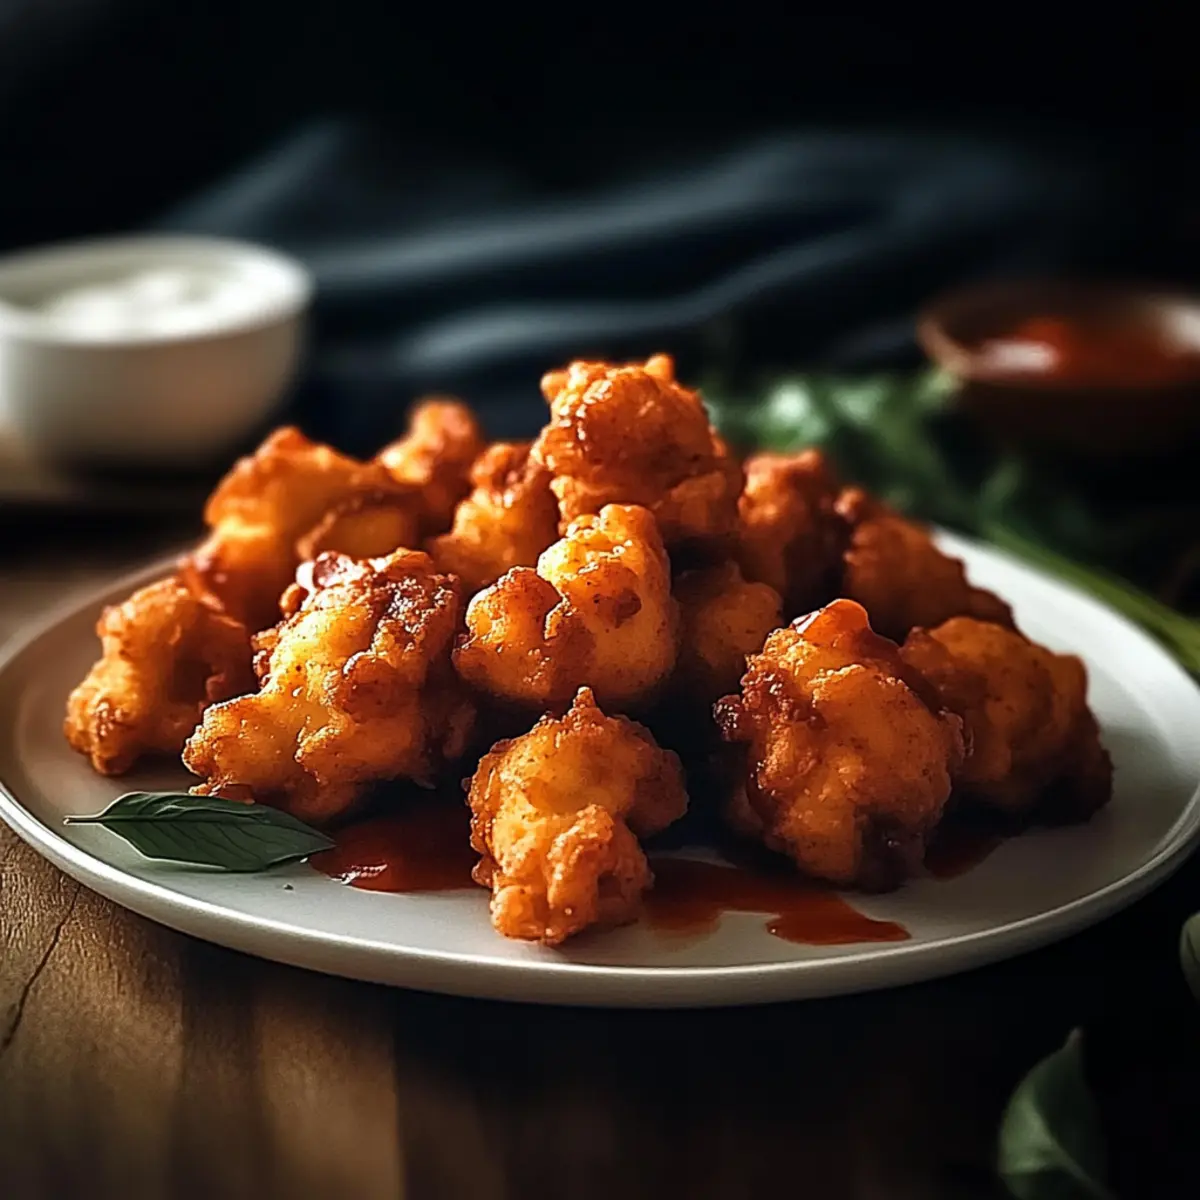
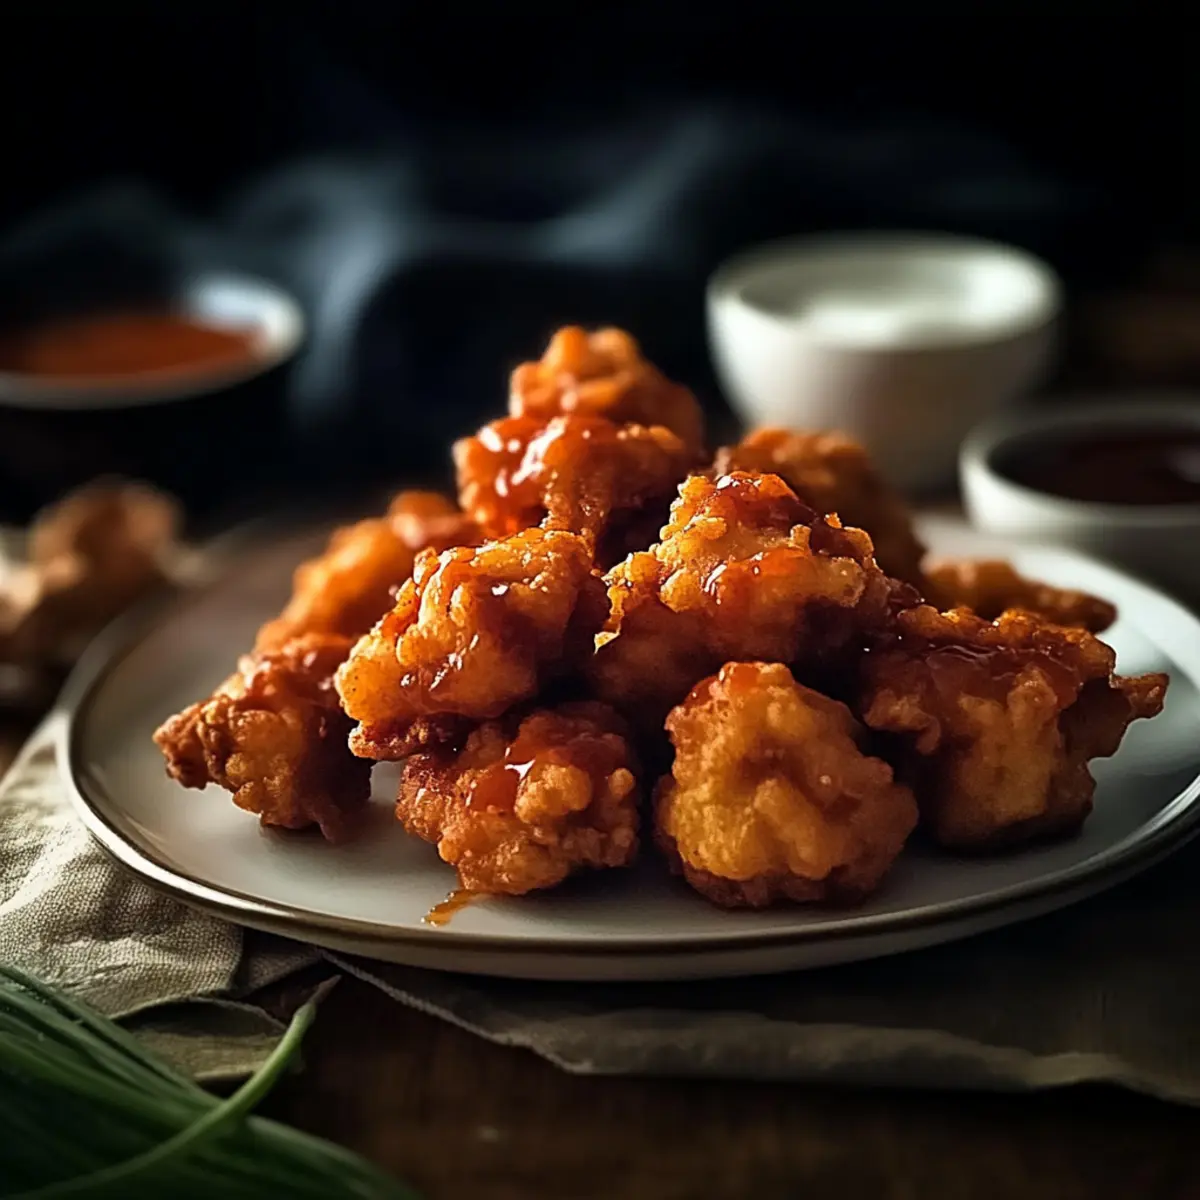
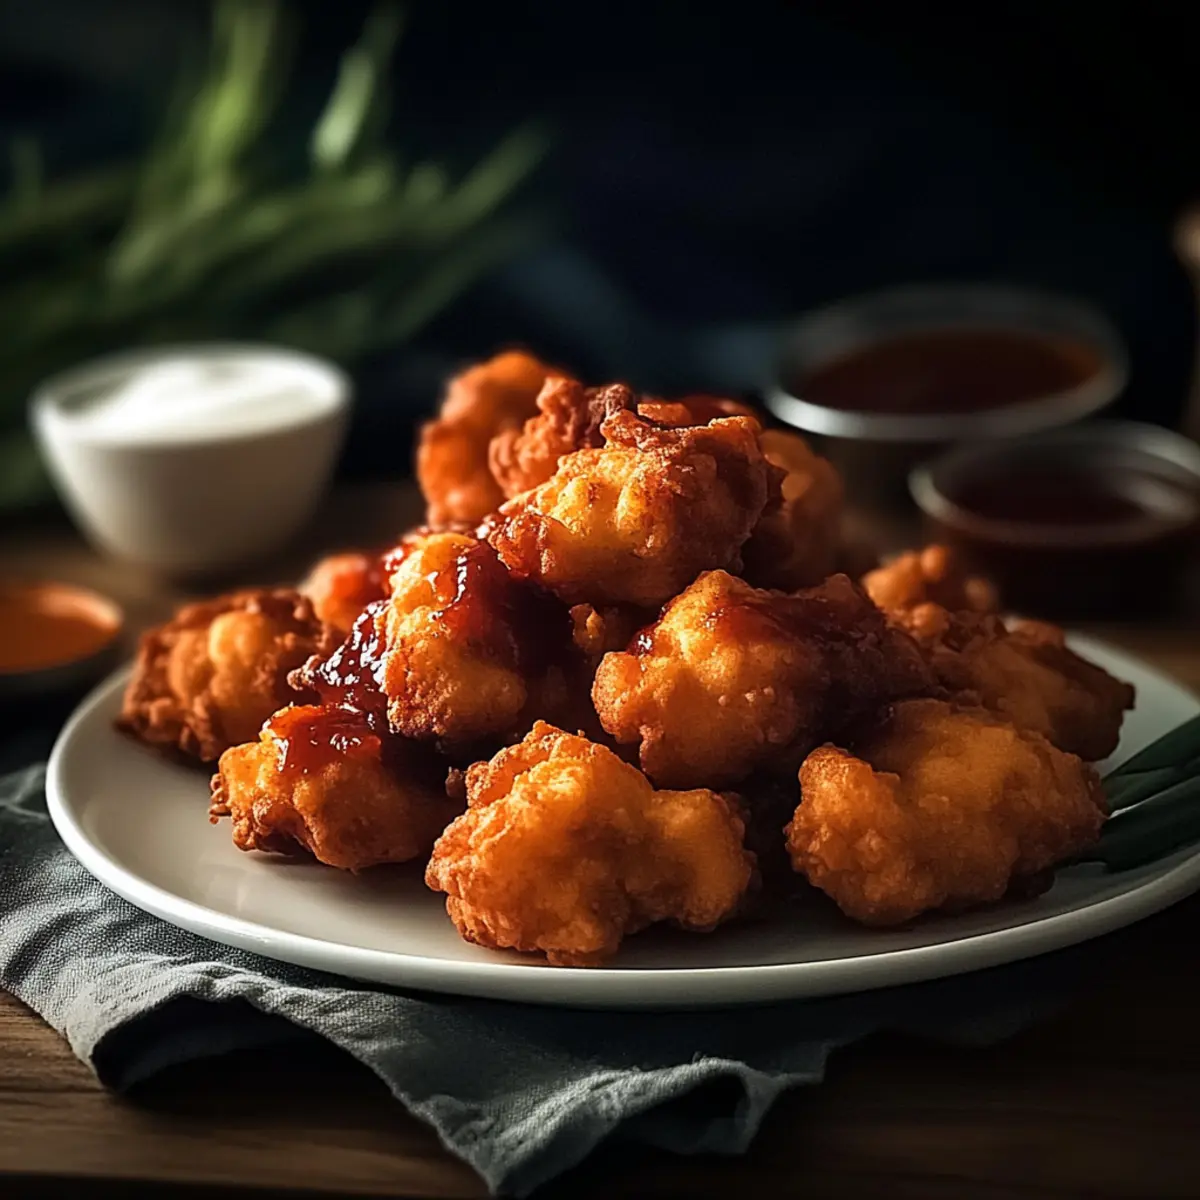
The tantalizing aroma wafted through the kitchen, instantly transporting me to my favorite backyard barbecue. Enter the world of BBQ Chicken Poppers, where juicy pieces of chicken meet a crispy, golden crust that’s simply irresistible. These delectable bites are not just appetizers; they elevate any gathering into a festive culinary celebration, perfect for quick meals or casual entertaining. Plus, they’re incredibly versatile—whether you deep-fry them for that crunch or choose the healthier oven-baked option. With gluten-free alternatives and endless flavor combinations, these poppers will satisfy everyone around your table. Are you ready to take finger food to a whole new level?
Why are BBQ Chicken Poppers a must-try?
Juicy, Tender Chicken: Each popper is filled with succulent chicken, ensuring a mouthwatering experience in every bite.
Crispy Coating Joy: The double-coating technique gives you that ideal crunch, perfect for satisfying snack cravings.
Versatile Preparation: Choose to fry or bake—either way, they’re equally delicious and can accommodate gluten-free diets seamlessly.
Crowd-Pleasing Flavor: The sweet and smoky BBQ sauce elevates these poppers, making them a hit at gatherings, game nights, or family dinners.
Quick & Easy: With simple ingredients and straightforward instructions, you’ll whip these up in no time, perfect for last-minute entertaining or cozy nights in.
BBQ Chicken Poppers Ingredients
• To make these delightful BBQ Chicken Poppers, gather these essential items for a mouthwatering experience!
For the Chicken Mixture
- Chicken – The star ingredient; for extra juiciness, opt for boneless chicken thighs.
- Garlic Powder – Enhances flavor depth; fresh garlic can be used as an alternative.
- Salt – Key for taste enhancement; sea salt or kosher salt works well.
- Chili Powder – Adds a touch of warmth; adjust the amount based on your spice preference.
- Black Pepper Powder – Gives a flavorful kick; freshly ground is best for optimal taste.
For the Breading
- Eggs – Essential for binding the crust to the chicken; no substitutes recommended.
- Flour – Creates a base for the crispy coating; consider gluten-free flour for a special dietary option.
For Frying
- Vegetable Oil – Important for frying; oils with high smoke points like canola or peanut oil are preferred.
For the Sauce
- HOC BBQ Sauce – The delicious coating that unites the chicken poppers; try mixing it up with buffalo or teriyaki sauce for a unique twist!
Step‑by‑Step Instructions for BBQ Chicken Poppers
Step 1: Preparation
Begin your journey to delicious BBQ Chicken Poppers by cutting boneless chicken into bite-sized pieces, aiming for even sizing. In a mixing bowl, combine the chicken with garlic powder, salt, chili powder, and black pepper. Toss until the chicken is evenly coated, allowing the spices to infuse into the meat while you prepare for the next steps.
Step 2: Coating
In a separate bowl, whisk together the eggs until frothy. Take your seasoned chicken pieces and dip each one first into the flour, shaking off any excess. Next, immerse it into the egg mixture, ensuring complete coverage before dipping it back into the flour for a double coating. This will create that irresistible, crunchy exterior once cooked.
Step 3: Frying
Heat vegetable oil in a large pan over medium heat, aiming for about 350°F (175°C). Once the oil is shimmering, carefully add the coated chicken pieces in batches, ensuring they don’t touch to avoid sticking. Fry them for about 5–7 minutes, flipping halfway through until they are golden brown and crispy, checking for an internal temperature of 165°F (75°C) for safety.
Step 4: Sauce Integration
While your poppers are frying, warm HOC BBQ sauce in a separate saucepan over low heat, stirring occasionally until it’s bubbling. After the chicken reaches perfection in the frying pan, remove it and allow it to drain briefly on paper towels. Then, toss the crispy BBQ Chicken Poppers in the warm sauce to ensure each piece is generously coated with flavor.
Step 5: Serving
Once all the barbecue-coated chicken poppers are ready, transfer them to a serving platter. For an extra touch, serve them hot alongside additional BBQ sauce or your favorite dipping sauce. This will enhance the flavor experience and make these BBQ Chicken Poppers a tantalizing finger food for any gathering!
Expert Tips for BBQ Chicken Poppers
-
Crispy Coating Secret: Double coat each piece in flour for an extra crunchy bite. This ensures your BBQ Chicken Poppers have the perfect texture once fried.
-
Choose Your Chicken: For juiciness, opt for boneless chicken thighs instead of breasts. They hold moisture better and enhance flavor.
-
Panko Crunch: Use Panko breadcrumbs for an even crispier coating compared to regular breadcrumbs. This will elevate the crunch factor of your poppers!
-
Avoid Overcrowding: When frying, don’t overcrowd the pan. It prevents them from getting crispy and leads to uneven cooking.
-
Perfectly Warm BBQ Sauce: Warm your BBQ sauce before coating the chicken to help it stick better and enhance the overall flavor of your BBQ Chicken Poppers.
What to Serve with BBQ Chicken Poppers
These poppers are the perfect centerpiece for any gathering, and finding the right sides will take your meal to the next level!
-
Creamy Coleslaw: A refreshing crunch with a hint of sweetness, perfectly balancing the savory poppers. The coolness of coleslaw enhances each bite, making it a delightful companion.
-
Garlic Breadsticks: Soft, buttery breadsticks that invite you to dip into your favorite sauce. Their warmth and satisfying texture provide a comforting contrast to the crispy poppers.
-
Crispy Fried Pickles: Tangy and crunchy, fried pickles add a playful zing that pairs wonderfully with the smoky BBQ flavor of the chicken poppers. They are a flavor-packed snack that keeps the good times rolling.
-
Stuffed Jalapeños: For those who like a kick, these spicy bite-sized treats bring heat and excitement to your plate. Pair them together for an adventurous flavor experience that everyone will love.
-
Sweet Potato Fries: Their natural sweetness and crispy exterior offer a delightful contrast to the savory richness of the BBQ sauce. Each bite elevates the meal, bringing a hint of nostalgia and warmth.
-
Light Beer or Sweet Tea: Quench your thirst with a refreshing beverage that complements the bold flavors. A classic pairing that’s both satisfying and perfectly casual, making your gathering feel just right.
BBQ Chicken Poppers Variations & Substitutions
Feel free to get creative with your BBQ Chicken Poppers, as there are plenty of ways to adjust this delightful recipe to suit your taste!
-
Spicy Twist: Swap BBQ sauce for buffalo sauce for a zingy kick. Perfect for heat-lovers who thrive on flavor intensity.
-
Juicy Alternative: Use boneless chicken thighs instead of breasts; they promise an extra layer of moistness and richness in every bite.
-
Healthier Cooking: Opt for oven-baking at 425°F (220°C) on a parchment-lined sheet. This method results in crispy poppers without the added oil.
-
Gluten-Free: Substitute regular flour with gluten-free flour or breadcrumbs to ensure everyone can enjoy these poppers without worry.
-
Herb Infusion: Add fresh herbs such as thyme or parsley into the chicken mix for a refreshing twist. This small change can add depth and brightness to the flavor profile.
-
Flavor Fusion: Experiment with teriyaki sauce instead of BBQ for a sweet and savory glaze that nods to Asian cuisine. The result will be a surprisingly delicious twist!
-
Cheesy Indulgence: For a cheesy variation, sprinkle shredded cheese on top of the poppers after tossing them in sauce. Bake them for a few extra minutes until melted for ultimate indulgence.
-
Crispy Coating Upgrade: Use crushed cornflakes or Panko breadcrumbs instead of regular breadcrumbs for an extra crunch. This change will elevate the textural experience to new heights!
If you’re looking for more inspiration in the kitchen, you might also love trying out Honey Lime Chicken for a tangy fiesta or some mouthwatering Cheesy Buffalo Chicken that packs a punch!
Storage Tips for BBQ Chicken Poppers
-
Room Temperature: Allow BBQ Chicken Poppers to cool completely before storing; they can be kept at room temperature for up to 2 hours.
-
Fridge: Store any leftovers in an airtight container in the fridge for up to 2 days to maintain freshness and quality.
-
Freezer: If you want to keep them longer, freeze uncooked BBQ Chicken Poppers on a baking sheet until firm, then transfer to a freezer-friendly bag for up to 3 months.
-
Reheating: To reheat, place leftover poppers in the oven at 350°F (175°C) for about 10–15 minutes until crispy and heated through.
Make Ahead Options
These BBQ Chicken Poppers are perfect for meal prep enthusiasts! You can season the chicken and coat it with flour up to 24 hours in advance, keeping the components together in the refrigerator to maintain their freshness. For even more convenience, consider freezing the uncooked poppers—they can be stored for up to 3 months. When you’re ready to serve, simply fry or bake them straight from the freezer without thawing; just add a few extra minutes to the cooking time for perfectly crispy results. This preparation saves valuable time on busy weeknights while ensuring that your BBQ Chicken Poppers are just as delicious as fresh!

BBQ Chicken Poppers Recipe FAQs
How do I choose the right chicken for BBQ Chicken Poppers?
Absolutely! For the juiciest poppers, boneless chicken thighs are your best bet. They hold moisture better than chicken breasts, delivering a more flavorful bite. If you prefer using breasts, make sure to keep an eye on cooking times, as they can dry out quickly.
What’s the best way to store leftover BBQ Chicken Poppers?
Very good question! Let the poppers cool completely before transferring them to an airtight container. You can store them in the fridge for up to 2 days. If you’re keen on keeping them fresh for longer, freeze them uncooked on a baking sheet first. Once they’re firm, place them in a freezer-friendly bag, where they can last for up to 3 months!
Can I freeze BBQ Chicken Poppers?
Absolutely! You can prepare these poppers in advance and freeze them. Simply arrange the uncooked, coated poppers on a baking sheet and freeze until solid. Then, transfer to a freezer bag. When you’re ready to cook, you can fry or bake them straight from the freezer—just add a few extra minutes to the cooking time.
What should I do if my poppers aren’t crispy?
If you find your BBQ Chicken Poppers lacking that desired crunch, make sure to double coat them during the breading step—this extra layer adds delightful crispiness! Additionally, avoid overcrowding the frying pan; giving each piece enough space allows them to cook evenly and stay crispy. Lastly, let the fried poppers rest on paper towels for a moment to absorb any excess oil.
Are BBQ Chicken Poppers gluten-free?
Yes, indeed! You can easily make these poppers gluten-free by using gluten-free flour and breadcrumbs. There are many brands available that can substitute seamlessly without sacrificing taste. Just make sure your BBQ sauce is also gluten-free, allowing everyone to enjoy this dish without worry!
How should I reheat leftover BBQ Chicken Poppers?
When reheating, I highly recommend using the oven for the best results! Preheat your oven to 350°F (175°C), then place the poppers on a baking sheet. Heat for about 10–15 minutes, or until they are thoroughly warmed and crisp again. This method helps retain that delightful crunch, making them just as tasty as when they were freshly made.
Unforgettable BBQ Chicken Poppers for Epic Snack Cravings
Ingredients
Equipment
Method
- Cut boneless chicken into bite-sized pieces and mix with garlic powder, salt, chili powder, and black pepper in a bowl.
- Whisk eggs in a separate bowl. Dip chicken pieces in flour, then in eggs, and back into flour for double coating.
- Heat vegetable oil in a pan over medium heat to 350°F (175°C). Fry chicken pieces in batches for 5–7 minutes until golden brown.
- Warm HOC BBQ sauce in a saucepan. Toss fried chicken in the warm sauce for coating.
- Transfer BBQ Chicken Poppers to a serving platter, serve hot with additional BBQ sauce or dipping sauce.
Leave a Reply